



Before removing the engine from the car, it is necessary to prepare a reliable support on which the engine should stand steadily.
To remove and install the engine on a car, you will need: keys "10", "13", "17", "19", an extension with a cardan joint, socket heads "13", "17", "19", "22", "24", a TORX socket head T14, a ratchet, screwdrivers, pliers, a hoist or other lifting device, slings (strong rope).
1. Remove the hood (see "Removal and installation the hood").
2. Remove the decorative engine cover (see "Removal and installation the decorative engine cover").
3. Reduce the pressure in the engine fuel system if the vehicle is to be repaired immediately after a trip (see "Reduced fuel pressure in the engine fuel system").
4. Disconnect the wire from the negative terminal of the battery.
5. For ease of operation, remove the battery (see "Removal and installation the battery").
6. Remove the engine splash guard from the vehicle (see "Removal and installation the engine mudguard").
7. Drain the coolant from the engine cooling system (see "Replacing the coolant").
8. Remove the air filter (see "Removal and installation the air filter").
9. Disconnect from the cylinder head, throttle body and intake module all hoses, lines and wires that were disconnected before removing the cylinder head to replace its gasket, as well as the throttle actuator cable together with its bracket (see "Replacing the cylinder head gasket").
10. Disconnect the wiring harness connectors from the speed sensor, crankshaft position sensor and knock sensor (see subsection Electrical equipment "Engine Management System Sensors").
11. Disconnect the wires from the starter (see "Removal and installation the starter") and generator (see "Removal and installation the generator").
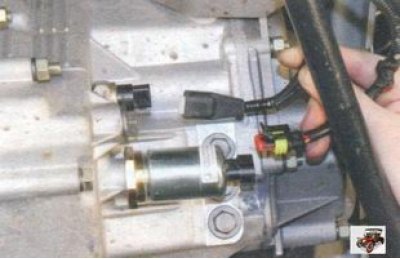
12. Disconnect the wire harness connectors from the reverse light switch and the reverse lock solenoid on the transmission.
13. Disconnect the oxygen sensor wire harness connectors and remove their wire holders from the steering gear heat shield openings (see "Replacing the catalytic converter").
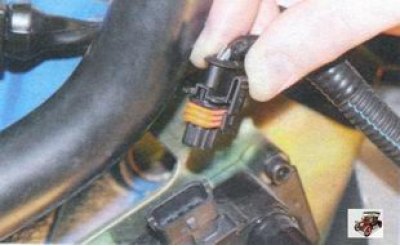
14. Disconnect the wiring harness connector from the ignition coil.
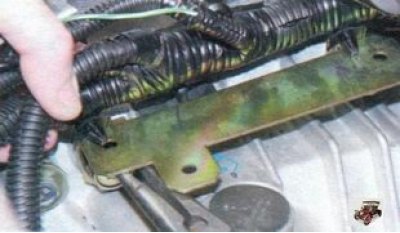
15. Disconnect the engine wiring harness holders from the bracket on the engine.
16. Move the wiring harness to the side.
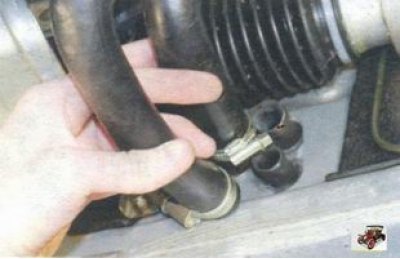
17. Disconnect the heater hoses from the fittings on the front shield (the other ends of the hoses remain connected to the connecting pipe of the cooling system and the thermostat installed on the engine).
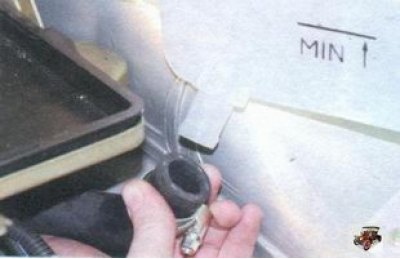
18. Disconnect the liquid hose from the expansion tank fitting (the other end of the hose remains connected to the connecting pipe of the cooling system installed on the engine).
19. Disconnect the torque rod from the gearbox (see "Removal and installation the gearbox").
20. Remove the additional muffler, as its inlet pipe prevents the engine from lowering (see "Replacing the additional muffler").
21. Disconnect the lower end of the clutch cable from the gearbox (see "Replacing the clutch release cable").
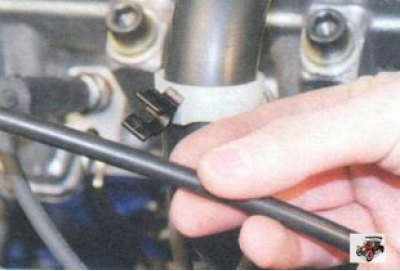
22. Remove the throttle cable from the retainer on the engine...
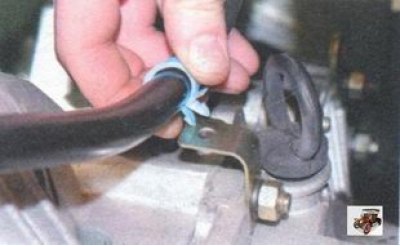
23. ...disconnect the second throttle cable holder from the bracket located on the gearbox next to the oil level indicator hole and move the throttle cable to the side.
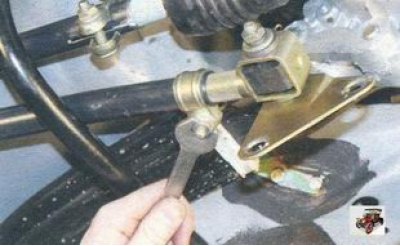
24. Loosen the nut of the torque rod clamp tightening bolt...
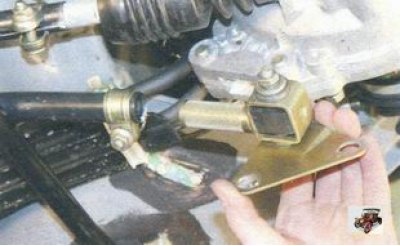
25. ...and remove the thrust bracket, as it prevents the engine from lowering down.
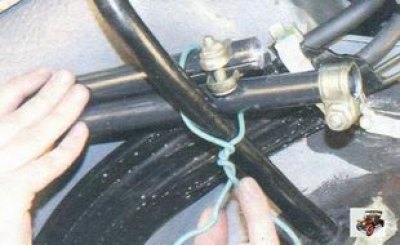
26. Disconnect the gear shift rod from the gearbox (see "Removal and installation the gearbox").
27. Move the rods to the side and tie them, for example, with a wire to the anti-roll bar so that they do not interfere when removing the engine.
28. Disconnect the front wheel drives from the front hubs (see "Removal and installation the gearbox").
29. Remove the front suspension struts (see "Replacing the stretcher and the stretcher mounting bracket").
30. Make sure all wires, hoses and controls are disconnected from the engine.
31. Attach the lifting gear slings to the engine and tighten them slightly to relieve the load on the engine mount cushions.
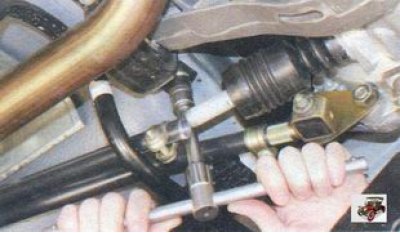
32. Unscrew the two nuts securing the rear support cushion to the body.
33. Remove the bolt and unscrew the two nuts securing the left and right front engine mounts to the side members (see "Replacing engine mounts (power unit)").
34. Place a pre-prepared support under the engine, lower the engine onto it, lift the car and remove the engine from underneath it.
35. Install the engine on the vehicle in the reverse order of removal. After installation, fill the engine crankcase with oil and the cooling liquid into the cooling system.
36. Adjust the throttle actuators (see "Adjusting and replacing the throttle cable") and gearbox control (see "Adjusting the gearbox control drive").
37. Start the car engine and check for fuel, oil and coolant leaks. Check the oil pressure. Listen to the engine: it should run smoothly, without any extraneous noise or knocking.