



The idle speed control valve can only be removed after removing the throttle assembly.
Before removing the idle speed control valve, check its serviceability directly on the vehicle.
To replace the idle speed control on the car, you will need: a 13 mm socket wrench (head), a phillips screwdriver, and a tester.
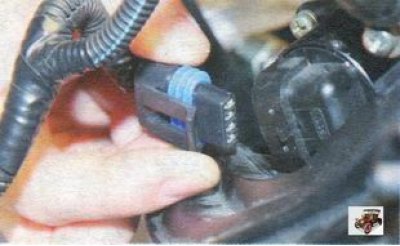
1. Disconnect the harness connector from the idle air control valve (with ignition off).
2. Turn on the ignition on the vehicle and measure the voltage between terminal "A" of the connector and the vehicle ground using a tester in voltmeter mode.
3. Repeat the measurement for the remaining connector terminals ("B", "C" and "D") in turn. The tester readings for these four measurements should be within 0.4-12 V.
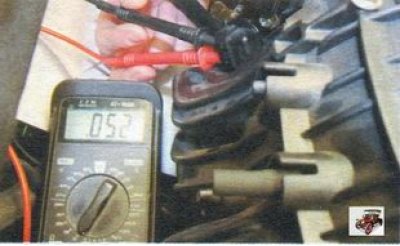
4. Switch the tester to the ohmmeter mode and measure the resistance between terminals "A" and "B" of the idle speed control valve, and then between terminals "C" and "D". The resistance should be within 0.040-0.080 kOhm.
5. To replace the idle speed control valve on a vehicle, remove the throttle assembly (see "Removal and installation the throttle assembly").
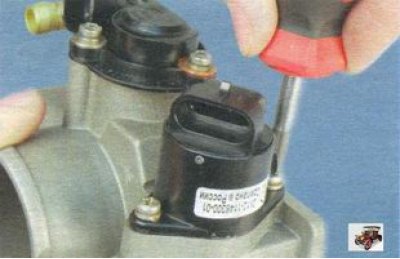
6. Remove the two screws securing the idle speed control valve to the throttle assembly and remove the idle speed control valve from the throttle assembly opening.
Article copied from the resource: LadaMan
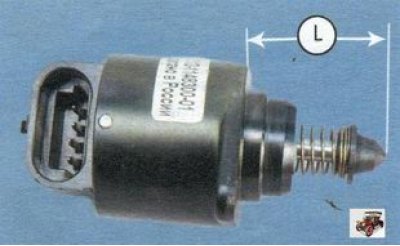
7. For the new idle speed control valve, check the distance L between the end of the valve needle and the mounting flange. It should be no more than 23 mm. If this distance is greater, the idle speed control needle will rest against the throttle seat and when tightening the fastening screws, the idle speed control will be damaged.
8. Clean the seat and air passage in the throttle assembly, as well as the surface under the idle speed control valve sealing ring, from dirt.
9. Lubricate the sealing ring with engine oil and install the idle speed control valve on the vehicle in the reverse order of removal. Tighten the idle speed control screws to a torque of 3-4 N·m.