



If a gasoline leak is detected along the junction line of the upper and lower parts of the gas tank, these areas can be soldered (it is recommended that work be carried out in specialized auto repair shops). To do this, drain the remaining gasoline, thoroughly rinse and dry the gas tank. Then seal the leak with soft solder.
It is more convenient to remove an empty gas tank while working on a lift, overpass or inspection pit.
To replace the fuel tank (gas tank) on a car, you will need: a 10 mm wrench, flat-head and Phillips-head screwdrivers.
1. Reduce the pressure in the engine fuel system (see "Reduced fuel pressure in the engine fuel system").
2. Disconnect the wire from the negative terminal of the battery.
3. Disconnect the wiring harness connector from the fuel pump (see "Removal and installation the fuel pump (fuel pump)").
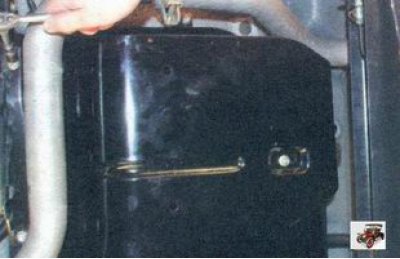
4. Unscrew the three nuts securing the fuel tank protective screen and remove the screen.
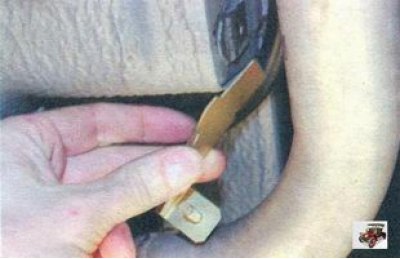
5. If necessary, remove the protective screen mounting bracket from the body.
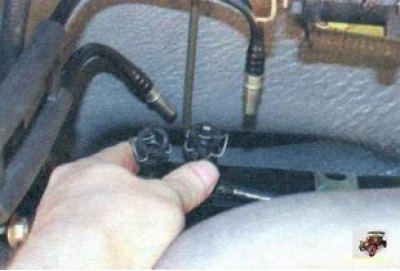
6. After squeezing the spring clamps, disconnect the ends of the hoses installed on the gas tank from the fuel line fittings.
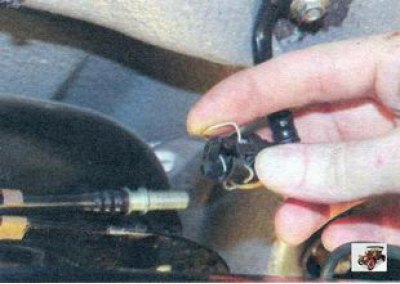
7. Similarly, disconnect the gravity valve hose from the gas tank hose.
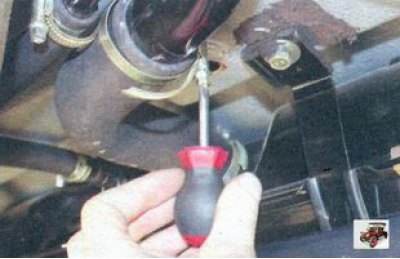
8. Loosen the clamp securing the filler pipe connecting hose and disconnect the hose from the fuel tank pipe.
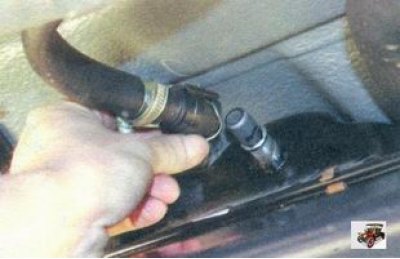
9. Disconnect the filler pipe air bleed hose from the fitting at the rear of the gas tank by pressing the spring clip on its tip.
10. Place a support under the gas tank.
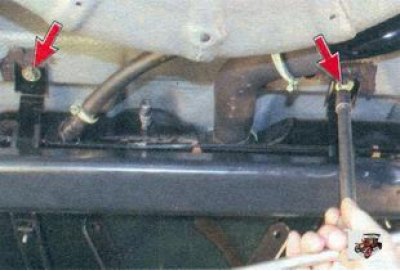
11. Unscrew the two bolts of the gas tank clamps, move the clamps forward and remove the gas tank from the vehicle.
12. If necessary, remove the fuel tank mounting clamp.
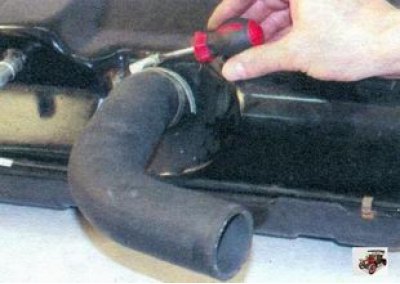
13. If the gas tank is replaced, transfer the parts and components installed on the old gas tank to the new gas tank. After loosening the fastening clamp, remove the connecting hose of the filler pipe from the branch pipe.
14. Remove the fuel pump from the fuel tank (see "Removal and installation the fuel pump (fuel pump)").
15. Remove the fuel vapor recovery system canister (see "Replacing the components of the gasoline vapor recovery system"), fuel filter (see "Replacing the fuel filter") and connecting pipelines.
16. Install the gas tank and all removed parts on the vehicle in the reverse order of removal.
Gas tank filler pipe if necessary, it can be removed from the vehicle separately, without removing the gas tank, as follows.
1. Remove the plug from the filler neck (see "Filling up a car with petrol").
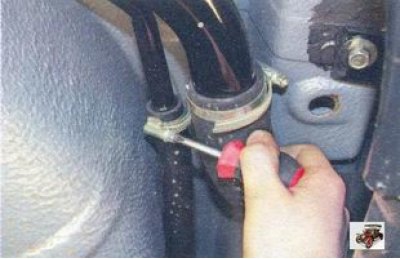
2. Loosen the clamps securing the air bleed and connecting hoses.
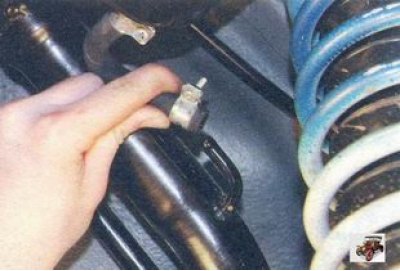
3. Disconnect the fuel drain hose from the separator from the fuel tank filler pipe fitting by loosening the clamp that secures it.
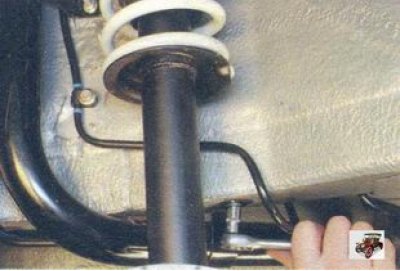
4. Unscrew the bolt securing the fuel tank filler pipe bracket to the body.
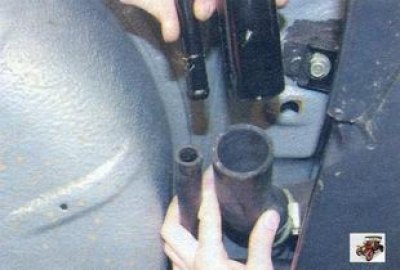
5. Remove the air bleed tube and the fuel filler neck tube from the hoses...
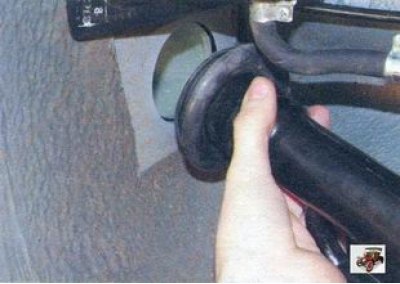
6. ... remove the upper end of the fuel tank filler pipe together with the seal from the hole in the body and remove the filler pipe from the vehicle.
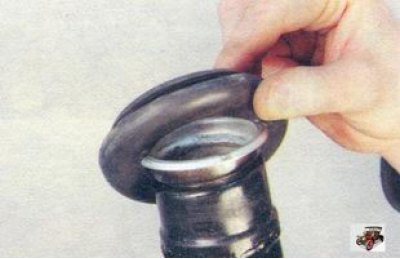
7. Before installation, remove the rubber seal from the filler pipe. Replace any hardened or cracked seal.
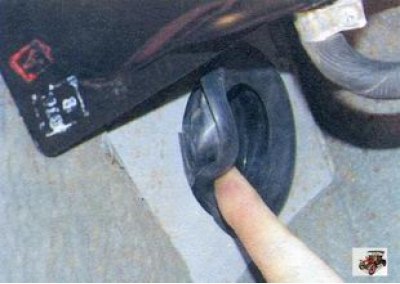
8. Install the rubber seal into the hole from the inside of the body...
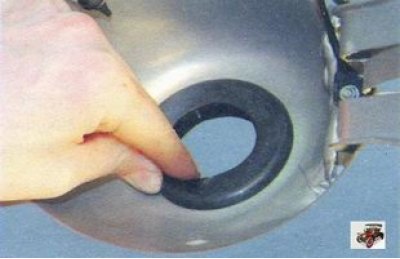
9. ...and tuck its flange onto the edge of the hole on the side of the hatch in the wing of the car.
10. Next, install the fuel tank filler pipe in the reverse order of removal.
09.09.2024 17:22