
To perform the work, you will need an inspection ditch or overpass, a device for hanging the power unit (see «Manual transmission - removal and installation»).
Recommendation. This operation is quite laborious and requires certain skills and equipment, so if you are not confident in your own abilities, it is better to entrust the work of a specialized service station. The gearbox weighs about 30 kg, so work with an assistant or use an adjustable stop or lifting device with the appropriate capacity.
Execution sequence
1. We install the car on a viewing ditch or overpass (see «Preparing your vehicle for maintenance or repair»).
2. Remove the battery (see «Battery - removal and installation»).
3. Remove the air filter (see «Air filter - removal and installation»).
4. Remove the battery shelf (see «Replacing the left support»).
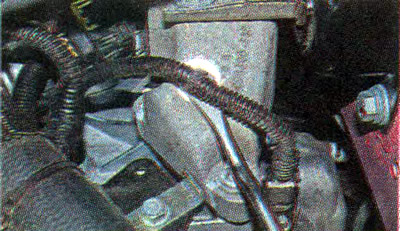
5. With a puller, we disconnect the holder of the wiring harness from the bracket of the left support of the power unit.
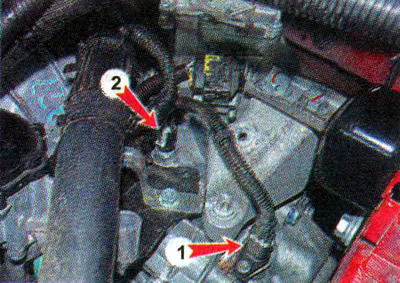
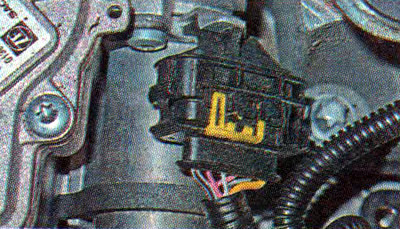
6. Disconnect the wiring harness blocks from the reversing light switch 1 and the gearbox shaft speed sensor 2.
7. Prying off the latch with a screwdriver...
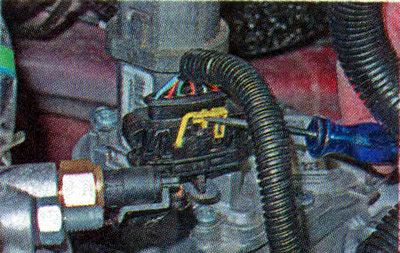
... disconnect the wiring harness blocks from the gear selection electric drive.
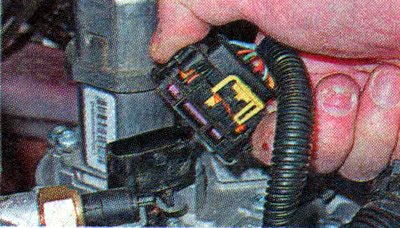
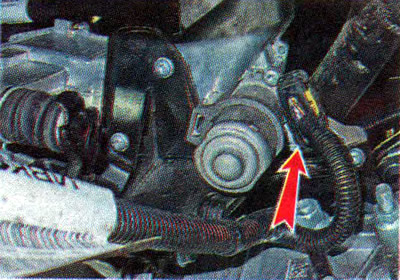
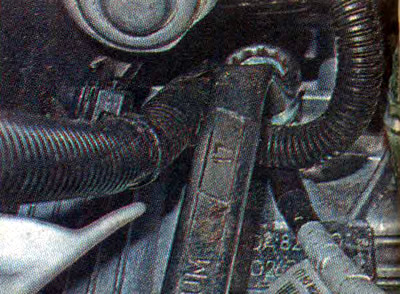
8. Similarly, disconnect the block of wires from the electric drive for gear shifting.
9. Similarly, disconnect the block of wires from the electric clutch release.
10. Remove the engine mudguard (see «Mudguard of the engine - removal and installation»).
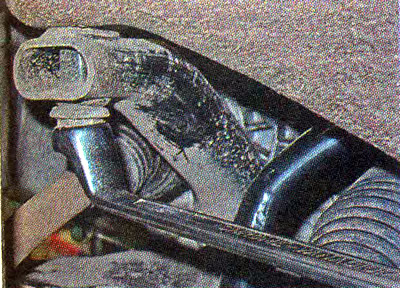
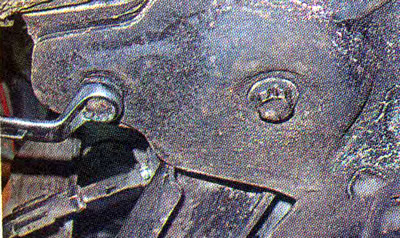
11. Using a 17 mm key, unscrew the wire fastening nut «weight».
...and disconnect the wire.
12. Remove the starter (see «Starter - removal and installation»).
13. We take the wiring harness to the side.
14. Loosen the nuts of the front wheel hubs (see «Front wheel drives - removal and installation»).
15. Hang the front of the car and remove the front wheels (see «Wheel replacement»).
16. Drain the oil from the gearbox (see «Automated Transmission - Oil Change»).
17. Remove the front fender liner on the left side of the car (see «Front fender liner - removal and installation»).
18. We hang the power unit on a special device and unload the left support.
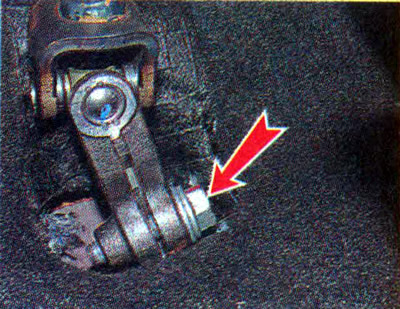
19. In the passenger compartment, unscrewing the coupling bolt, disconnect the steering column cardan from the steering shaft.
20. Remove the anti-roll bars of the front suspension (see «Anti-roll bar - replacement»).
21. Remove the rear support of the power unit (see «Replacing the rear support»).
22. Disconnect the fingers of the ball joints of the levers from the steering knuckles and remove the longitudinal beams of the front subframe (see «Front suspension arm - removal and installation»).
23. We substitute a height-adjustable stop under the subframe. Using an 18 mm socket or box wrench, we unscrew one bolt on each side of the front...
...and the rear mount of the front subframe.
24. Remove the front subframe along with the steering gear and stabilizer bar.
25. Remove the front wheel drives (see «Front wheel drives - removal and installation»).
26. To prevent dirt from getting into the gearbox, close the hole of the left drive with a clean rag.
27. We turn away bolts of fastening of a transmission to the block of cylinders.
Comment. We carry out further work with an assistant or install an adjustable stop under the gearbox.
28. Remove the left support of the power unit (see «Power unit mounts - replacement»).
29. Shaking the gearbox from side to side, remove it from the guide bushings and carefully remove the input shaft from the hole in the driven disk and the clutch basket. Carefully lower the gearbox to the floor.
Warning! When removing the gearbox, do not support its input shaft on the clutch diaphragm spring, otherwise the clutch may be damaged.
30. We install the gearbox in the reverse order, having previously applied grease to the splines of the input shaft of the box.
31. Tighten the fastening bolts and nuts with the prescribed torques (see table. 10.3.2.).
32. Fill the gear oil into the gearbox (see «Automated Transmission - Oil Change»).