



Execution sequence
1. We install the car, if possible, on a flat horizontal platform (see «Preparing the car for maintenance and repair»). If there are passengers in the car, they should be disembarked.
2. We take out the tool and spare wheel (see above, «Removing the spare wheel and tool kit»).
3. We fix the car with a parking brake and install wheel chocks on both sides under the wheel located diagonally from the one being replaced.
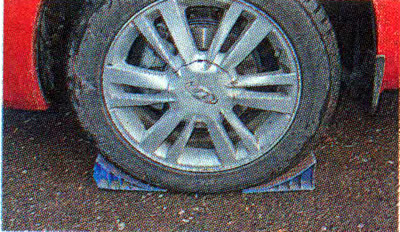
Comment. On a car with stamped steel disks, we remove the decorative wheel cap with a special puller.
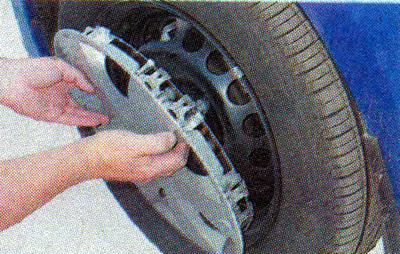
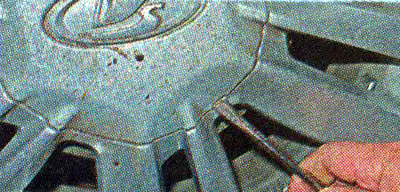
On a car with alloy wheels, to remove the cap, pry it off with a slotted screwdriver.
On vehicles with light-alloy wheels and with a stamped spare wheel, the set of standard tools must have four spare wheel mounting bolts.
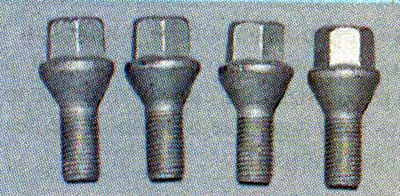
The bolts that attach the alloy wheels are longer and will not fit the stamped steel spare wheel as indicated by the sticker on the spare wheel.

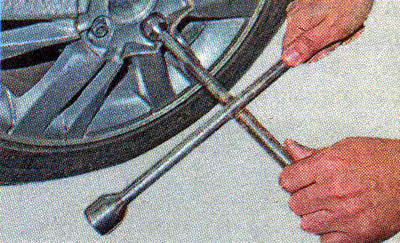
4. With a 17 mm balloon or socket wrench, we loosen the tightening of all wheel bolts by about half a turn.
Warning! If the vehicle is on loose ground, place a pad under the jack to increase the jack's support area (for example, a board). Install the jack only in places specially designed for this purpose (see «Preparing the car for maintenance and repair»), as incorrect installation may result not only in damage to the vehicle, but also in personal injury if the jack jumps out of its support.
5. We install a jack under the thresholds of the car. In this case, the lower support platform of the jack must be strictly under the upper stop. (see «Preparing the car for maintenance and repair»).
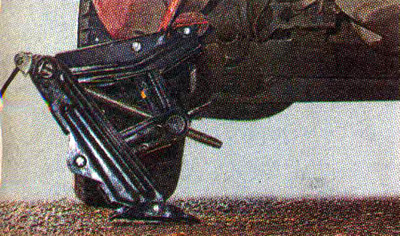
6. Slowly raise the car while checking that it does not move forward or backward. We lift until the replaced wheel of the car is at a distance of 2-3 cm from the supporting surface.
7. Finally unscrew the mounting bolts and remove the wheel.
8. We install the spare wheel on the hub and tighten the bolts of its fastening by hand.
9. Holding the wheel from rotation, we tighten the bolts of its fastening.
10. Slowly lower the car until the wheel touches the ground firmly. Next, fully lower the car on the wheels and fold the jack.
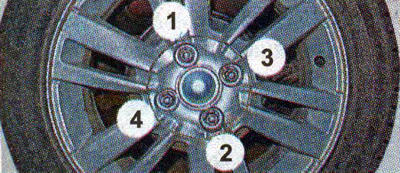
11. Finally tighten the wheel bolts in the sequence shown in the photo.
12. We remove the tool, clean the removed wheel and put it in place of the spare. We install a decorative cap.
13. Check the tire pressure and, if necessary, bring it to normal (see «Checking tire pressure»).
Warning! Depending on the equipment, some vehicles with light alloy wheels can be equipped with a spare wheel with a stamped steel rim. It is marked with the designation of the maximum allowable speed. When using a spare, be careful and do not exceed the speed limit!