
To perform the work, an inspection ditch or overpass is required.
Warning! To avoid injury, replace the struts only when the stabilizer is in an unstressed state (both front wheels are suspended or evenly loaded with the weight of the vehicle).
1. We prepare the car for work (see «Preparing the car for maintenance and repair»).
2. We install stops under the rear wheels, hang out the front of the car.
3. Remove the front wheels (see «Wheel replacement»).
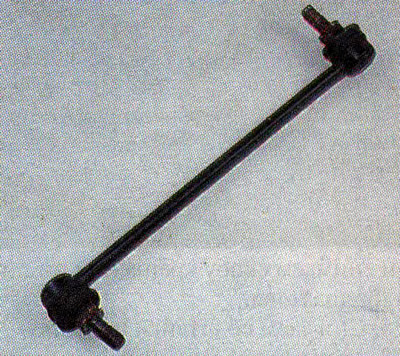
4. With a metal brush, we clean the nuts of the fingers of the stabilizer strut from dirt and rust...
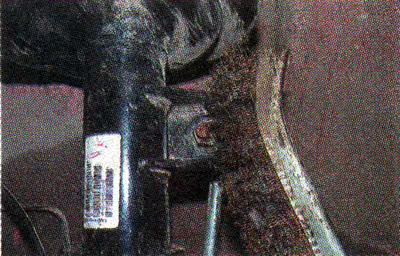
...and treat them with a penetrating lubricant.
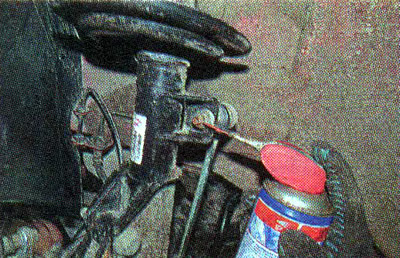
5. Using a 16 mm spanner wrench, unscrew the nut of the stabilizer strut upper mount, holding the ball joint pin from turning with a 5 mm hex wrench.
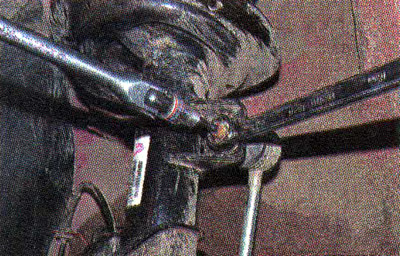
6. We take out a pin of a spherical hinge of a rack from an arm.
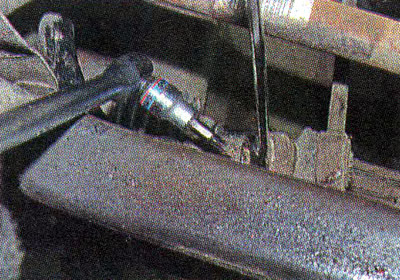
7. Similarly, we unscrew the nut of the lower fastening, disconnect the lower hinge of the strut from the rod and remove the stabilizer strut.
Comment. The stabilizer link is symmetrical and does not have oriented installation marks «top» And «bottom». The rack mounting nuts are self-locking and cannot be reused, so they must be replaced with new ones during assembly.
8. Install the stabilizer bar in reverse order. We tighten the fastening nuts with a torque of 44 Nm.
9. Similarly, we replace the second rack of the anti-roll bar.