
Comment. At the factory, the ball joint is mounted on the lever with rivets.
Therefore, in the event of a malfunction of the ball joint, the lever assembly is replaced. You can only change the ball joint with drilling rivets. It is more convenient to carry out the replacement work on the removed front suspension arm.
To perform the work, you will need a car stand, a jack, wheel chocks, a ball joint puller, a drill with a set of drill bits for metal (if the ball joint has not been changed yet).
Removing
1. We prepare the car for work (see «Preparing the car for maintenance and repair»), install the stops under the rear wheel and hang out the front of the car.
2. Remove the wheel (see «Wheel replacement»).
3. With a metal brush, we clean the nut and thread of the ball joint pin from dirt and rust...
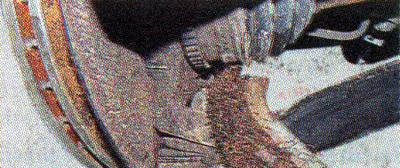
...and treat them with a penetrating lubricant.
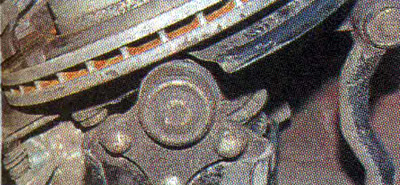
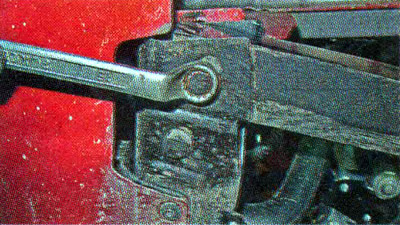
4. Using an 18 mm wrench, unscrew the nut securing the ball joint pin.
5. With a mounting blade, press the lever down until the ball joint pin comes out of the steering knuckle eye.
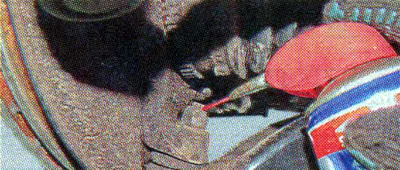
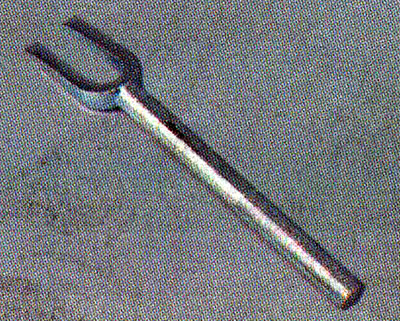
Recommendation. If the ball joint pin does not come out of the steering knuckle hole, a universal and cheap fork puller can be used to disconnect it.
Recommendation. To do this, we insert it between the steering knuckle and the ball joint cover, and with a sharp blow of the hammer on the end of the puller, we press the finger out of the steering knuckle. In this case, it must be borne in mind that the ball joint boot is likely to be damaged.
Comment. If the ball joint has already been replaced, then it is fixed to the front suspension arm with three bolts with self-locking nuts. We carry out work on its replacement without removing the lever from the car. To do this, unscrew the three nuts of the fastening bolts and disconnect the support from the lever.
6. To access the bolt of the front mounting of the front suspension arm, loosen the bolt of the front mounting of the longitudinal beam of the front subframe with a 16 mm spanner wrench.
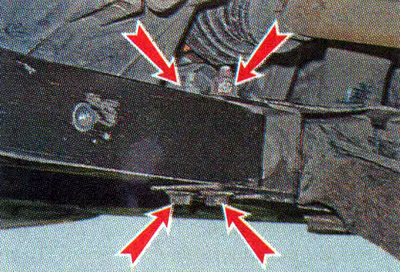
7. Using a 13 mm spanner wrench, unscrew the nuts of the two bolts of the rear fastening of the longitudinal beam, holding the bolts from rotation with a 10 mm wrench.
8. Remove the bolts from the holes, by blows of a hammer with a rubber striker, we shift the back of the longitudinal beam inward.
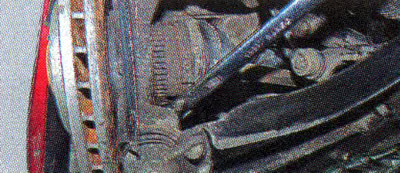
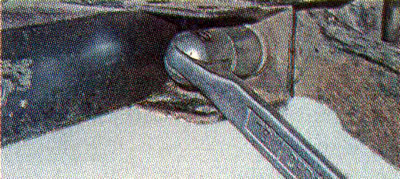
9. Using an 18 mm socket wrench, unscrew the bolt of the front mounting of the lever.
10. To remove the lever assembly with an 18 mm spanner wrench, unscrew the nut of the bolt securing the rear support of the suspension arm, holding the bolt from turning with a socket wrench of the same size.
11. We take out a bolt and we remove the lever from the car in gathering with a spherical support.
Ball joint replacement
1. We fix the lever in a vice and drill out the rivets securing the ball joint to the lever.
2. Remove the rivets and remove the ball joint.
3. We install a new ball joint and fix it on the lever with the help of three bolts included in the ball joint kit.
Warning! The ball joint bolts must be of increased strength, and the nuts must be self-locking; the use of conventional fasteners is not allowed.
Installation
1. We install the new lever in the reverse order without tightening the nuts of the bolts and fasteners to the end.
2. We insert the ball joint pin into the steering knuckle and tighten its fastening nut to a torque of 62 Nm.
3. We install the wheel and lower the car onto the supporting surface.
4. Tighten the lever mounting bolts to 180 Nm.
Recommendation. After performing work related to the disconnection of the ball joint, check the angles of the wheels at a specialized service station.