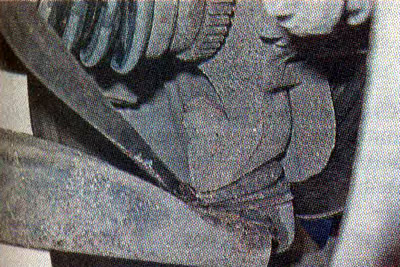
You can assess the technical condition of the suspension while the car is moving. When driving at low speed on uneven roads, the suspension should work without knocks, squeaks and other extraneous sounds. After driving over an obstacle, the vehicle must not continue to sway.
Recommendation. Suspension checks are best combined with wheel and tire checks (see «Rims, tires and hubs - checking the technical condition»). One-sided wear of the tire tread indicates a violation of the wheel alignment angles as a result of deformation of the suspension parts or improper adjustment.
To perform the work, an inspection ditch or overpass is required.
Comment. It is better to check the condition of the wheel bearings with an assistant.
Recommendation. It is necessary to check the performance of the shock absorbers immediately after a long trip, while the working fluid in the shock absorbers has not cooled down.
Execution sequence
1. We install the car on a viewing ditch or overpass (see «Preparing the car for maintenance and repair»).
2. Vigorously swing the front of the car body several times in a vertical direction. If after the cessation of rocking, the body continues to oscillate due to inertia (more than two), then one or both shock absorbers are faulty.
3. To identify a faulty shock absorber, we repeat the test, applying force first from one and then from the other side of the car.
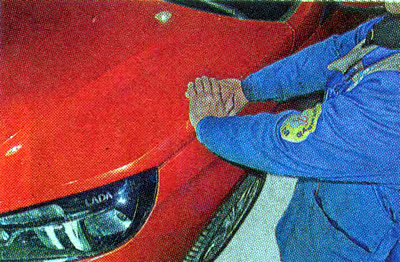
Comment. Such a check allows you to identify only faulty shock absorbers. It is possible to check the effectiveness of vibration damping by shock absorbers only on a special stand.
4. We swing the upper part of the front wheel in the transverse direction.
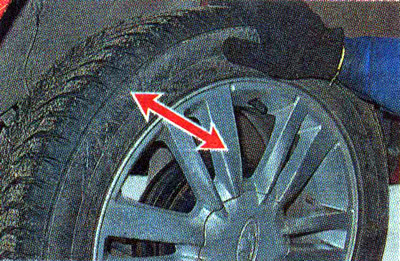
Comment. If play is felt, even subtle, clicks or knocks are heard, it is necessary to more carefully check the condition of the front suspension and hub (see below).
5. To check, hang the front wheels (see «Preparing the car for maintenance and repair»). We shake the front wheel in a vertical, and then in a horizontal plane.
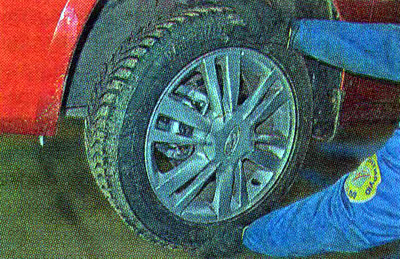
Comment. The backlash should not be felt. The cause of the backlash could be a worn wheel bearing. In this case, the play will disappear when re-checking with the brake pedal depressed (see «Checking the technical condition of discs, tires and hubs»). Otherwise, play is caused by suspension failure. If play is felt in a vertical plane, then the ball joint is probably worn out (see below). It is also necessary to check the fastening of the front suspension strut. If the play is found only in the horizontal plane, then it is most likely that the tie rod end is faulty (cm «Steering - steering check»).
6. Similarly, we check the play on the other side of the car.
7. We inspect the shock absorber suspension struts, attachment points (mechanical damage and fluid leakage from shock absorbers are unacceptable).
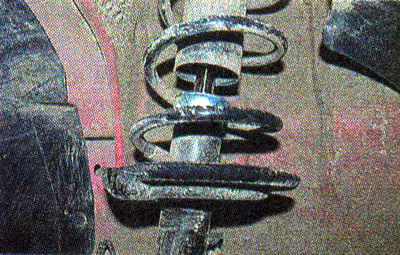
8. Applying force with a mounting blade to the anti-roll bar, we make sure that there is no play in the rack.
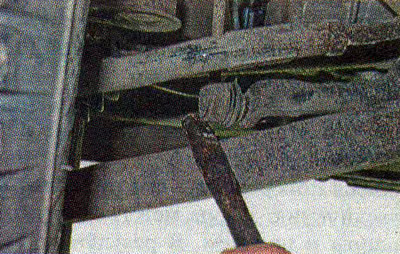
9. Similarly, we check the second stabilizer link.
10. If there is a backlash, we replace the racks (see «Anti-roll bar - replacement»).
11. Visually check the condition of the anti-roll bar cushions (bulging and cracking of rubber is not allowed). We replace defective pillows.
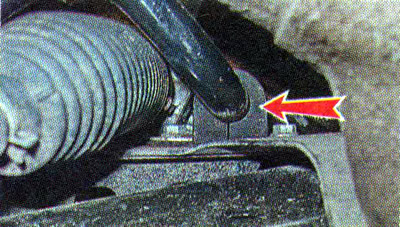
12. Shaking the front lug of the lower arm with a mounting blade, check the condition of the front silent block of the arm.
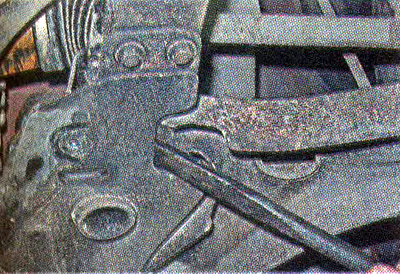
Similarly, we check the condition of the rear silent block. There should be no backlash, otherwise we replace the lever (see «Front suspension arm - replacement»).
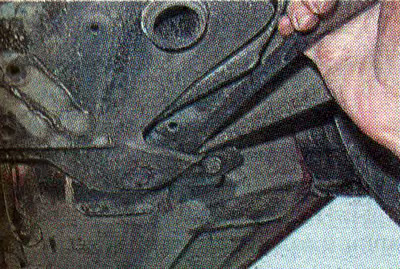
13. We inspect the protective cover of the ball joint. Using the mounting blade as a lever, we check the absence of play in the lower ball joint. If the cover is damaged or if there is play, replace the lever assembly (see «Front suspension arm - replacement»).