



Warning: Shock absorbers and springs should be replaced in pairs, even if only one is faulty.
To perform the work you will need wheel chocks, a stand for the car, a jack, and a special device for unscrewing the shock absorber rod nut (instead of the device, you can use a 6 mm wrench and an 18 mm Z-key).
Removal
1. Prepare the car for work (see "Preparing the car for maintenance and repair)".
2. Using a slotted screwdriver, remove the decorative cover.
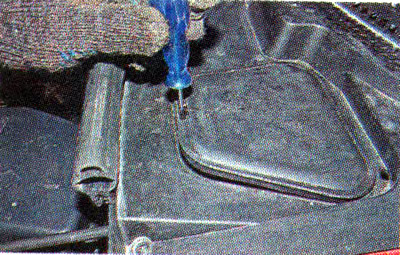
Recommendation. If you remove the strut for disassembly, loosen the shock absorber rod nut using a special tool...
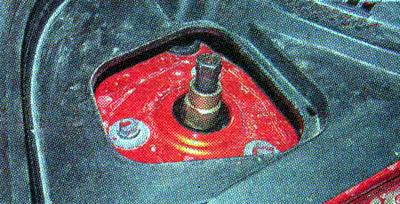
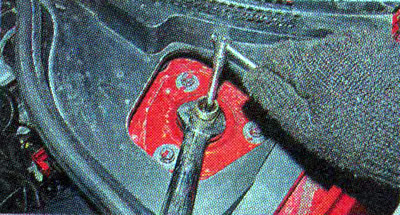
...or an 18mm Z-key, holding the rod from turning with a 6mm Allen key.
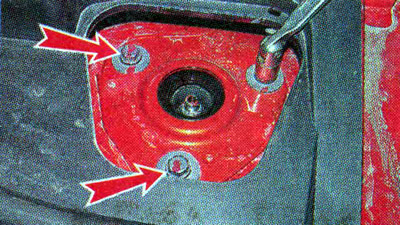
3. Using a 13 mm wrench, unscrew the three bolts securing the rack to the body.
4. Place chocks under the rear wheels and lift the front of the car.
5. Remove the front wheel (see "Wheel replacement").
6. Disconnect the anti-roll bar strut from the shock absorber bracket (see "Anti-roll bar strut - replacement").
7. Disconnect the wheel speed sensor wire and brake hose from the bracket on the rack.
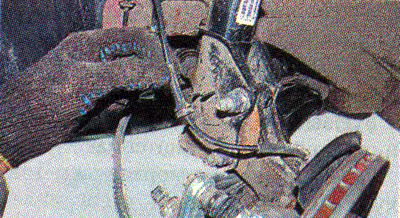
8. Clean the dirt from the nuts of the bolts that secure the steering knuckle to the front suspension strut...
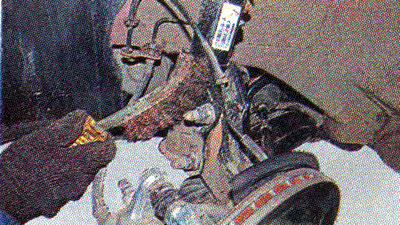
...and treat them with penetrating lubricant.
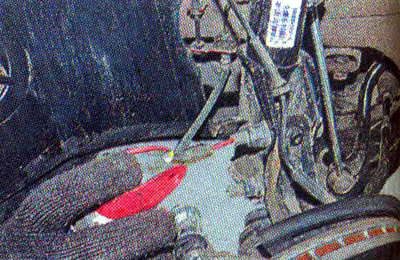
9. Using a 21 mm wrench, unscrew the two nuts, holding the bolts from turning with a wrench of the same size.
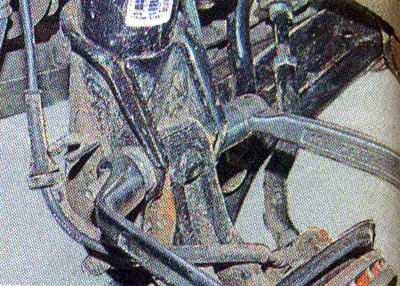
10. Remove the bolts and disconnect the steering knuckle from the strut.
11. Remove the strut from the wheel arch and clamp it in a vice, placing wooden blocks underneath.
Disassembly and assembly
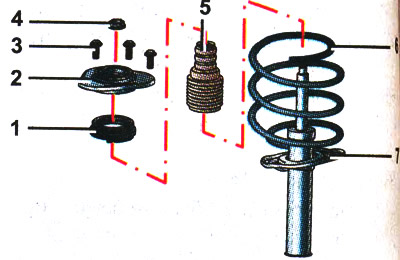
Front suspension strut: 1 - upper spring support cup with bearing; 2 - rack support; 3 - bolts securing the front suspension strut to the body; 4 - shock absorber rod nut; 5 - compression stroke buffer assembly with protective cover of shock absorber rod; 6 - strut spring; 7 - shock absorber
Warning! Be careful! The compressed spring has a lot of energy and when the tie breaks, it can straighten out and cause injury. Do not loosen the shock absorber rod nut until the spring is securely locked in place.
1. Install special spring clamps and tighten the spring evenly on both sides until the load is removed from the upper spring cup.
2. Remove the protective cover of the shock absorber rod nut.
3. Using a 18 mm Z-key, unscrew nut 4 of the shock absorber rod, holding the rod from turning with a 6 mm Allen key.
4. Remove the upper support of the strut 2 and the upper support cup of the spring 1 together with the thrust bearing.
5. Carefully remove spring 6 from shock absorber rod 7 (without removing the tie from it).
6. Remove the compression stroke buffer 5 from the rod, complete with protective cover.
7. By fully extending and retracting the rod, we make sure that the shock absorber is in good working order. If you feel dips, jerks, or hear extraneous sounds when moving the rod, replace both shock absorbers.
8. We check the integrity and serviceability of all elements of the front suspension strut, paying special attention to the condition of the bearing of the upper support cup of the spring. We replace damaged or badly worn parts.
9. When assembling, we rest the edges of the spring coils against the special protrusions of the lower and upper cups.
10. Assemble the front suspension strut in reverse order. We install a new self-locking rod nut and tighten it to a torque of 62 Nm.
Installation
1. Install the stand on the car. Tighten the upper strut mounting bolts to a torque of 44 Nm, the steering knuckle mounting bolt nuts to 105 Nm, and the anti-roll bar mounting nut to 44 Nm.
2. We repair the second front suspension strut in a similar manner.