
1. Loosen the front wheel bolts on the respective side.
2. Raise and place the front of the vehicle on stands. Turn out bolts of fastening of a wheel and remove it.
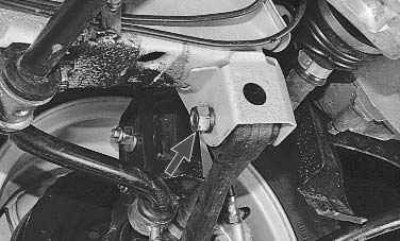
3. Clean the front brace nut from dirt.
4. Turn away a nut of fastening of an extension to its forward hinge and remove a forward washer of the hinge of an extension.
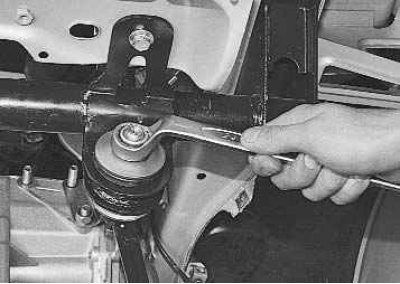
5. Turn away a nut of fastening of a rack of the stabilizer to the lever, keeping a bolt from turning, and take out a bolt.
6. Unscrew the nut securing the extension to the lever, holding the extension with a key so that it does not rotate in the rubber-metal hinges..
7.... and remove the special washer.
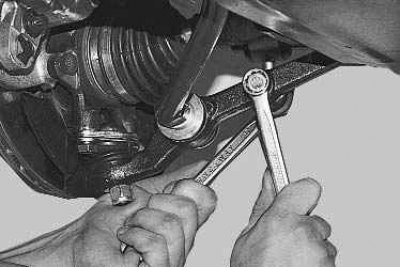
8. Turn away a nut of fastening of the lever, keeping a bolt from turning; remove the spring washer and remove the bolt.
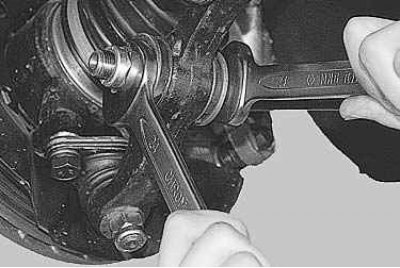
9. Remove the end of the lever from the bracket on the body and, turning the lever on the ball joint, remove the extension from the front hinge of the extension..
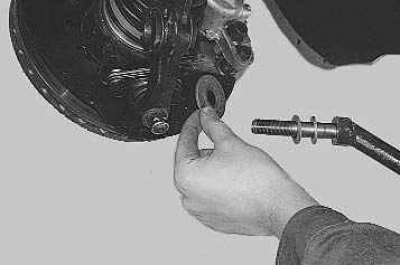
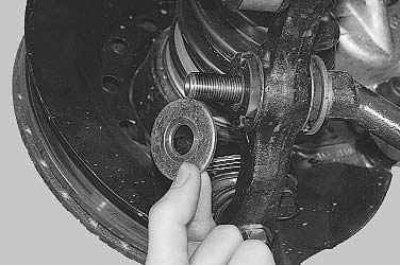
10.... and then from the front suspension arm, removing the remaining shims from the extension.
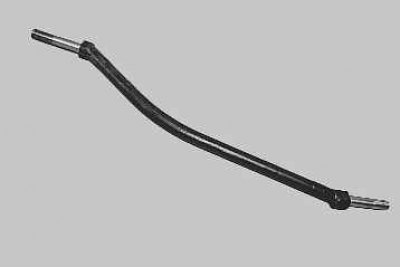
11. Carefully inspect the stretch. If it is bent or there is damage to the rubber-metal hinges or aging, swelling, loss of elasticity of the rubber of the brace bracket, replace the damaged parts.
12. Install the new brace in the reverse order of removal. Adjusting washers are installed in the same quantity and on the same ends of the extension. The chamfers on their inner diameters should be directed towards the stop collar of the brace.
13. Having lowered the car to the ground, rock it strongly several times and tighten the nuts securing the extension to the lever and to the bracket to a torque of 160–180 N·m (16.0–18.0 kgf·m), nuts for fastening the bracket to the body with a torque of 43–53 Nm (4.3–5.3 kgf·m). After a run of 100 km, re-tighten these threaded connections to the specified torques.