



1. Remove the telescopic strut from the vehicle (see "Removing and installing a telescopic stand").
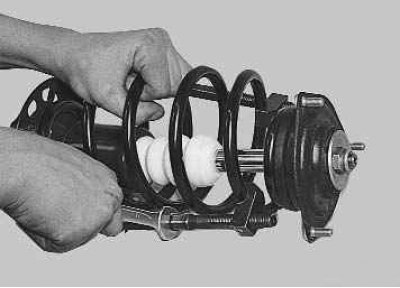
2. Clamp the telescopic stand in a vice, compress the spring with special clamps..
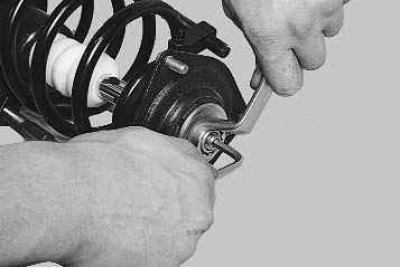
3. …and unscrew the shock absorber rod nut with a 22 mm open-end wrench, holding the shock absorber rod from turning with a 6 mm Allen key.
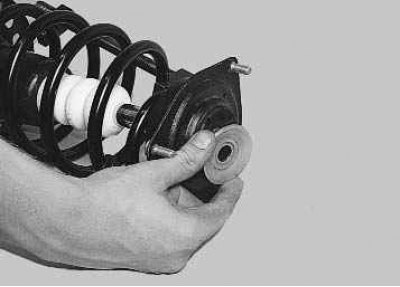
4. Remove the upper strut support travel limiting washer.
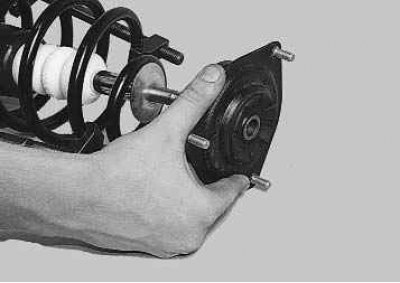
5. Remove the upper strut support assembly with the bearing…
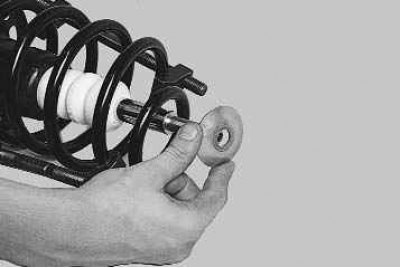
6. …and the upper strut support compression stroke limiter…
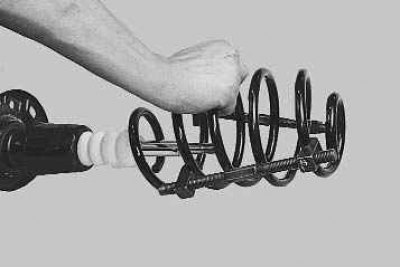
7. …then remove the spring from the shock absorber strut.
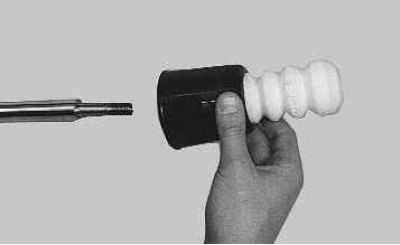
8. Remove the compression buffer and protective cover from the shock absorber rod.
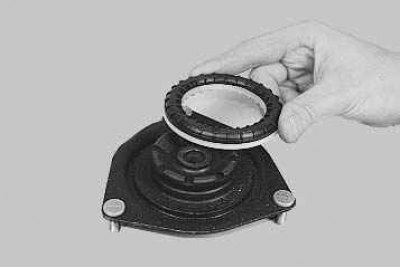
9. Remove the bearing from the upper support of the strut…
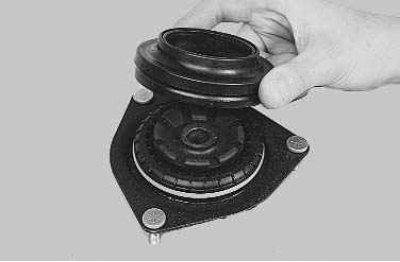
10. …the upper cup and the spring insulating gasket…
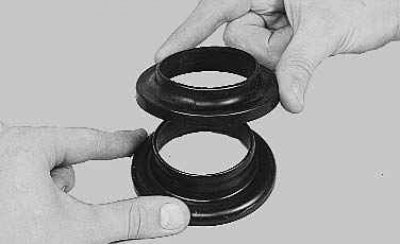
11. …and then separate them.
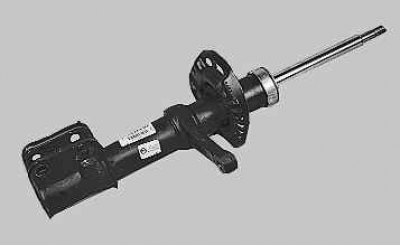
Note: Lada Priora vehicles use a shock absorber strut of a non-separable design. The failed rack must be replaced.
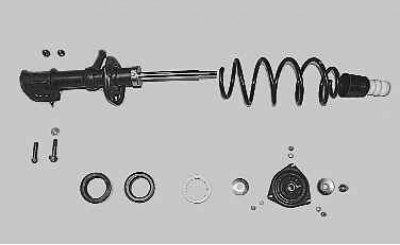
12. Inspect the telescopic stand parts.
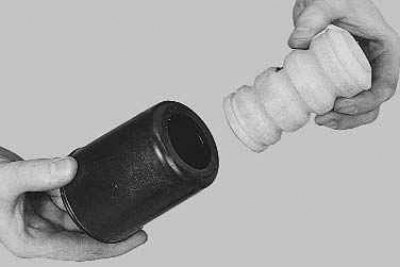
13. Replace the damaged compression buffer and protective cover.
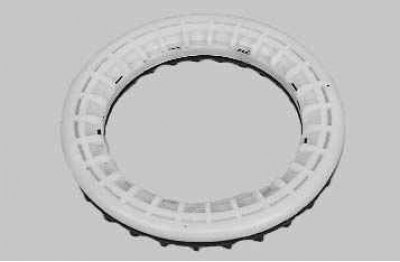
14. Replace the bearing if it moves axially in the support housing or sticks when turning..
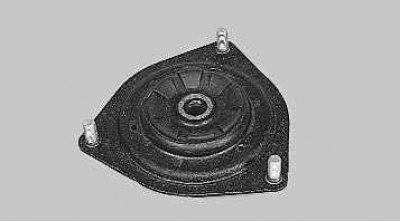
15. …if signs of rubber aging are detected, replace the upper support.
Note: Purchase parts marked…
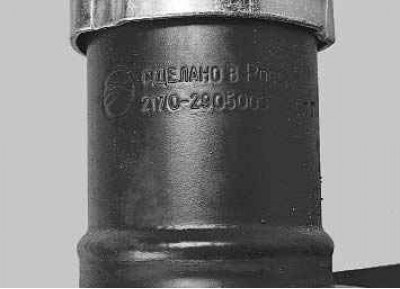
...on a telescopic stand..
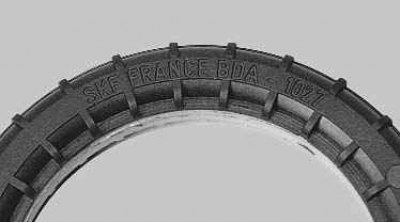
…on a support bearing…
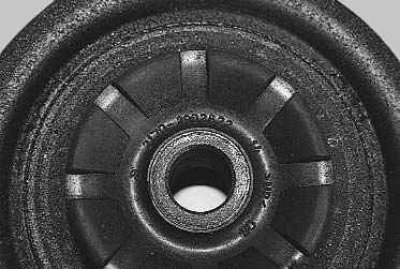
…and on the upper support.
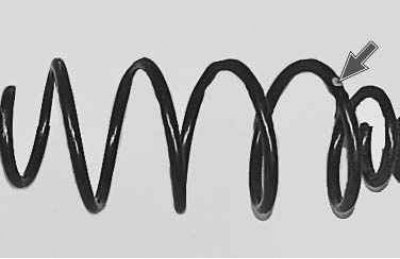
16. Replace the spring if cracks are found or its coils are deformed. To compress the spring, press it three times until the coils touch. Then apply a load of 3356 N (342 kgf) to the spring. Compress the spring along the spring axis; the support surfaces must match the surfaces of the support cups on the telescopic stand. If the length of the spring with brown marking (class A) is less than 230 mm, replace it with a spring with blue marking (class B).
Note: Install springs of the same group on the left and right sides of the vehicle. Replace springs in pairs.
17. Assemble the telescopic stand in the reverse order of disassembly. At the same time, place the protective cover on the annular groove of the compression stroke buffer. Install the spring so that its ends rest against the protrusions of the lower and upper cups.
18. Final tighten the upper strut rod nut with the vehicle on the ground.