
Removing
Warning! Racks should be replaced in pairs, even if only one is defective.
1. We prepare the car for work (see «Preparing the car for maintenance and repair»).
2. Remove the front wheel (see «Wheel - replacement»).
3. Disconnect the tie rod end from the pivot arm of the rack (see «Tie Rod End - Replacement»).
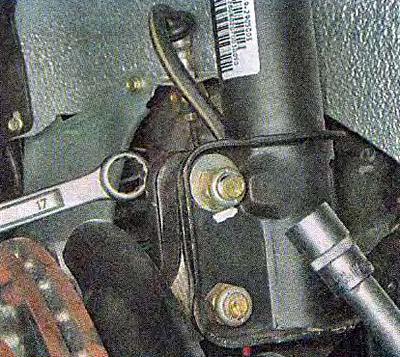
Comment. If removing the strut for disassembly, loosen the damper stem nut with a special tool or a 22mm box wrench while holding the stem with a 9mm open-end wrench.
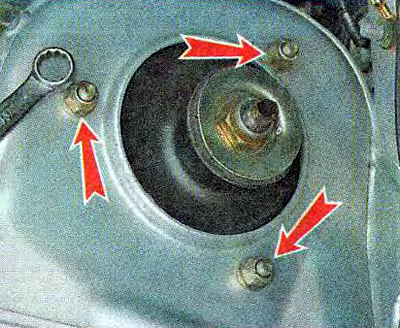
4. With a 13 mm spanner, we loosen the tightening of the three nuts securing the upper support of the rack to the car body.
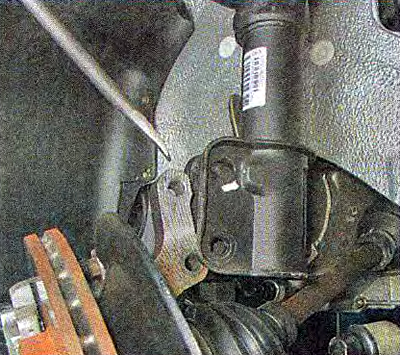
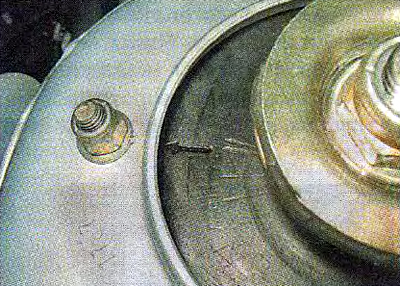
5. To minimize the violation of the camber angle of the front wheels, with a center punch or paint, we put marks on the bolt of the upper mount of the steering knuckle and on the rack bracket.
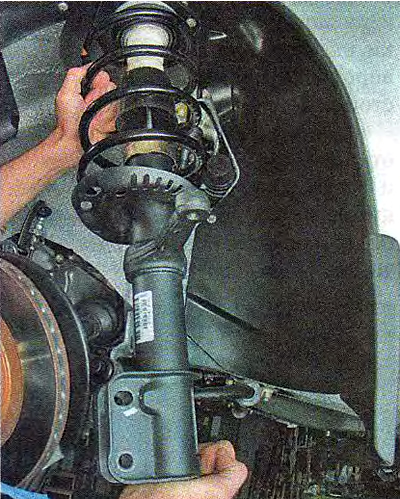
6. Using a 17 mm socket wrench, unscrew the nuts of the bolts of the upper and lower fastenings of the steering knuckle to the rack, holding the bolts from turning with a 17 mm spanner wrench.
7. Remove the washers from the bolts (top bolt eccentric washer) and remove the bolts.
8. Using a screwdriver or a mounting spatula, we remove the steering knuckle from engagement with the rack bracket.
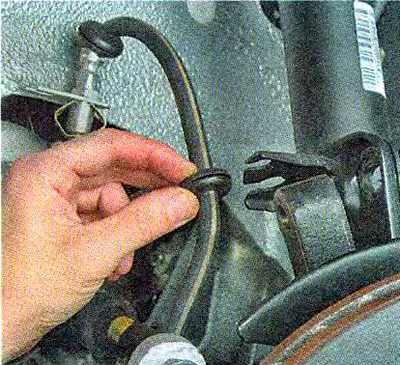
9. Remove the brake hose from the rack bracket.
10. Unscrew the nuts securing the upper support of the rack and remove the rack assembly.
Installation
We install the rack in the reverse order, while the label (arrow) on the top support must face the front of the vehicle.
We tighten the nuts for fastening the upper support to the body with a torque of 19.6-24.2 N·m (2.0-2.4 kgf·m). Before tightening the nuts of the bolts of the steering knuckle to the rack, we combine the marks made on the eccentric bolt and the bracket. We tighten the nuts of the bolts with a torque of 77.5-96.1 Nm (7.9-9.8 kgf·m).