

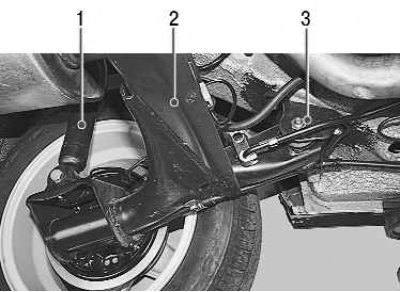
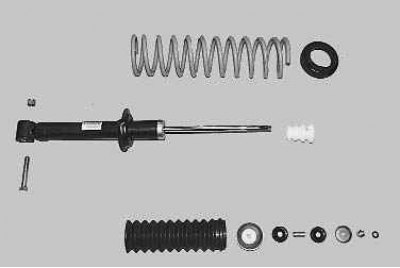
This is how the rear suspension elements are located on the car (left side shown, right side similar): 1 – rear suspension shock absorber; 2 – rear suspension beam; 3 - rubber-metal hinge.
You will need: keys «for 6», «at 19», box key «at 17», head «at 19».
1. Raise the trunk lid..
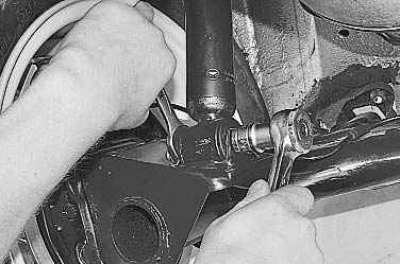
2.... and unscrew the shock absorber upper mounting nut with a wrench «at 22», while holding the shock absorber rod with an open end wrench «for 6».
3. Raise the rear of the car, unscrew the shock absorber lower mounting nut and remove the bolt.

4. Remove the lower end of the shock absorber from the bracket and remove the shock absorber with the spring.
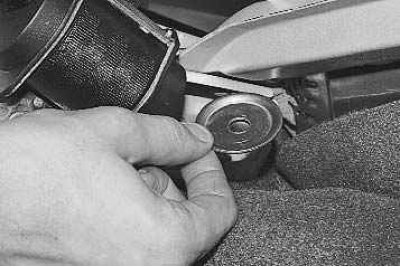
5. Remove the support washer from inside the trunk.
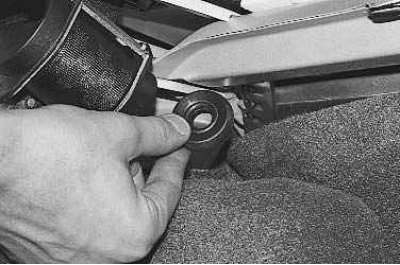
6. Remove the top pad from the hole in the support.
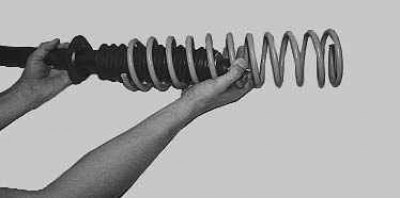
7. Remove the spring from the shock absorber.
8. Remove the bushing and lower cushion from the shock absorber rod..
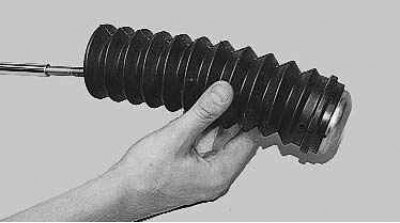
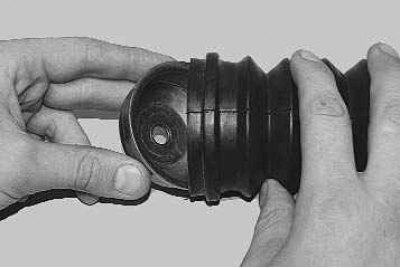
9.... casing..
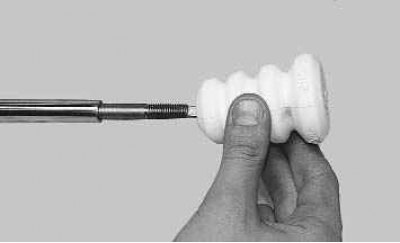
10....and a compression stroke buffer.
11. Inspect the parts of the rear suspension shock absorber and replace if necessary..
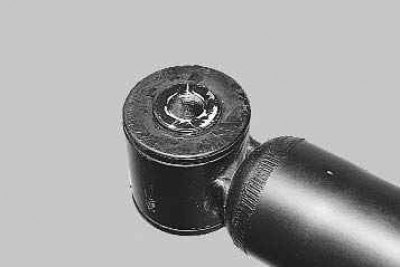
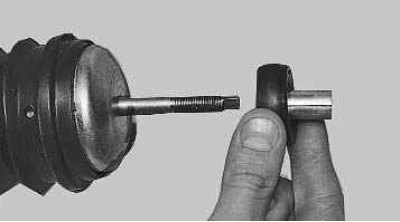
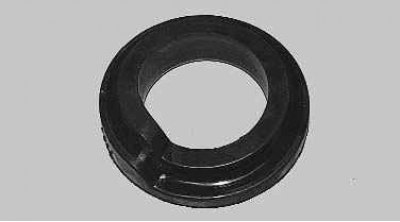
12.... a defective rubber-metal bushing of the lower shock absorber mount..
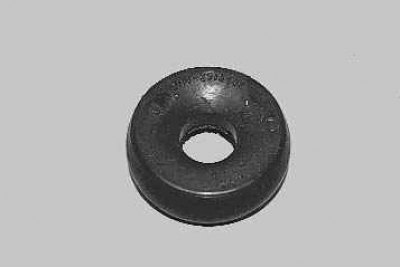
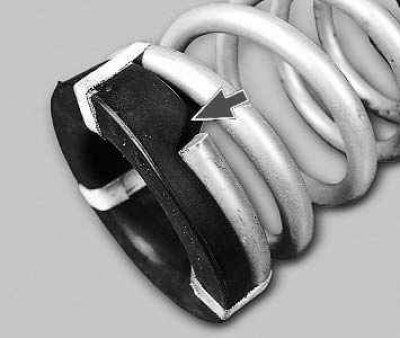
13.... torn or loose pillows..
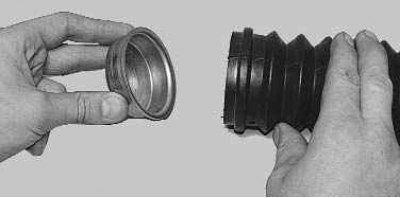
14.... torn casing. When replacing the casing, remove the cover from it..
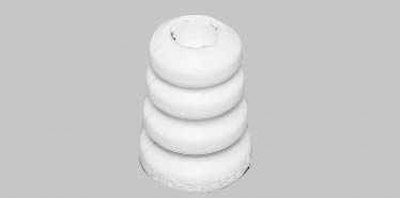
15....destroyed or damaged compression stroke buffer..
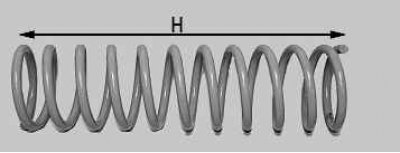
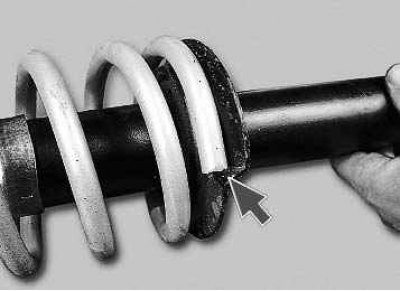
16.... torn or loose spring insulating gasket..
17.... a spring if cracks or deformation of the coils are found on it. Check the draft of the spring, for which squeeze it three times until the coils touch. Then apply a load of 3187 N to the spring (325 kgf). The length of the spring H under the specified load must be at least 233 mm (223 mm - for cars supplied for export). If the length of the spring with white (yellow - for cars supplied for export) marking (class A) less than 240 mm (230 mm - for cars supplied for export), replace it with a black marked spring (green - for cars supplied for export) (class B). Compress the spring along the axis of the spring, and the supporting surfaces must correspond to the surfaces of the supporting cups of the shock absorbers and the body. It is recommended to replace both rear suspension springs, and the springs must be of the same group.
18. Assemble the rack in the reverse order of disassembly. When installing the cover on the casing, tuck its edge onto the cover flange.
19. Install the insulating gasket on the spring first so that the end of the spring rests on the protrusion of the gasket. At the same time, attach the gasket to the spring with electrical tape so that it does not come off when installing the spring.
20. Install the spring on the shock absorber so that its end rests on the protrusion of the lower cup.
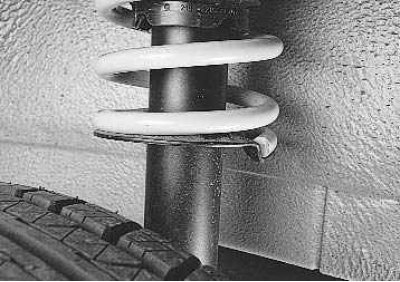
21. Establish the shock-absorber in an order, the return to removal. In this case, the lower end of the spring should be facing the wheel on both the left and right shock absorbers.
22. Nuts of the top and bottom fastenings of the shock-absorber finally tighten on the car standing on the earth. After lowering the car to the ground, rock it hard several times. Tighten the nut of the lower mounting of the shock absorber to the beam with a torque of 68–84 Nm (6.8–8.4 kgf·m), a nut of the upper fastening of the shock absorber with a moment of 51–63 Nm (5.1–6.3 kgf·m). After 100 km of run, tighten these threaded connections again to the required torque.