
- viewing ditch or overpass;
- fuel transfer hose.
Comment. You can do without an assistant. This requires a height-adjustable stop or stand. If possible, use the fuel tank as much as possible before performing the work.
Removing
1. We prepare the car for work (see «Preparing the car for maintenance and repair»).
2. Relieve fuel pressure (see «Fuel Line - Pressure Relief»).
Warning! After depressurizing, a small amount of fuel remains in the fuel line.
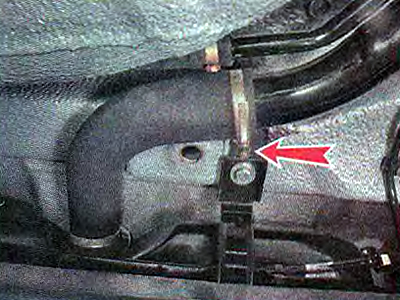
3. Using a Phillips screwdriver, loosen the clamp that secures the fuel tank hose to the filler pipe and disconnect the hose from the pipe.
4. Through the hose we pump out the maximum possible amount of fuel from the tank.
5. Pressing the spring clip, disconnect the tip of the tank ventilation hose from the pipe.
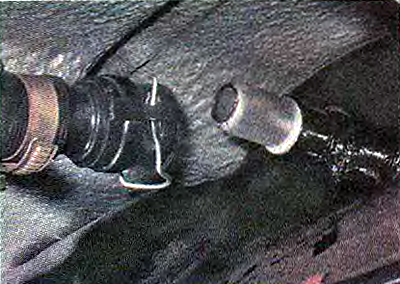
6. Squeezing the spring clips, disconnect the tip of the separator tube from the adsorber tube.
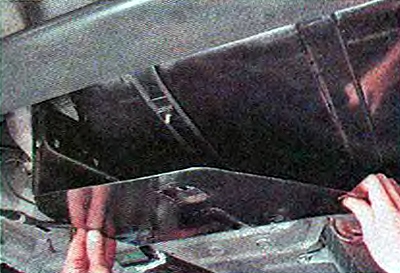
7. Using a 10 mm socket wrench, unscrew the three nuts securing the fuel tank protective screen.
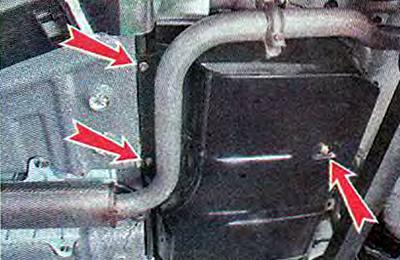
8. Remove the protective screen.
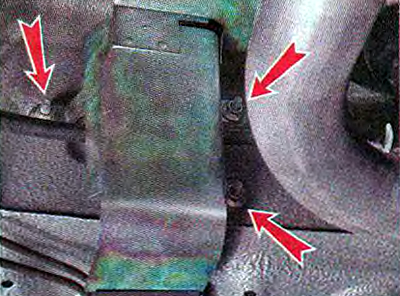
9. Using a 10 mm socket wrench, unscrew the three nuts securing the protective cover of the fuel system tubes.
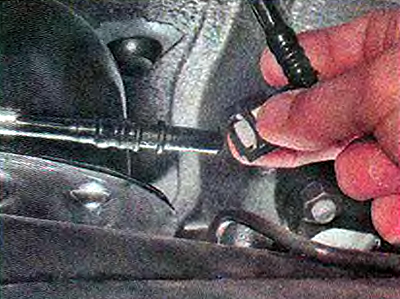
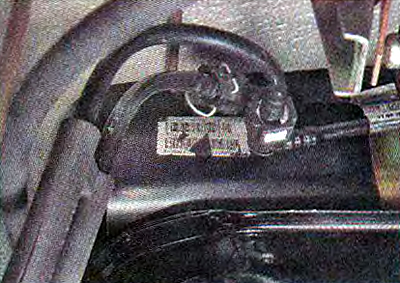
10. Squeezing the latch, disconnect the fuel line tubes and the adsorber purge tube.
11. Install an adjustable stop under the tank (or an assistant holds the tank from below).
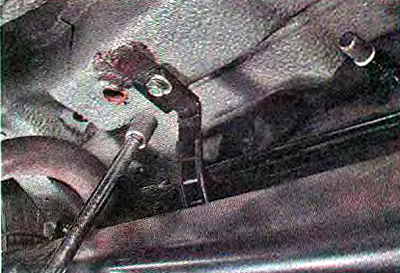
12. Using a 13 mm socket wrench, unscrew the two bolts of the fuel tank fastening clamps.
13. Remove the fuel tank assembly with the adsorber and fuel filter.
Installation
Install the fuel tank in reverse order.
Recommendation. If it was not possible to start the engine after two or three attempts, try to remove air from the fuel rail through the valve of the diagnostic fitting (see «Checking the technical condition of the power system»).