
To perform the work, an inspection ditch or overpass is required.
Removing
1. We prepare the car for work (see «Preparing the car for maintenance and repair»).
2. Remove the protective screen of the fuel tank (see «Fuel tank - removal and installation») and disconnect the adsorber purge tube.
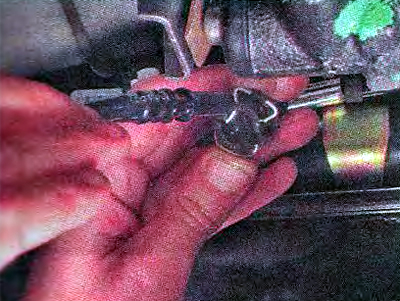
3. Disconnect the tip of the separator tube 1 from the adsorber tube (see «Fuel tank - removal and installation») and disconnect the adsorber tube from the spring clips 2.
4. Using a 10 mm socket wrench with a ratchet, unscrew the nut of the clamp that secures the adsorber to the fuel tank.
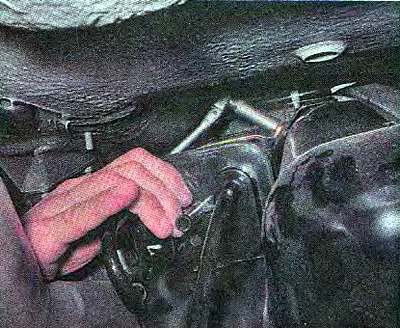
5. Remove the adsorber.
6. Remove the rear right wheel (see «Wheel - replacement»). We process the nuts of the separator and its tubes with a penetrating lubricant.
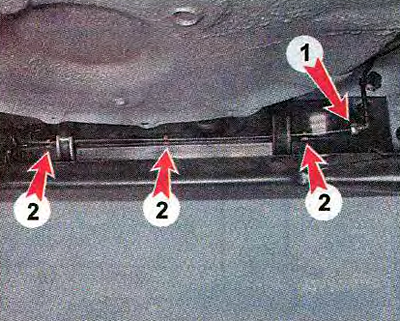
7. Using a 10 mm socket wrench, unscrew the two nuts securing the separator tube to the body arch. Remove the tube holders from the studs.
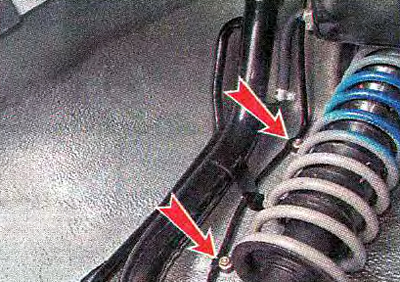
8. Similarly, disconnect the separator tube from the rear side member of the body.
9. Loosen clamp 1 with a Phillips screwdriver and remove the attachment hose from the separator pipe. Using a 10 mm socket wrench, unscrew the three nuts securing the separator to the body.
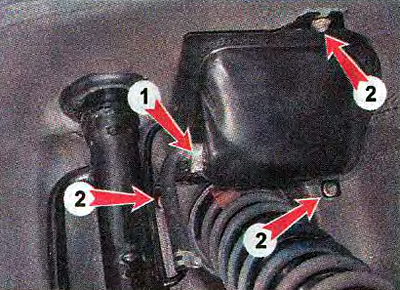
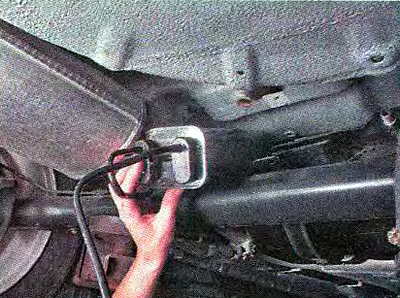
10. Remove the separator from the car. If necessary, prying with a screwdriver, disconnect the gravity valve from it.
Installation
Install the adsorber and separator in reverse order.