



- sharp knife;
- glue gun;
- glass Sealant Cutting String;
- a heated room in which the car can be left without moving while the glue dries;
- glass gluing repair kit and glue application tool. The set consists of a tube with adhesive sealant, an activator for degreasing the surface, primer, a cloth for degreasing and a brush for applying the primer.
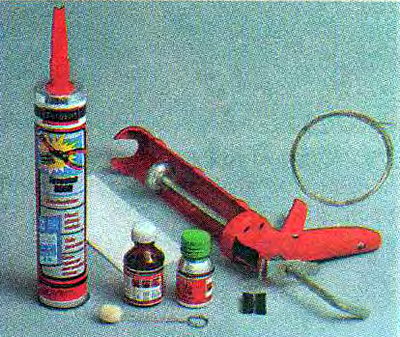
Note: Since materials from different manufacturers may differ, please read the instructions included with the repair kit before performing the work.
Kits (from different manufacturers) can be supplemented with spacers under the glass and a string for cutting the adhesive seam. The string breaks very often. It can be purchased separately, but is usually included with handles.
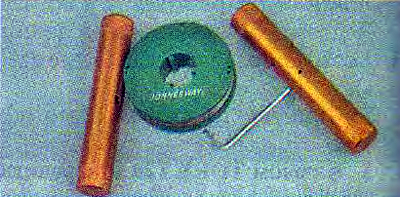
In extreme cases, you can use a fishing line or welding wire with a diameter of 0.8 mm from a semiautomatic device such as "Kempi".
Sequence of execution
1. Prepare the car for work (see "Preparing the car for maintenance and repair").
2. Remove the windshield wiper arms (see "Windscreen wipers - removal and installation").
3. Remove the air intake grilles (see "Air intake grille - removal").
4. Remove the interior rearview mirror (see "Interior rear view mirror - removal and installation").
5. Remove the front pillar trims and the front instrument panel trim (see "Instrument panel - removal and installation").
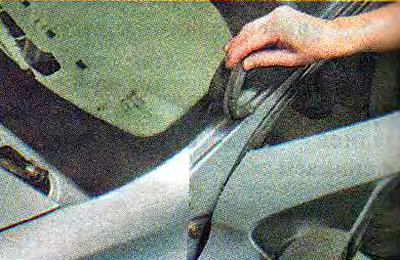
6. Open the front doors and remove the upper door seal on each side of the car to a level just above the windshield.
7. Remove the seal from the upper edge of the windshield.
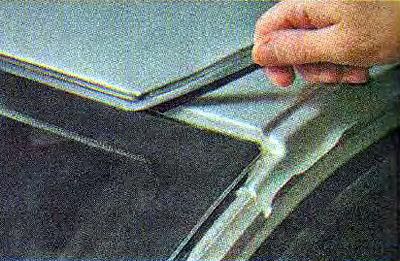
8. Using a screwdriver, remove the two adjusting wedges.
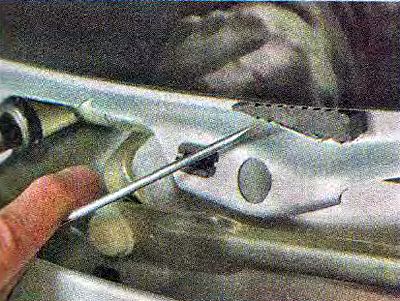
9. Using nippers, cut off a piece of string about a meter long. We pierce the glue-sealant with a string and insert the end of the string into the interior.
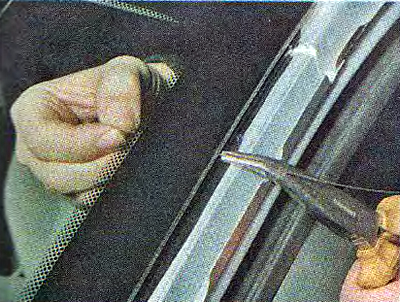
10. Put the handles on the ends of the string.
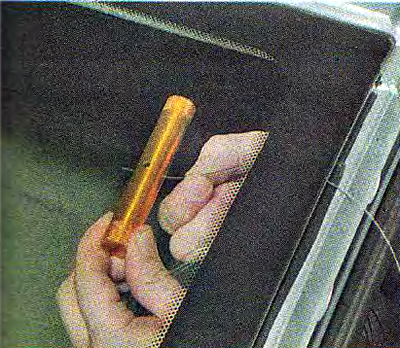
Note: If you don't have special handles, you can tie the string to screwdriver handles or wooden blocks.
11. Together with the assistant string (like a two-handed saw) we cut the glue seam along the entire perimeter of the glass.
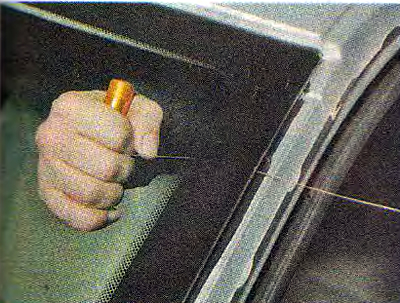
12. Remove the glass from the car and remove the rear view mirror bracket from it.
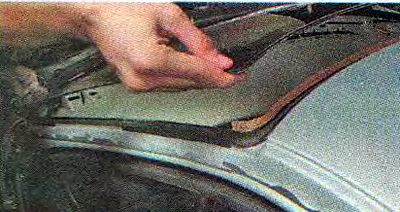
13. Using a sharp knife, carefully cut off the remaining adhesive seam from the body (permissible residual seam thickness no more than 2 mm).
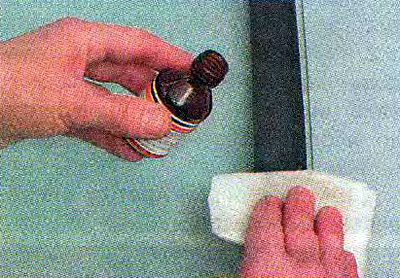
14. Having placed the new glass on a flat surface, degrease the painted edges of the glass with an activator (from the repair kit).
15. Using a swab, apply primer around the perimeter of the glass.
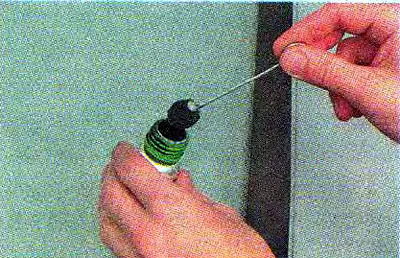
16. Repeat similar operations on the window opening of the body.
17. Place two spacers in the lower part of the windshield frame.
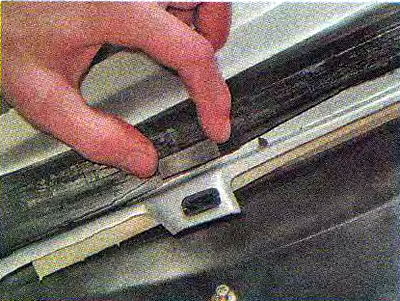
Note: If the spacers have been replaced with new ones, make sure they are the same thickness as the old spacers. If necessary, cut off the excess with a knife.
18. Place the seal on the upper edge of the glass.
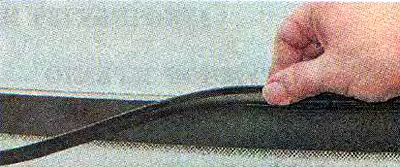
19. Apply adhesive sealant evenly around the perimeter of the glass, leaving 8-10 mm from the edge. Apply the adhesive sealant with a roller 10-12 mm high.
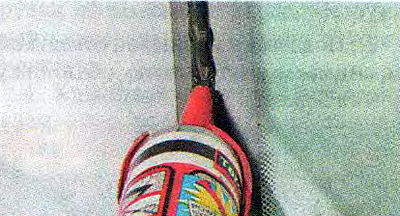
Note: It is permissible to apply KPEI sealant to the flange of the body window opening.
20. Place it on the windshield frame so that the distance from the right and left edges to the flange on the frame pillars is uniform.
21. Install the wedges and press the glass with them so that the upper glass seal is pressed against the edge of the car body roof.
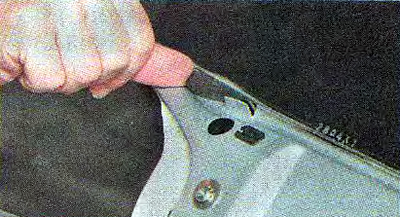
22. Press the glass to the windshield frame.
23. Open the front door windows and leave the car without moving until the adhesive sealant dries (see instructions).
Warning! Avoid any activities that could cause the windshield to shift for 7-8 hours. It is advisable to increase the time before starting to operate the vehicle to a day. The optimum strength of the adhesive layer occurs after 4-6 days (depending on weather conditions).
24. Install the parts removed during the preparatory operations. Glue the bracket to the new glass and install the rear-view mirror on it (see "Interior rear view mirror - removal and installation").