



To remove, troubleshoot and install the flywheel on a car, you will need: the tools needed to remove the gearbox and clutch, as well as a socket head «at 17», large screwdriver.
1. Remove the gearbox (see «Removal and installation of a transmission») and grip (see «Removal and installation of clutch»).
2. Mark in any way the relative position of the flywheel and crankshaft.
Note. The flywheel should be installed on the crankshaft in only one possible position, since the holes for its fastening are located asymmetrically, however, to facilitate the installation of the flywheel, we recommend marking the relative position of the parts.
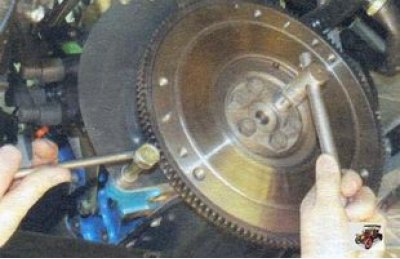
3. Turn out six bolts of fastening of a flywheel. At the same time, use a screwdriver to keep the flywheel from turning by first screwing in one of the gearbox mounting bolts.
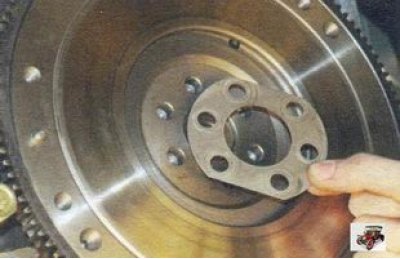
4. Having unscrewed bolts and holding a flywheel, remove a lock plate of bolts.
5. Remove the flywheel from the crankshaft flange.
6. Check the condition of the flywheel rim teeth and replace the flywheel if damaged.
7. Replace or repair the flywheel if there are scratches and burrs on the mating surfaces of the clutch disc or crankshaft flange.
8. Install the flywheel on the car in the reverse order of removal, aligning the holes on the flywheel and the crankshaft flange (they are arranged asymmetrically).