
- multimeter (in voltmeter and ohmmeter mode);
- the wire (1.5-2 m);
- insulating tape.
Examination
1. We prepare the car for work (see «Preparing the car for maintenance and repair»).
2. Remove the engine trim (see «Decorative overlay of the engine - removal and installation»).
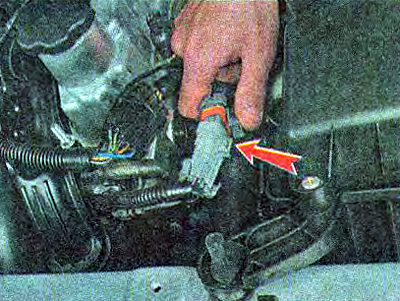
3. Disconnect the injector wiring harness pads.
4. Turning on the ignition, use a voltmeter to measure the voltage at the supply terminal E of block 1 of the wiring harness, which must be at least 12 V (conclusions are indicated by letters on the block, «negative» The instrument probe must be connected to «mass» engine).
Turn off the ignition after the voltage measurement is completed.
Comment. If the voltage is not supplied to the block or it is less than 12 V, then the battery is discharged, the power circuit is faulty, or the computer is faulty.
5. We check the electrical resistance of the injectors, for which we measure the resistance between terminal E and the remaining four terminals of the block with an ohmmeter.. In serviceable injectors, the resistance should be - 13 ohms.
6. With the help of two wires directly from the battery, we apply a voltage of 12 V to the terminals of block 2 - we connect the terminal E to the positive terminal of the battery, and the terminals B, C, G and F are in series with the negative terminal of the battery. With a working nozzle, a characteristic click should be heard when the valve is opened.
7. We replace defective nozzles.
Removing
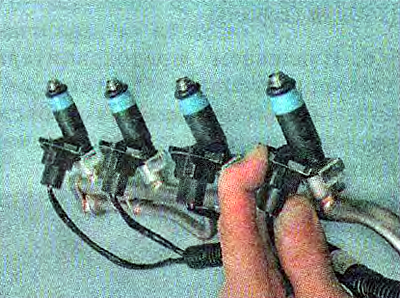
1. Remove the fuel rail (see «Fuel rail - removal and installation»).
2. Disconnect the wiring harness pads from the injectors (The photo is from the side of the radiator).
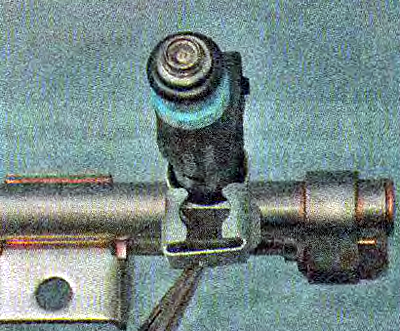
3. Remove the nozzle retainer from the fuel rail.
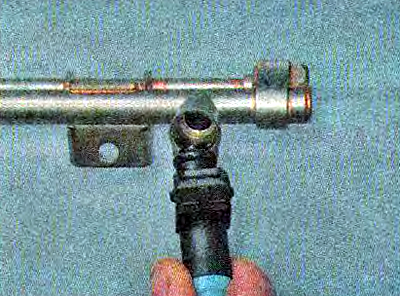
4. We take out the nozzle from the ramp.
5. Similarly, remove the three remaining nozzles.
Installation
Install the injectors in reverse order.