



- difficult engine starting;
- unstable engine operation;
- engine stalls at idle;
- reduced idle speed of the crankshaft;
- engine does not develop full power, insufficient engine response;
- engine failures while driving;
- increased fuel consumption;
- increased content of CH in exhaust gases.
You will need: a 5 mm Allen key, a flat-blade screwdriver, a 17 mm key (two), and an autotester.
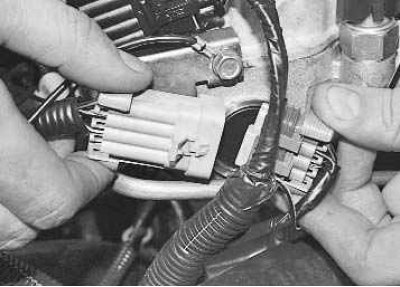
1. Disconnect the connector block of the injector wire harness and the engine harness by pressing the lock.
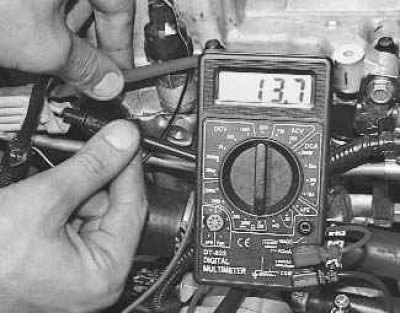
2. Perform an initial check of the injector windings. To do this, connect the ohmmeter to the contacts of the pads one by one.
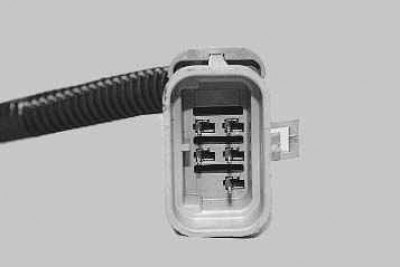
Note: The connector has five contacts: four for supplying a control signal to the injectors and one common "+12 V" (a raspberry wire with a black stripe is connected to it).
3. Connect the four control contacts to the common contact in turn and measure the resistance in each case. It should be 11–15 Ohms. If the resistance value differs from the specified value in one or more measurements, the tested injectors or their wiring harness may be faulty.
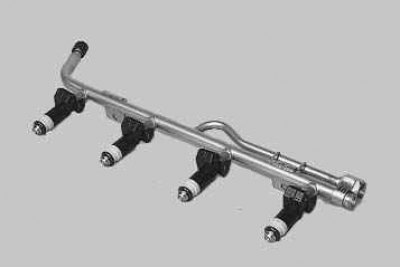
4. For a more accurate check and replacement of injectors, remove the fuel rail from the vehicle (see "Removal and installation of the fuel rail").
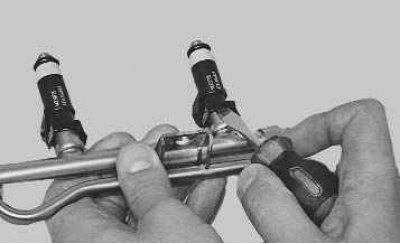
5. Use a screwdriver to pry up the injector spring retainer…
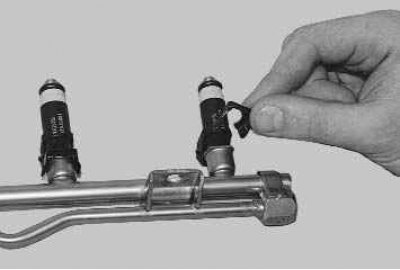
6. …remove the retainer…
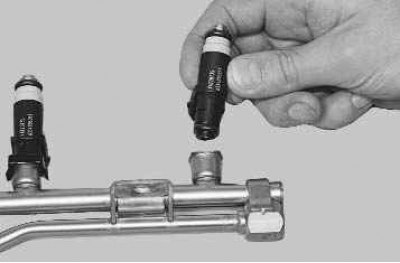
7. ...and remove the injector from the fuel rail. Remove the remaining injectors in the same manner.
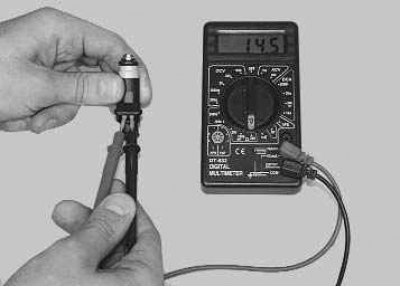
8. To identify a faulty injector, connect an ohmmeter to the injector contacts. It should show a resistance of 11-15 Ohms. If the winding resistance is not normal, replace the faulty injector, as it cannot be repaired.
Note: Check the injector for the shape of the sprayed fuel torch and for leaks at specialized service stations, since such a check directly on the vehicle is very fire hazardous.
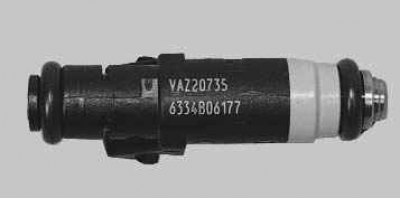
Attention! The injectors of the VAZ-21126-00 engine of the VAZ-2170 Lada Priora car have an original design and are not interchangeable with the injectors of VAZ injection engines of other models. Purchase new injectors with exactly the same markings.
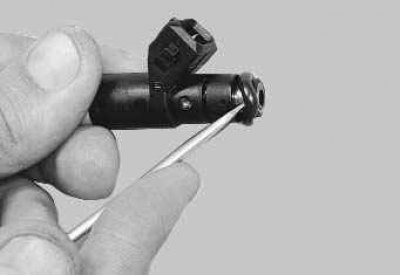
9. Each time you remove the injectors, be sure to replace the sealing rings on all injectors on the rail side. Carefully pry the edge of the ring with a screwdriver..
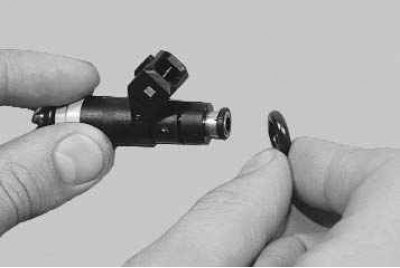
10. …remove the sealing ring from the injector…
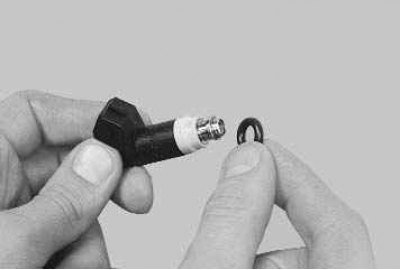
11. …and similarly remove the ring from the sprayer side.
12. If you are installing the old injectors, carefully wash their sprayers with solvent or carburetor cleaner.
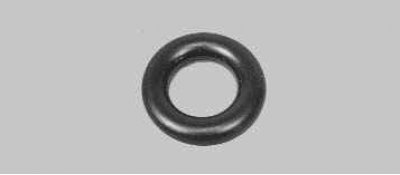
Attention! Install new sealing rings carefully, without using any tools, after lubricating them with engine oil.
Note: The sealing rings on the injectors are identical to other rings installed on early VAZ models with fuel injection systems and are interchangeable with them.
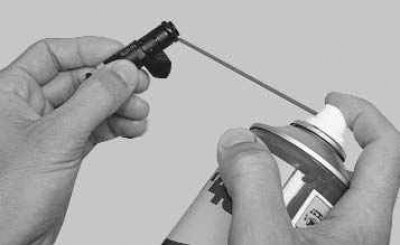
13. Before installing the injectors, lubricate the O-rings with engine oil or WD-40.
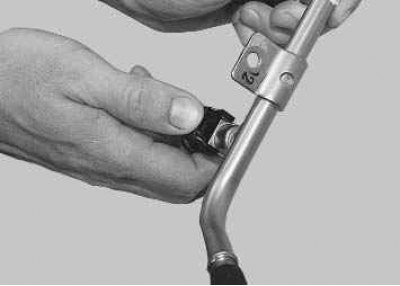
14. Install the injectors in the reverse order of removal, securing them to the ramp with clamps, having first pressed them slightly.
15. After installing the fuel rail, connecting the fuel line and connecting the wiring harness block, secure the negative terminal on the battery, turn the ignition key to position "I" (ignition) 3-4 times with intervals of 2-3 seconds between turns and check the tightness of the pipeline connection and injector seals.
16. Install all removed parts in the reverse order of removal.