
1. Remove the clutch release bearing (see «Replacing the clutch release bearing»).
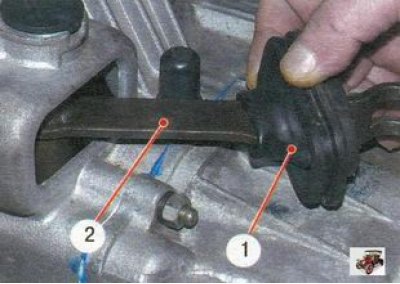
2. Carefully prying off the boot 1 of the clutch fork with a screwdriver, remove it from the lever of the fork 2 of the clutch release. Replace a torn or loose clutch fork boot.
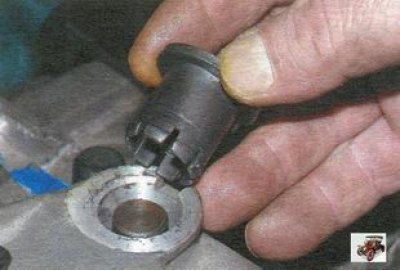
3. Squeezing the retainer tabs on the inside of the clutch housing with pliers and prying with a screwdriver from the outside, remove the plastic sleeve of the clutch fork axis. Replace the plastic bushing of the clutch fork axle if it is badly worn or the retainer tabs are damaged.
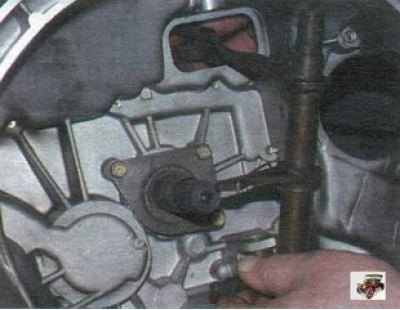
4. Raising the clutch fork, remove its axle from the sleeve pressed into the clutch housing, and remove the clutch fork by removing the axle and then the lever from the holes in the clutch housing.
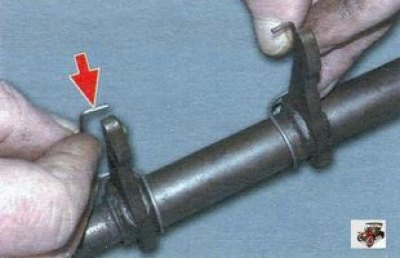
5. Remove the spring retainer from the clutch fork by squeezing its ends. Replace broken or loose spring retainer.
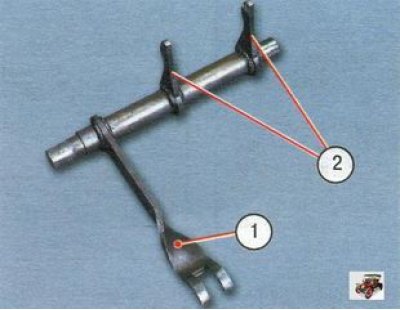
6. Replace the clutch release fork if the lever 1 of the clutch fork is bent or cracked or the paws 2 of the clutch fork are badly worn at the points of contact with the clutch release bearing clutch.
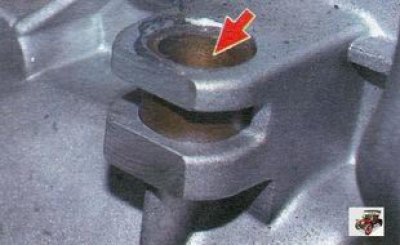
7. Press out the worn metal sleeve, then press in a new one until it stops.
8. Lubricate the metal and plastic bushings with grease before installing the clutch release fork.
9. Install the clutch release fork in the vehicle in the reverse order of removal. Pay attention to the fact that the protrusion on the plastic sleeve falls into the groove on the clutch housing, and its petals securely fix the sleeve in the clutch housing from falling out.