
Brake pads must be replaced simultaneously on the brake mechanisms of the right and left wheels.
Warning! Never replace brake pads on only one side of the vehicle. This can cause uneven braking of the wheels, cause the vehicle to pull to the side, and even cause skidding during emergency braking.
Recommendation. When replacing brake pads, be sure to check the thickness and condition of the brake disc (see «Brake system - check of technical condition»).
Execution sequence
1. We prepare the car for work (see «Preparing the car for maintenance and repair»).
Warning! When the brake pistons are sunk into the cylinders, the level of brake fluid in the reservoir will increase, so pump some of the brake fluid out of the reservoir. After replacing the brake pads, check and, if necessary, top up the brake fluid level (see «Checking the brake fluid level»),
2. Remove the reservoir cap of the main brake cylinder and pump out part of the liquid with a rubber pear or a medical syringe (see «Hydraulic brake drive - pumping»),
3. Remove the front wheel (see «Wheel replacement»).
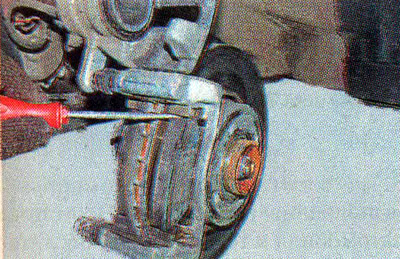
4. Using a screwdriver as a lever, we sink the piston into the brake cylinder.

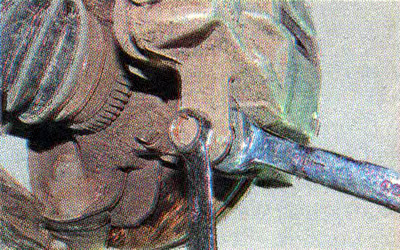
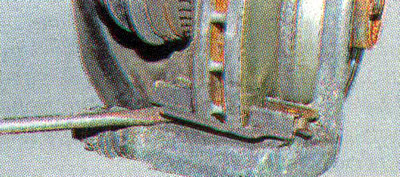
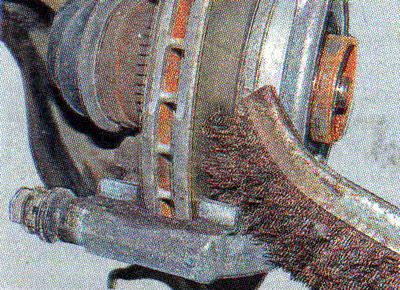
5. Using a 14 mm socket wrench, unscrew and remove the lower bolt holding the caliper in the shoe guide.
6. Raise the caliper by turning it on the top guide pin.

Warning! Do not press the brake pedal with the caliper removed.
7. Fixing (tie up) caliper so as not to stress the brake hose.
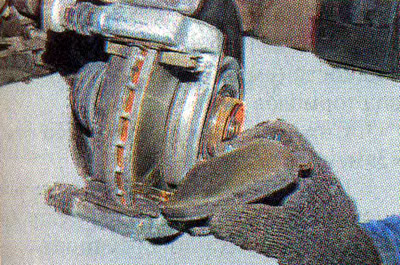
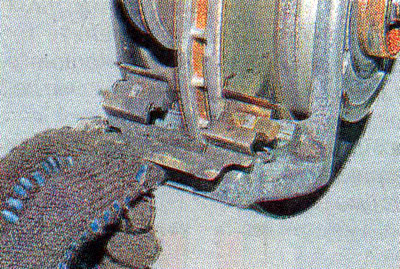
8. We press the outer brake pad from the disc...
...and take it off.
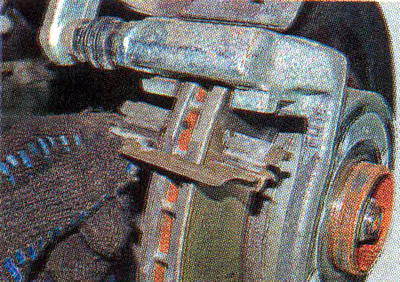
9. Remove the inner block in the same way.
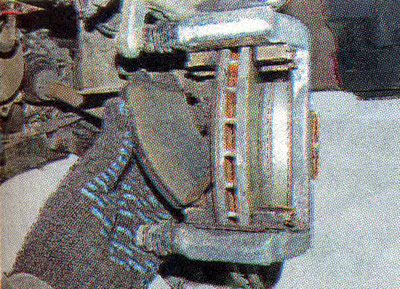
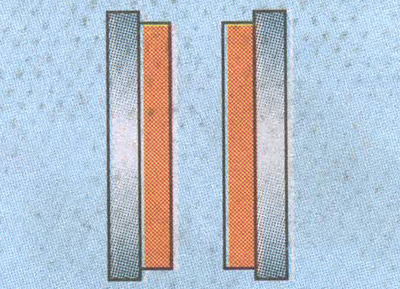
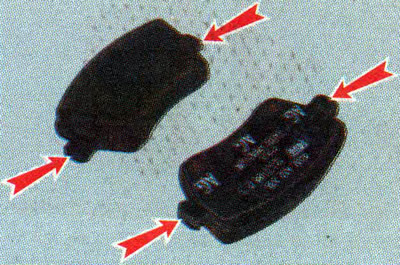
10. Visually check the condition of the friction linings of the pads.
Comment. The condition and performance of the brake mechanism can be assessed by the state and nature of the wear of the friction linings of the brake pads.
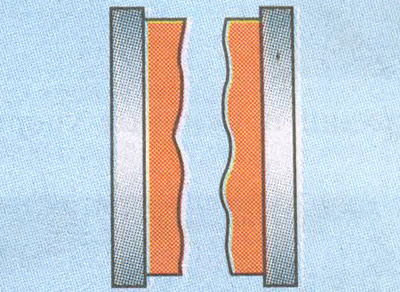
Uniform wear of the friction linings of both pads, the surface of the brake disc is even, without damage - the brake mechanism is in good order.
The friction linings are completely worn out, depending on the design of the pads, rivet heads may protrude - the pads have been used in excess of the allowable rate.
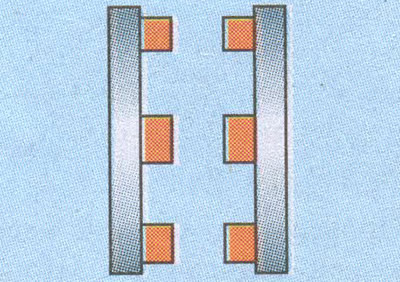
It is necessary to check the condition of the brake disc, as well as to carry out regular checks of the technical condition of the brake system more often (see «Brake system - check of technical condition»). Complete abrasion of the friction linings leads to damage to the brake mechanism!
The friction lining of one of the pads is more worn out - the piston or caliper guide pins are stuck, or the pad is stuck in the caliper guide.
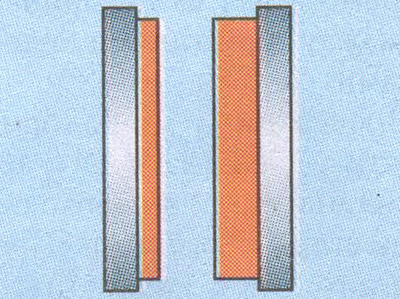
It is necessary to clean the guide pads of the caliper from dirt and rust with a metal brush, wash the parts of the caliper with brake cleaner, check the mobility of the brake cylinder piston and the condition of the guide pins (see «Front brake caliper - removal, repair and installation»),
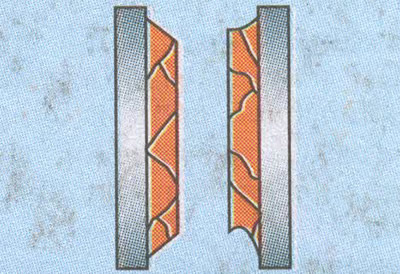
Uneven wear of the friction linings of both pads - jamming of one of the guide pins of the caliper.
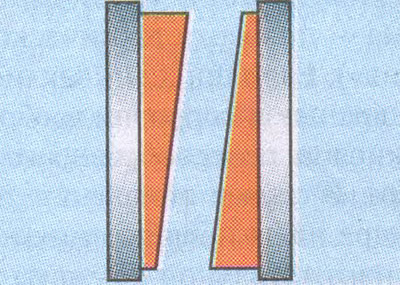
In this case, it is necessary to check the condition of the caliper guide pins and replace their grease (see «Front brake caliper - removal, repair and installation»).
Grooves over the entire surface of the friction lining - the brake disc is worn out.
Check the condition of the brake disc and replace it if necessary (see «Front brake discs - replacement»).
Cracked friction linings, chipped edges - brake overheating. mechanisms is possible due to jamming of the piston of the caliper cylinder.
It is necessary to check the mobility of the pistons of the brake cylinders (see «Brake system - check of technical condition»), when the piston is soured - repair the caliper (see «Front brake caliper - removal, repair and installation»).
Uneven wear of the friction linings of both pads (step) - Incorrect installation of brake pads.
It is necessary to check the condition of the brake discs (see «Brake system - check of technical condition»).
11. Prying off with a screwdriver...
... remove the bottom.
...and the upper spring stops of the pads.
12. We process the guide pads and the working surface of the brake disc with a special brake cleaner. With a metal brush, we clean them of dirt and rust and remove the wear products of the friction linings.
Warning! Avoid inhalation of wear products of friction linings, it is harmful to health. Do not use compressed air to blow the brakes.
13. With sliding pliers or a special device, we sink the piston into the caliper cylinder.
Recommendation. Before pressing the piston into the caliper cylinder, make sure that there are no signs of corrosion on the piston (including under the sealing collar). The presence of traces of corrosion indicates the need to replace the piston or the entire front brake caliper assembly.
14. We apply a special high-temperature grease at the points of contact between the pads and the guide.
Recommendation. When replacing brake pads, be sure to check the thickness of the brake disc. If its wear is also close to the limit value, the discs should be replaced along with the pads.
15. Check the condition of the front brake disc (see «Checking the front brake mechanism»), In the event of a malfunction, replace both front brake discs (see «Front brake discs - replacement»).
16. We process the brake disc with a brake cleaner.
17. Install the brake pads in reverse order. We tighten the guide pins with a torque of 36 Nm.
18. Similarly, we replace the front brake pads on the other side of the car.
19. Press the brake pedal several times to self-adjust the gaps between the brake pads and discs.
20. We check the level of brake fluid in the reservoir of the main brake cylinder and, if necessary, bring it to normal (see «Checking the brake fluid level»).