



Note: This section shows the removal of the left steering rod. We remove the right rod in a similar manner.
To carry out the work, an inspection pit or overpass is required.
Removal
1. Prepare the vehicle for work (see p. 20. "Preparing the vehicle for maintenance and repair").
2. Remove the front left wheel (see "Wheel - replacement").
3. Press out the outer tie rod end pin from the steering knuckle hole (see "Tie Rod End - Replacement").
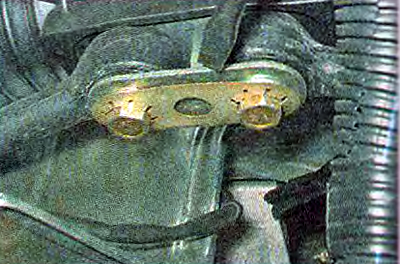
4. Using a slotted screwdriver, remove the locking plate of the bolts securing the steering rods to the steering mechanism.
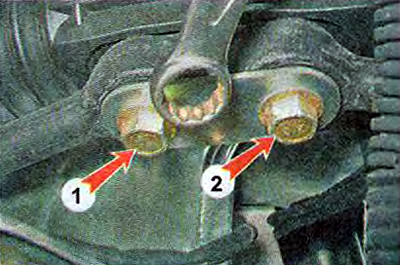
5. Using a 15 mm open-end wrench, loosen bolt 1 securing the right tie rod and unscrew bolt 2 securing the left tie rod to the steering gear.
6. Remove the left tie rod mounting bolt and turn the bolt plates down.
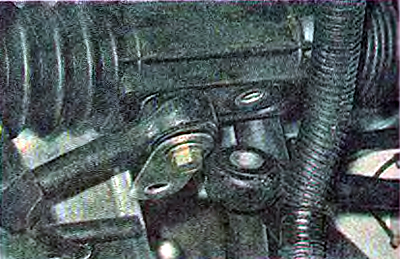
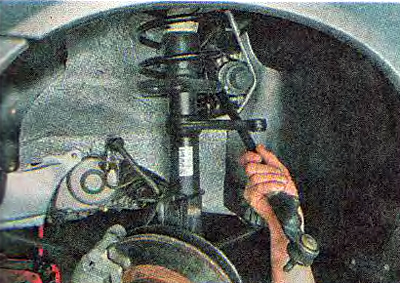
7. Remove the left rod through the mudguard hole.
Installation
1. Measure the length of the removed rod (distance between the center of the hole in the rubber-metal bushing of the inner end of the rod and the center of the plug of the hole in the ball pin).
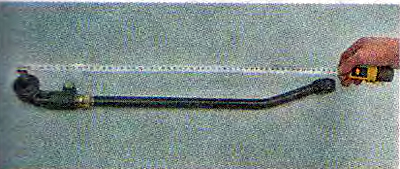
2. Using a 17 mm socket wrench, loosen the tightening of the tie rod bolt. By turning the adjusting sleeve with a 27 mm key, we make the length of the new rod equal to the length of the removed rod.
Warning: Before adjusting the length of the tie rod, make sure that the adjusting sleeve and end are screwed onto the tie rod until they stop.
3. Install the rod in the reverse order.
4. Tighten the tie rod clamp bolt to a torque of 19-30.9 Nm (2.0-3.2 kgf·m).
5. Tighten and cotter pin the tie rod end pin bolt to a torque of 27.1-33.4 Nm (2.8-3.4 kgf·m).
6. Tighten the bolts securing the rods to the steering mechanism to a torque of 70-86 Nm (7.1-8.6 kgf·m) after installing the vehicle on the wheels.
7. Place the locking plate on the bolts.
Warning! After replacing the traction, wheel alignment must be adjusted at a service station.
[Original text on the website: LadaMan]