
Warning! Before replacing a fuse, it is necessary to determine and eliminate the cause of its blown. In order to avoid failure of electrical equipment, fuses with an increased rating or home-made fuses should not be installed.
Execution sequence
1. We prepare the car for work (see «Preparing the car for maintenance and repair»).
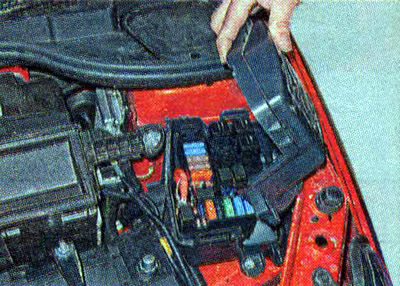
2. Press the two latches and remove the cover of the fuse and relay box in the engine compartment.
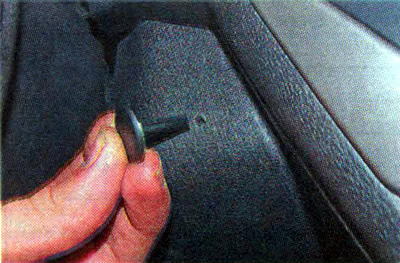
3. To access the fuse and relay box in the passenger compartment, pry off with a thin slotted screwdriver...
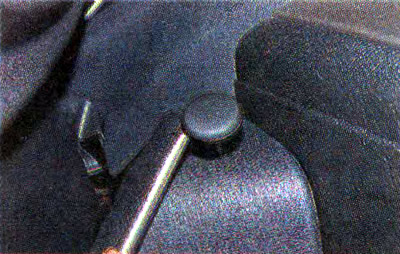
...and remove the pad holder.
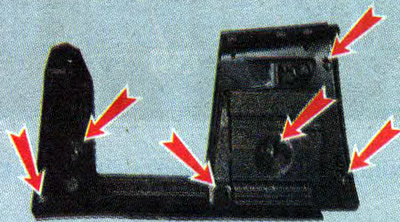
4. Overcoming the resistance of the clamps, disconnect the trim from the instrument panel.
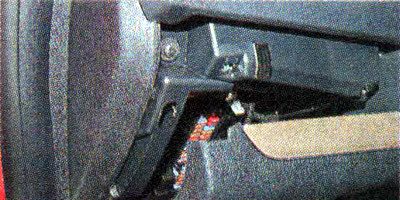
Comment. The pad is fixed with six holders.
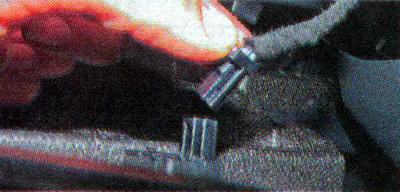
5. We press the latches and disconnect the pads of the wiring harness and the switch for opening the roof of the luggage compartment...

...from the control unit of the electrocorrector.
6. To access the fuse and relay box in the engine compartment, depress the two latches...
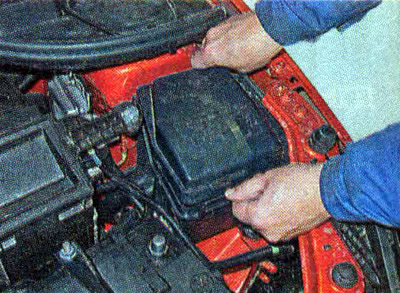
... and remove the cover of the fuse and relay box in the engine compartment.
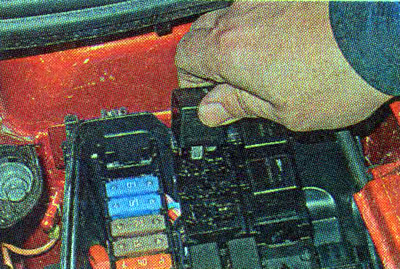
5. We remove the tweezers from the fuse box in the cabin, designed to remove the fuses.
6. According to diagrams and tables (see above) we find the fuse of the faulty circuit and remove it with tweezers.
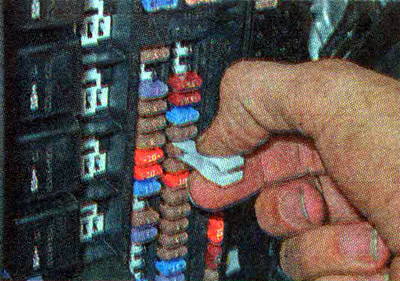
7. A faulty fuse is determined by a blown thread.
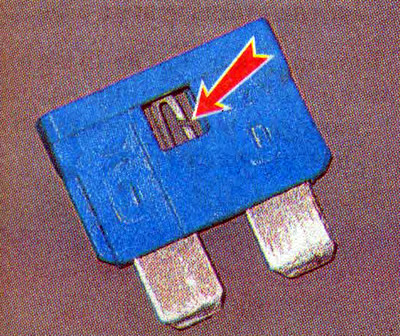
Recommendation. Sometimes the thread of the fuse remains intact, while its connection inside the fuse is broken. It is impossible to visually determine such a malfunction. In this case, you can evaluate the condition of the fuse using a multimeter in ohmmeter mode.
8. Install a new fuse of the appropriate rating.
9. To replace and test the relay (see «Relay test») we extract it from the block, having previously determined the location according to the tables (see above).
You can verify that the relay is malfunctioning by checking it, or by installing another one that is known to be good in its place.