



Removing
1. We prepare the car for work (see «Preparing the car for maintenance and repair»).
2. We pry with a thin slotted screwdriver...
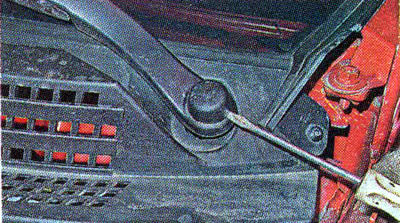
... and remove the cap of the nut securing the wiper arm.
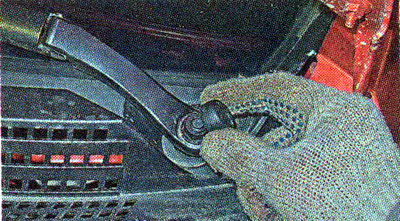
3. Using a 16 mm wrench, unscrew the nuts securing the wiper arm.
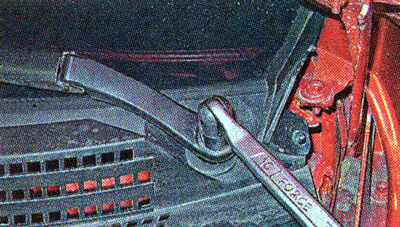
4. Remove the wiper arm from the drive shaft.
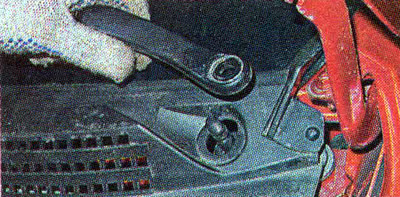
5. Similarly, remove the second wiper arm.
6. Using the TORX T20 wrench, unscrew the mounting bolt...
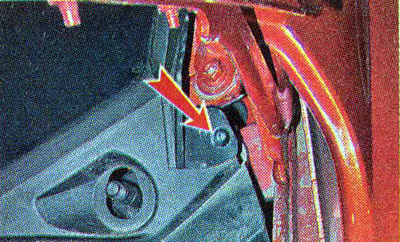
...and remove the side trim.
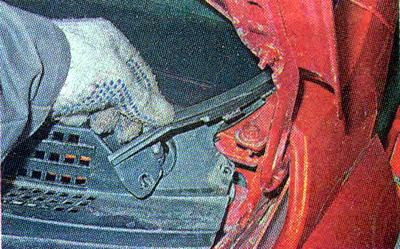
7. Similarly, remove the trim on the opposite side of the car.
8. Using the TORXT20 key, we unscrew the two side mounting bolts.
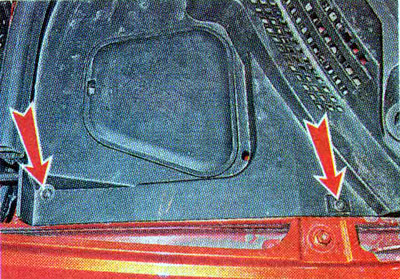
9. Remove the air intake grille from the glass and remove it.
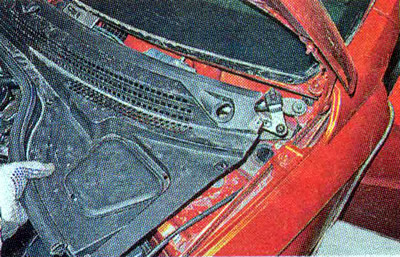
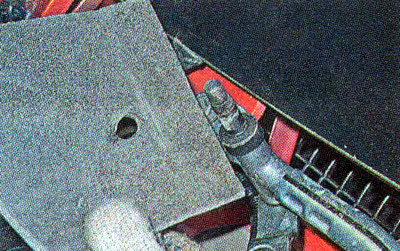
10. Remove the gasket from the shaft of the right brush.
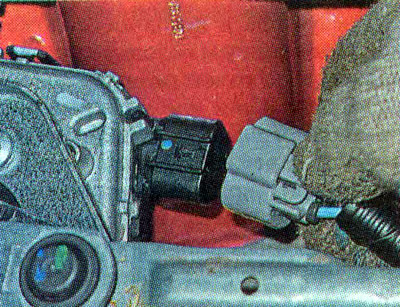
11. Press the latch and disconnect the wire block from the motor-reducer.
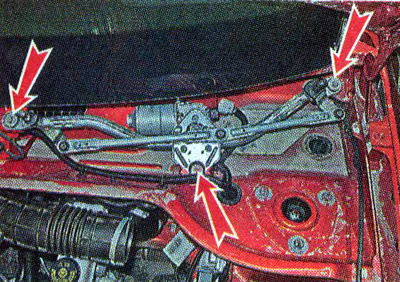
12. With a 10 mm key, unscrew the three mounting bolts.
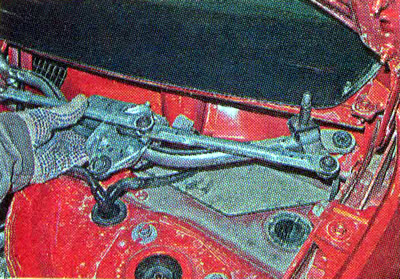
13. Remove the wiper trapezoid.
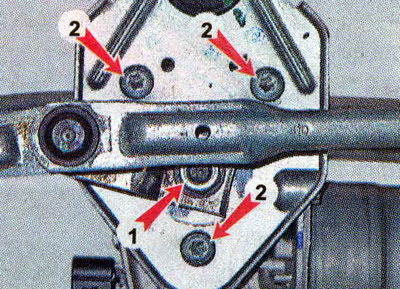
14. To replace the gearmotor with a 13 mm wrench, unscrew the lever fastening nut 1. With a slotted screwdriver with a wide blade, pry off and remove the crank from the splines of the gearmotor shaft. Using the TORX T20 wrench, unscrew the three fastening bolts 2 and remove the gearmotor from the bracket.
Installation
Warning! Before assembling the wiper, make sure that the shaft of the new gearmotor is in its original position.
1. To install the shaft of the new gearmotor in its original position, connect the block of its wiring harness to the corresponding block on the car and briefly turn on the wiper in intermittent mode. After the gear motor has completed a full cycle and automatically stops, turn off the ignition and disconnect it from the car's electrical circuit.
2. We install the crank on the shaft of the gearmotor in accordance with the figure.
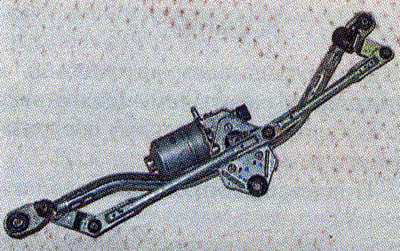
3. Install the wiper in reverse order.