Car repair AvtoVAZ Car repair Renault Car repair Hyundai Car repair Ford Car repair Volkswagen Car repair Audi Car repair Chevrolet
English Русский
Български
Беларускі
Український
Српски
Hrvatski
Română
Polski
Slovenský
Magyar
articles sitemap contacts bookmark
LadaMan.ru


Kalina Granta Priora Vesta Largus XRAY
Vesta 1 (2015-2023, VAZ-2180)

Electrical wiring repair (Vesta 2180)

  • Main
  • Vesta
  • Vesta 1
  • Electrical equipment
  • Equipment and devices
  • Electrical wiring repair
0
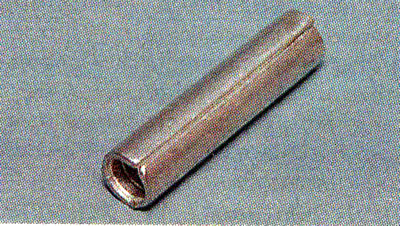
It is recommended to connect the wires using special couplings available on the market.

It is recommended to connect the wires using special couplings available on the market.


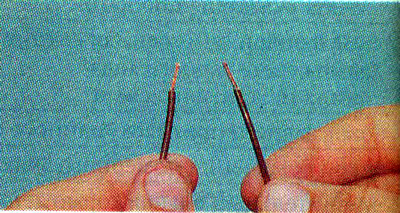
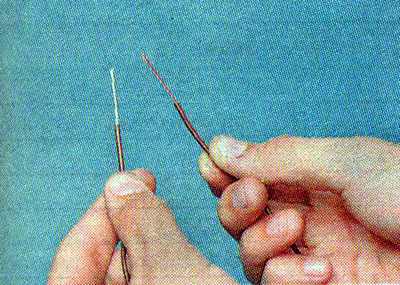
1. We strip the ends of the wires to be connected so that the stripped part is equal in length to half of the connecting sleeve.

1. We strip the ends of the wires to be connected so that the stripped part is equal in length to…


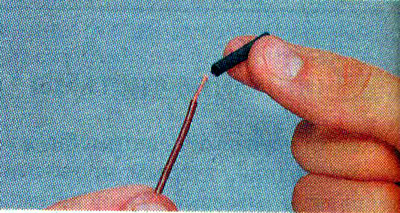
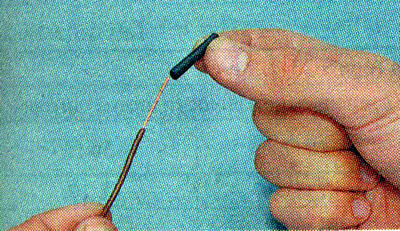
2. Place a heat shrink tube onto one of the wires, approximately 10 mm longer than the connecting sleeve.

2. Place a heat shrink tube onto one of the wires, approximately 10 mm longer than the connecting…


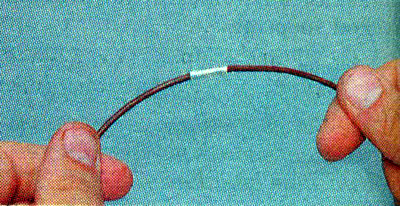
3. Insert the ends of the wires into the connecting sleeve.


3. Insert the ends of the wires into the connecting sleeve.


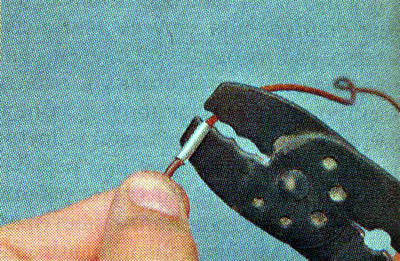
4. Using special pliers, crimp the connecting sleeve.

4. Using special pliers, crimp the connecting sleeve.


Article copied from the resource LADAman

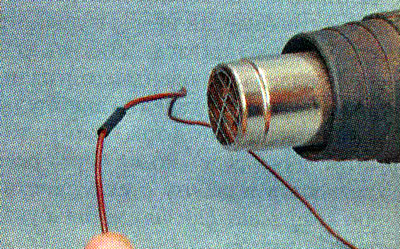
Warning: When performing the following operation, do not hold the heat gun too close to the heat-depositing tube, as it may melt.


5. Move the heat-depositing tube onto the connecting sleeve and heat it evenly with a heat gun.

5. Move the heat-depositing tube onto the connecting sleeve and heat it evenly with a heat gun.


If there is no connecting sleeve, the wires can be connected by twisting.


1. Strip the wires to be connected by approximately 20–25 mm.

1. Strip the wires to be connected by approximately 20–25 mm.


2. Place a heat-depositing tube approximately 25 mm long on one of the wires.

2. Place a heat-depositing tube approximately 25 mm long on one of the wires.


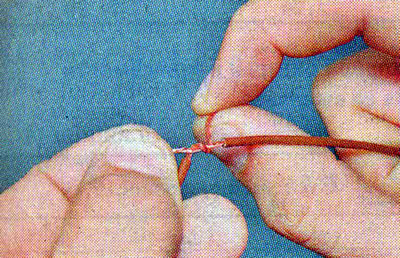
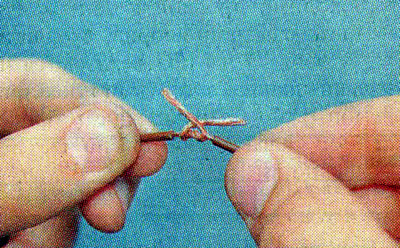
3. Cross the wires and wrap the first wire one turn around the second.

3. Cross the wires and wrap the first wire one turn around the second.


4. Perform a similar operation with the second wire.
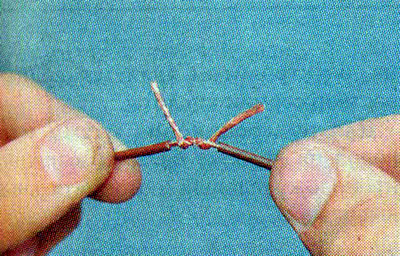
4. Perform a similar operation with the second wire.


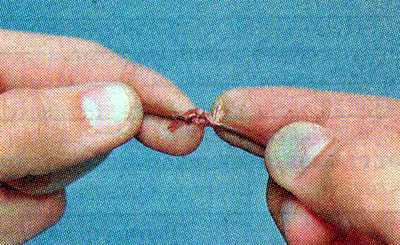
5. Cross the ends of the wires.


5. Cross the ends of the wires.


6. Twist the ends tightly around the wires.

6. Twist the ends tightly around the wires.


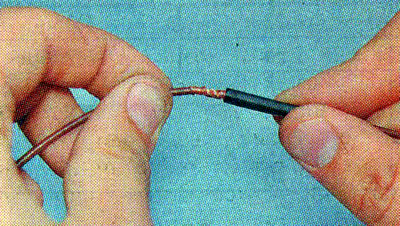
7. Move the heat-depositing tube onto the twist.

7. Move the heat-depositing tube onto the twist.


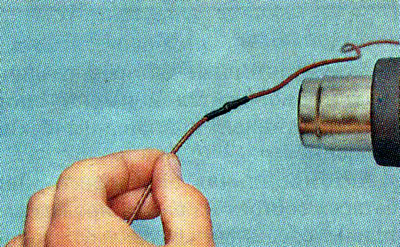
Warning: When performing the following operation, do not hold the heat gun too close to the heat-depositing tube, as it may melt.


8. Heat the heat-depositing tube evenly with a heat gun.

8. Heat the heat-depositing tube evenly with a heat gun.


This article is available at russian, bulgarian, belarusian, ukrainian, serbian, croatian, romanian, polish, slovak, hungarian
This article has been reviewed: Kirill Dementyev
Share with friends:
◀ Previous
Lada Vesta 1: Equipment and devices
Next ▶

Checking and repairing electrical circuits
Diagnostics of car electrical equipment
Description of the on-board electrical equipment system
Basic data for monitoring, adjustment and maintenance
Checking electrical consumers
Checking the relay for proper operation
Fuse and relay mounting block
Replacing fuses and relays
Control and measuring instruments and sensors
More articles with information from manuals for Lada:

• Operating and repair materials Lada Kalina Hatchback (2004-2013, VAZ-1119)
• Front Wiring Harness Electrical Wiring Diagram Lada Granta 1 (2011-2023, VAZ-2190)
• Checking electrical equipment Lada Priora 1 (2007-2018, VAZ-2170)
• Electrical wiring diagram of the 8-valve engine harness Lada Largus 1 (2012-2023)
• Car electrical wiring diagrams Lada X-Ray 1 (2015-2022)
Link to this article in various formats
Reviews and comments of visitors
No comments yet


Add up two numbers: 29 + 41


Vesta 1 (2015-2023) 
  • General information
  • Governing bodies
  • User manual
  • Maintenance
  • Troubleshooting
  • Power unit
  • Engine repair
  • Control system
  • Supply system
  • Cooling system
  • Exhaust system
  • Transmission
  • Clutch
  • Mechanical gearbox
  • Automatic gearbox
  • Drive shafts
  • Chassis (running gear)
  • Wheels, tires and hubs
  • Front suspension
  • Rear suspension
  • Steering
  • Brake system
  • Body and interior
  • Exterior (external elements)
  • Doors, locks and windows
  • Heating and ventilation
  • Electrical equipment
  • Equipment and devices
  • Power devices
  • Breakers and switches
  • Lighting and signaling
  • Electrical circuits
LadaMan.ru © 2018–2026 | Mobile version | About Lada | Sitemap: EN BG BY UA RS HR RO PL SK HU | Contacts with admin | | Add to bookmarks
Kalina Hatchback (2004-2013) | Kalina Sedan (2004-2013) | Granta 1 (2011-2023) | Priora 1 (2007-2018) | Vesta 1 (2015-2023) | Largus 1 (2012-2023) | X-Ray 1 (2015-2022) |
This site uses cookies to ensure everything runs smoothly.