



Note: The inner CV joint seals can be replaced without removing the transmission from the vehicle.
1. Disconnect the front wheel drives from the gearbox (see "Removing and installing front wheel drives").
Caution! Do not disconnect both drives at the same time, as this may cause the axle gears to shift in the differential and it will be impossible to install the drives without disassembling the gearbox. If it is necessary to disconnect both drives, after disconnecting one of them, insert a technological plug or the old inner joint housing in its place. After this, disconnect the second drive.
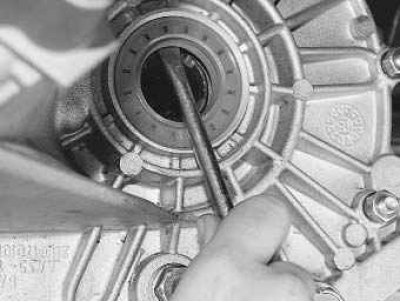
2. Using a screwdriver, remove the inner joint seal from the gearbox housing.
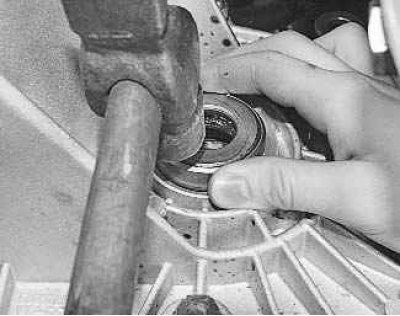
3. Press in the new seal using a suitable mandrel until the working edge rests inside the box.
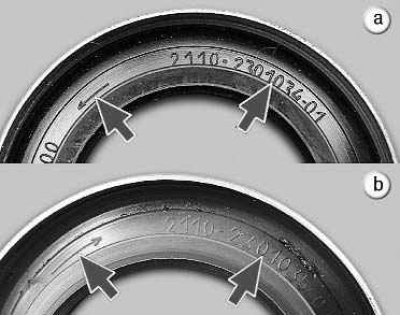
The oil scraper notches on the seals of the right and left inner joints are directed in different directions.
For identification purposes, the oil seals are marked with arrows and part numbers: on the right oil seal a (part number 2110–2301034–01), the arrow points counterclockwise, on the left oil seal b (part number 2110–2301035–01), it points clockwise. The arrows show the direction of rotation of the wheels when the car is moving forward.
4. Install all removed parts and assemblies in the reverse order of removal.
The reason for the clutch discs becoming oily may be a leak in the primary shaft seal of the gearbox or the rear seal of the crankshaft.
Motor and transmission oils have different smells. Therefore, with a certain amount of skill, you can determine by smell which of the seals is defective: the primary shaft seal or the rear crankshaft seal.
Note: There is another way to determine the type of oil. Drop a thin layer of oil into the water poured into the vessel. The transmission oil will spread across the entire surface of the water in the form of a rainbow film, while the motor oil will remain in the form of a drop, similar to a grain of lentil.
To replace the primary shaft seal it is necessary to remove the gearbox from the car (see "Removal and installation of the gearbox").
You will need: the same tools as for replacing the clutch release bearing (see "Replacing the clutch release bearing"), as well as a 10 mm spanner and a screwdriver.
1. Remove the clutch release bearing (see "Replacing the clutch release bearing").
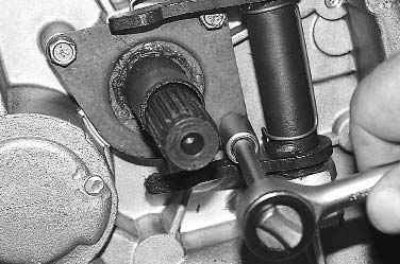
2. Remove the three guide bushing mounting bolts. Remove the guide bushing.
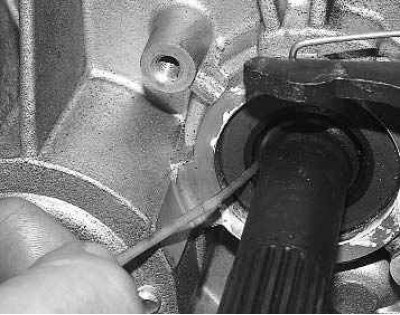
3. Using a thin wire hook or a screwdriver, remove the seal. Press in the new seal using a suitable mandrel. The working edge of the oil seal must be directed towards the inside of the gearbox.
4. Install the removed parts in the reverse order of removal.
Gear shift rod seal can be replaced directly on the vehicle.
You will need: a 10 mm spanner, a thin chisel, a hammer, and a mandrel for pressing in the seal.
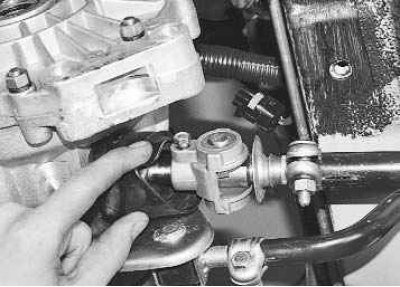
1. Remove the mudguard from the hinge and slide it over the shift rod.
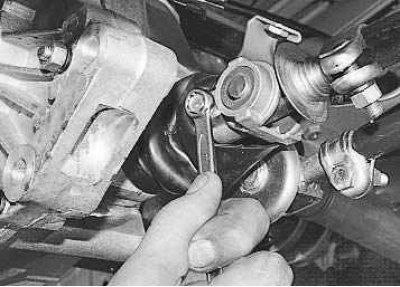
2. Remove the bolt securing the hinge to the gearshift rod...
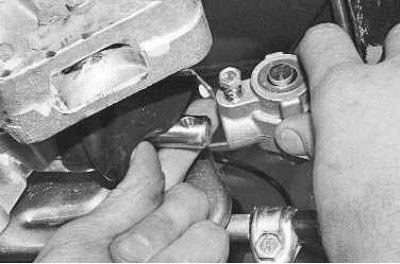
3. …and disconnect the gear selection rod together with the joint from the rod.
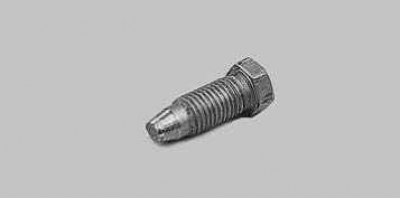
Note: The bolt that secures the hinge to the rod differs in length and color from similar bolts used in the gearbox to secure the forks and gear shift lever. This bolt is cadmium plated (gold color coating), the remaining bolts are phosphated (dark color coating). Do not replace this bolt with others.
Note: Replace any bolt with a damaged taper shank or threads.
Note: The bolt is fixed with special glue TB-1324. Before screwing in the bolt, clean it from old glue, degrease the threaded part and apply new glue. If you don't have a special adhesive, use a commercially available anaerobic thread locker.
4. Remove the mudguard.
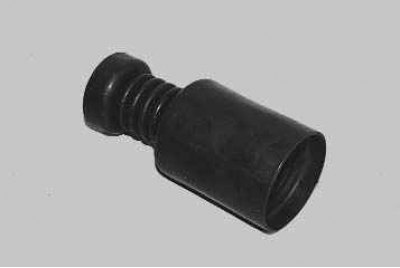
Note: Replace the mudguard if it is torn or cracked.
5. Resting a chisel on the flange of the rod seal collar, carefully press the collar out of the gearbox housing using a hammer...
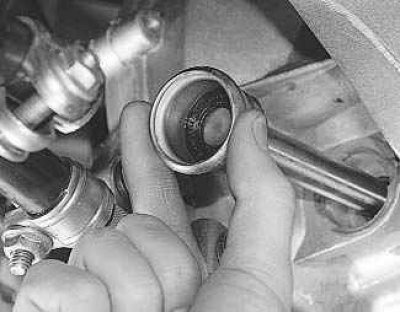
6. ...and remove it from the rod together with the seal.
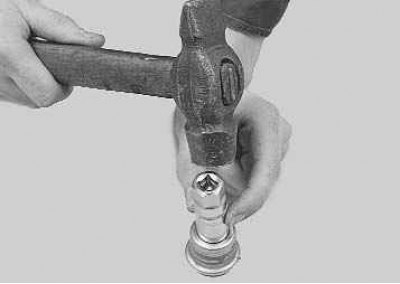
7. Using a suitable mandrel (you can use the head from the tool kit) press out...
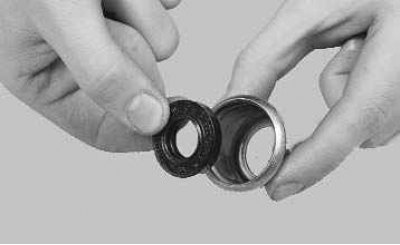
8. ...and remove the seal from the housing.
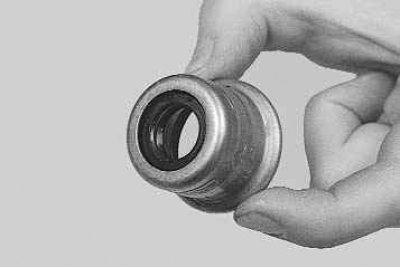
9. Press the new seal into the housing until it stops with the working edge facing inside the gearbox.
10. Lubricate the working edge of the oil seal with transmission oil and, using light hammer blows, press the sleeve together with the oil seal into the gearbox housing until it stops.
11. Install all removed parts and assemblies in the reverse order of removal.