



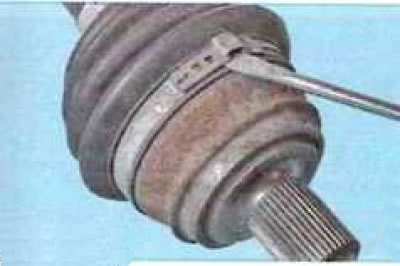
1. Use a screwdriver to disconnect or cut the lock of the large clamp of the outer boot...
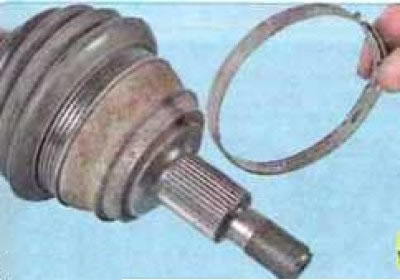
2. ...and remove the clamp.
Disposable CV joint boot fastening clamps. Typically, clamps are included with a new hinge.
3. Slide the boot off the hinge housing...
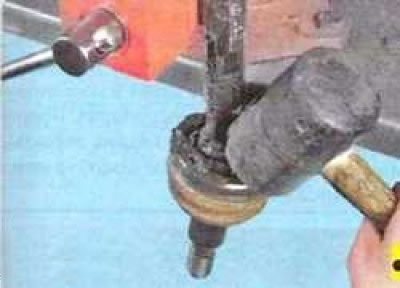
4. ...and knock the joint cage off the shaft with a hammer through the punch, overcoming the force of the retaining ring.
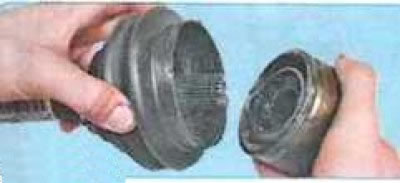
5. Remove the outer CV joint from the shaft.
Disassembling the outer CV joint is not permitted.
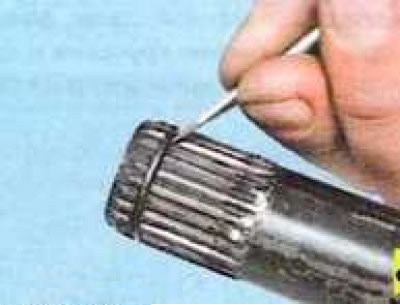
6. Remove the retaining ring from the shaft by using a screwdriver to pry it out of the shaft groove.
When assembling, replace the retaining ring with a new one. Typically, the ring is included with the new joint.
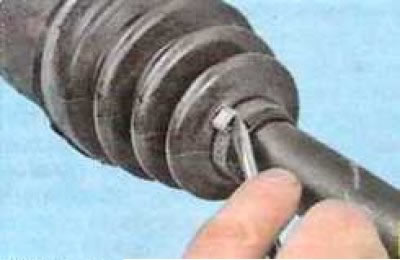
7. Use a screwdriver to disconnect or cut the lock of the small clamp of the outer boot...
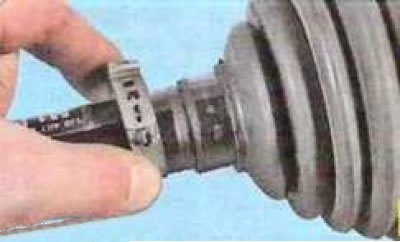
8. ...and remove the clamp.
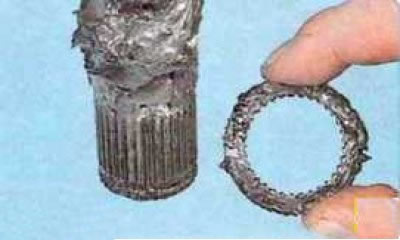
9. Remove the thrust washer.
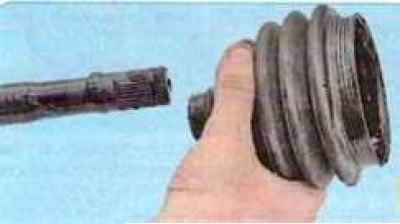
10. Remove the dust cover.
11. Wash all metal parts with kerosene until all old grease is removed.
When installing a new CV joint, replace the boot with a new one. Usually the dust cover is included in the kit.
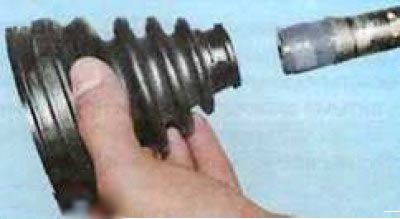
To avoid damaging the boot during assembly, wrap the splined part of the shaft with tape.
To facilitate installation of the boot on the shaft, lubricate the shaft with a thin layer of grease intended for filling the CV joint.
(Taken from the website: Ladaman.ru)
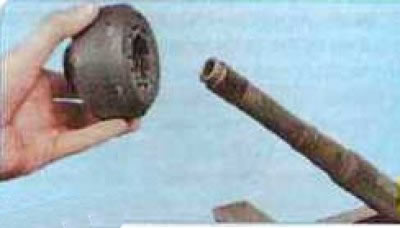
12. Before installing a new outer CV joint, fill its cavity with grease (if the joint was not lubricated by the manufacturer) in the amount of about 100 g, with 40 g placed in the joint and the rest of the grease in the boot.
Do not reduce or increase the recommended amount of grease in the joint.
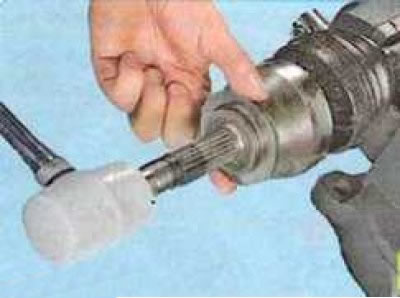
13. Install the boot and CV joint in the reverse order of removal. When installing the joint on the shaft, press the joint by hitting the joint shank with a hammer through a soft metal punch or using a rubber hammer until the joint collar is secured with a retaining ring.
Before installing the large clamp, use a screwdriver to pull back the edge of the boot to equalize the air pressure inside and outside the boot.