



Note: For a description of the work on replacing CV joints and related information, see. also here.
A knock in the front drive when turning may indicate that the CV joint is out of order. If, when rocking the drive by hand, you feel play or its anthers are torn, then such a CV joint must be replaced. There is practically no point in disassembling the outer CV joint of the Birfield type; dirt that gets into the joint will render it unusable. It is impossible to replace CV joint parts separately, so the best solution is to replace them as a whole, and on a car with a JH3 gearbox, the CV joint is replaced together with the drive (shaft), since the shaft is made as one piece with the joint sleeve. It is permissible to disassemble the inner CV joint of the Tripod type in order to replace the lubricant.
Can be replaced during operation (with lubricant change) only outer CV joint boots of the Tripod type. The appearance of traces of grease on the joint indicates that the boot is torn.
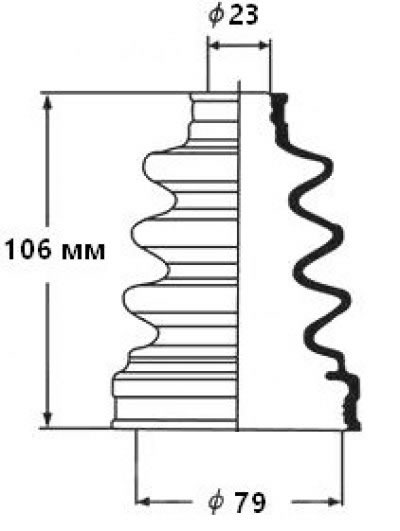
Approximate dimensions of the outer CV joint boot 23x79x106 (mm). When choosing a non-original boot, it is problematic to select the exact dimensions, so you need to select it according to the dimensions as close as possible.
Remove the drive from the vehicle (see left hand drive or right hand drive).
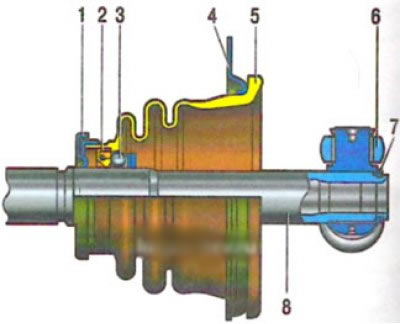
Left inner CV joint of a car with a JH3 gearbox: 1 - mud deflector; 2 - oil seal; 3 - bearing, 4 - dust cover holder; 5 - anther; 6 - three-spike hub roller; 7 - retaining ring; 8 - drive shaft
Please do the following:
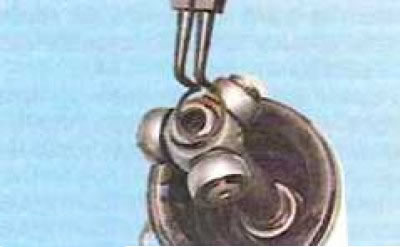
1. Remove the hub retaining ring by spreading it with a retaining ring plier or round-nose pliers and removing the ring from the shaft groove.
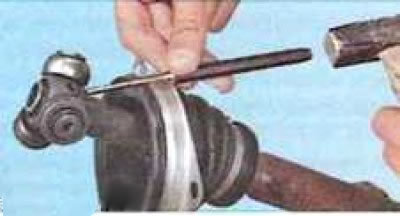
2. Slide the hub with rollers along the shaft splines...
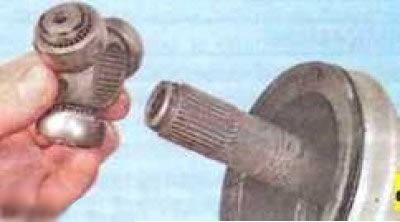
3. ...and remove it from the drive shaft.
Mark the position of the hub relative to the shaft and, when reassembling, install it according to the marks. If you are installing a new hub, orient it according to the marks on the old hub.
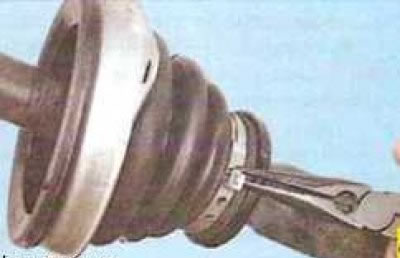
4. Remove the boot clamp with pliers...
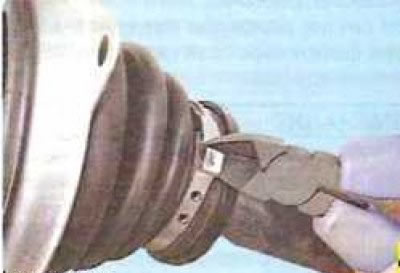
The boot clamp can be removed by cutting it with side cutters - the old clamp cannot be reinstalled anyway.
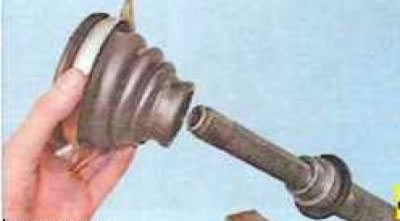
5. ...and remove the boot from the shaft together with its holder.
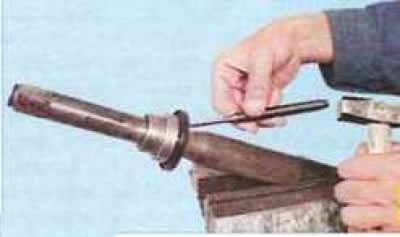
6. If it is necessary to replace the seal (in case of oil leakage from the gearbox) knock the dust cover bearing together with the seal and mud deflector off the drive shaft.
7. Press on using a suitable mandrel (it can be made from a pipe) a new bearing for the drive, maintaining the size (118±0.2 mm) between the ends of the shaft and the bearing.
When pressing on the bearing, proceed carefully. To avoid damaging the bearing and seal, press the bearing assembly onto the shaft using a press rather than hammer blows.
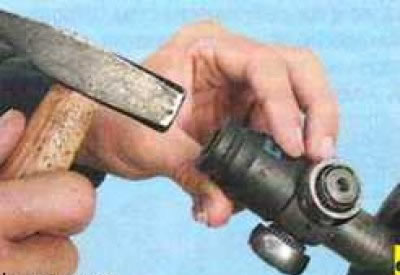
8. Install the boot on the shaft, secure it with a clamp, press the joint hub assembly with rollers onto the shaft splines (a suitable sized tool head can be used as a mandrel), aligning the marks made during disassembly.
9. Install the retaining ring (see item 1), making sure that