
Note. Also, a detailed description of the work on replacing CV joints, anthers and the experience of car owners, see. Here.
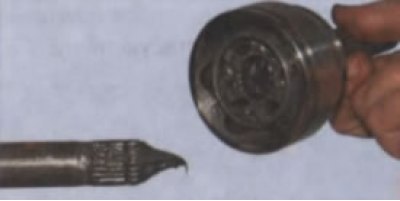
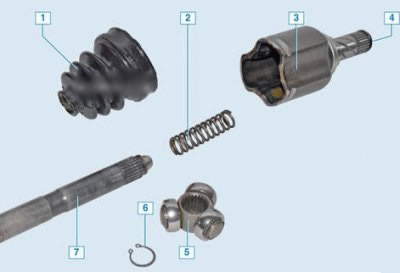
Outer CV joint
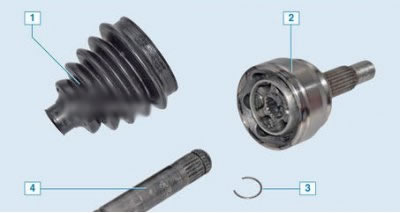
1 - anther; 2 - outer CV joint assembly; 3 - retaining ring; 4 - shaft
External CV joints are lubricated with MOBIL CVJ 825 BLACK STAR (comes with repair kit). The domestic analogue is SHRUS-4 grease.
Approximate dimensions of the boot of the outer CV joint: small inner diameter - 23 mm, large inner diameter - 79 mm, height (length) - 106 mm.
Replacing the outer CV joint
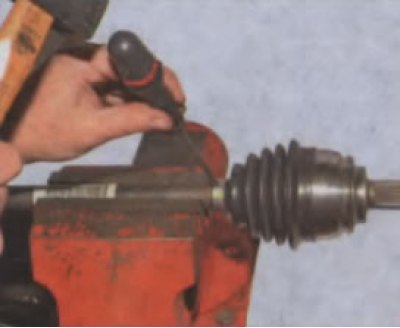
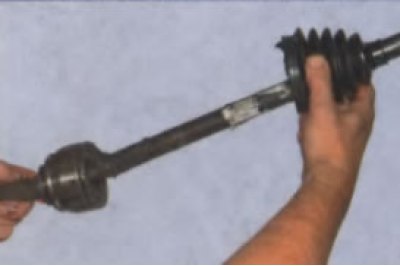
Removing the front wheel drive (see a lion. drive unit or rights. drive unit). We clean it of dirt and clamp the drive shaft in a vise.
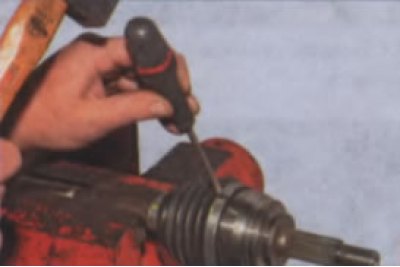
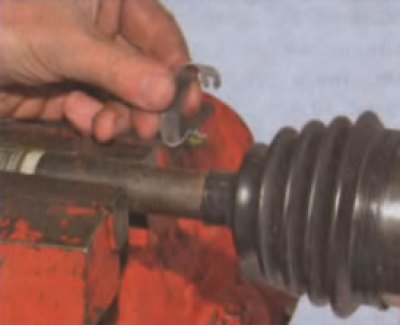
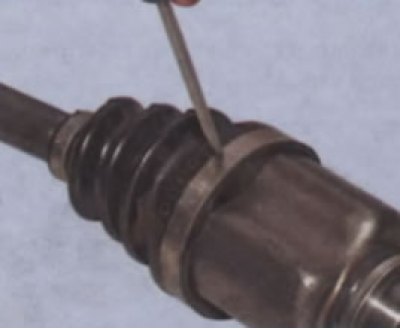
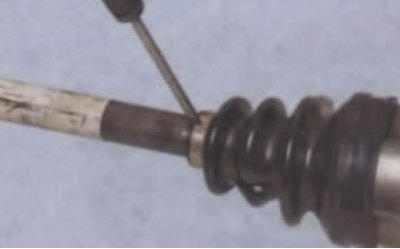
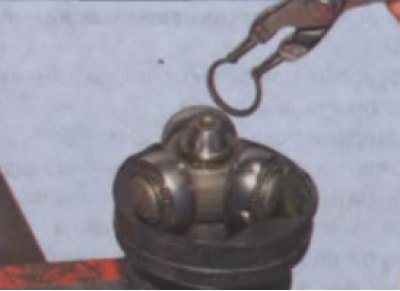
Having placed the blade of a slotted screwdriver at the junction of the lock of a large clamp, we strike with a hammer on the handle of the screwdriver.
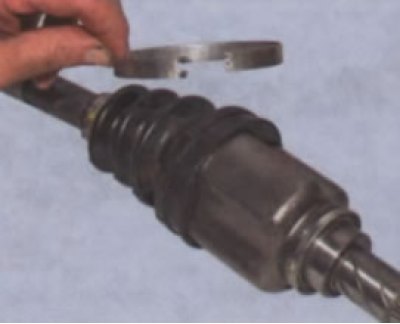
Having opened the lock of the clamp, remove the clamp.
Having placed the blade of a slotted screwdriver at the junction of the lock of the small clamp, we strike with a hammer on the handle of the screwdriver.
Having opened the lock of the clamp, remove the clamp.
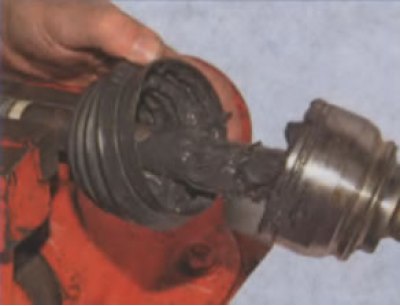
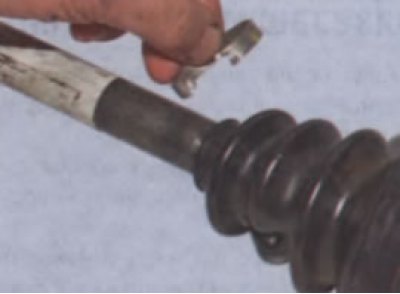
We remove the boot from the body of the outer CV joint and shift the boot along the shaft towards the inner CV joint.
The clip of the outer CV joint is fixed on the shaft with a retaining ring and it is quite difficult to press it off the shaft.
Therefore, if it is required to replace only the anther of the outer CV joint of the left drive, we recommend removing the inner joint from the shaft (see «Removing the inner CV joint»), then...
... we pull the boot off the shaft from the side of the inner CV joint.
It is not possible to replace the anther on the right wheel drive in the same way, since a rubber damper is put on the shaft of the right drive, and when removed, its fit is disturbed. The boot in this case can be replaced only after the outer hinge is removed from the shaft.
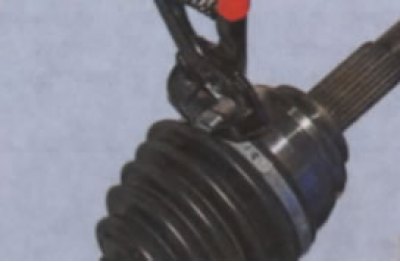
To remove the outer CV joint...
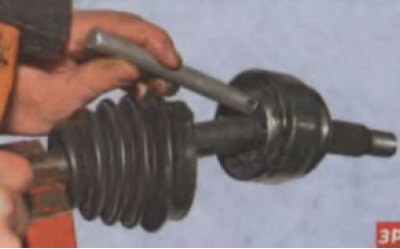
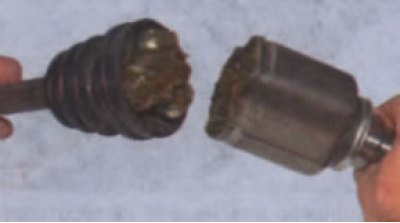
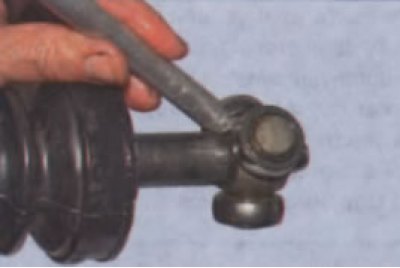
... with a soft metal drift we knock the outer CV joint off the splines of the drive shaft, striking the end of the cage and at the same time moving the drift along the circumference of the cage.
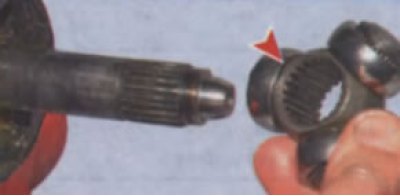
Remove the outer CV joint from the shaft.
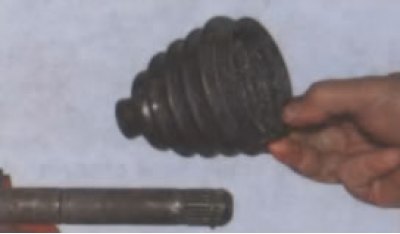
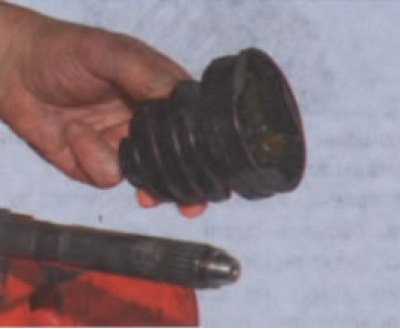
Remove the boot from the shaft.

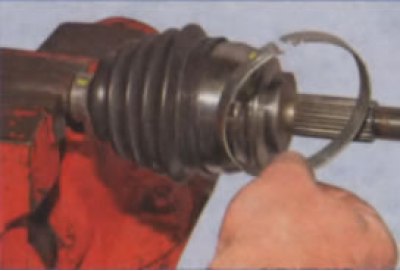
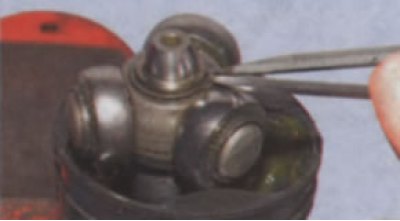
Pry off the retaining ring with a screwdriver...

... take it out of the groove on the shaft.
If the CV joint is removed only to replace the anther (when it is known that it has recently been damaged and the CV joint has retained its performance), without disassembling the hinge, remove the old grease from the hinge and wash it in kerosene. Blow out the hinge with compressed air. We inspect the balls, the separator, the clip and the internal cavity of the body. Seizures, dents, cracks, traces of corrosion on the hinge elements are not allowed - we replace such a hinge. We clean the shaft of old grease and apply a thin layer of new grease to it. We put a new boot on the shaft. We install a new retaining ring in the groove of the shaft. We invest and evenly distribute the required volume of new lubricant in the cavities of the CV joint housing and its anther.
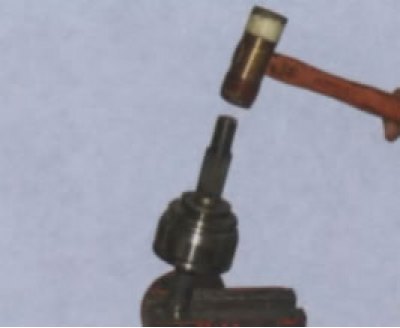
We put the CV joint on the shaft and, striking with a hammer with a soft metal striker on the splined shank of the hinge, we press the CV joint onto the shaft.
We check the fixation of the CV joint holder with a retaining ring. We check the mobility of the CV joint - it should move without jamming. We pull the boot on the CV joint housing like this. so that the anther belts under the clamps are located in the corresponding places of the shaft and the hinge housing. We fix the anther with new clamps. The design of the factory clamps during the installation of the CV joint does not allow them to be installed in a garage, since this requires special equipment.
In this case, for example, you can use universal clamps with locks for attaching CV joint anthers, which are commercially available.
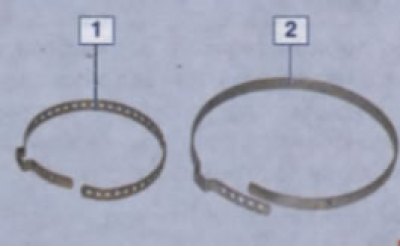
Universal clamps for the CV joint boot: 1 - clamp for attaching the boot to the drive shaft: 2 - clamp for attaching the boot to the hinge housing
Installing the clamp in the groove of the anther and fastening the lock...
... with blunt-edged pliers we squeeze the clamp lock.
We check the reliability of fastening the clamp, trying to move it by the lock along the anther groove. When properly tightened, the clamp should not move. Install the front wheel drive in reverse order.
Replacing the inner CV joint
1 - anther; 2 - spring; 3 - the body of the inner CV joint; 4 – a lock ring of the case; 5 - three-thorn (tripod); 6 - retaining ring of a three-stud; 7 - shaft
MOBIL CVJ 825 BLACK STAR grease is used to lubricate the inner CV joints of a car with a JR5 gearbox and the right inner CV joint of cars with a JH3 gearbox. The domestic analogue is SHRUS-4 grease.
For the left inner CV joint of cars with a JH3 gearbox, grease 7711420011 is used.
Removing the front wheel drive (see a lion. drive unit or rights. drive unit).
We clean it of dirt and put the drive on the workbench.
Having placed the blade of a slotted screwdriver at the junction of the lock of a large clamp, we strike with a hammer on the handle of the screwdriver.
Having opened the lock of the clamp, remove the clamp.
Having placed the blade of a slotted screwdriver at the junction of the lock of the small clamp, we strike with a hammer on the handle of the screwdriver.
Having opened the lock of the clamp, remove the clamp.
We pull the boot off the inner CV joint housing...
...and remove the hinge housing.

We take out the spring from the hinge housing.
Clamping the drive shaft in a vise...
... with two slotted screwdrivers or special circlip pliers...
... take out the retaining ring from the groove on the shaft.
With a soft metal drift we knock the three-stud off the shaft splines, striking the end of the three-stud hub and at the same time moving the drift around the circumference of the hub.
We remove the three-stud from the shaft.
During the subsequent assembly of the hinge, the three-pin should be installed on the shaft so that the groove on the three-pin (shown by arrow) was directed towards the duster.
We remove the boot from the shaft.
If the spring is broken or has lost elasticity, replace it with a new one.
We remove the old grease from the CV joint housing and wash it in kerosene. Wipe with a rag and blow with compressed air. We inspect the rollers, needle bearings of the three-stud and the inner cavity of the CV joint housing. The rollers of the three-stud must rotate freely on the needle bearings, without jamming. Before installing a new boot, apply a small amount of grease to the end of the shaft. Having put the boot on the shaft, we place its belt under the small collar in the groove of the shaft. We press the three-stud onto the shaft and fix it with a retaining ring. We put half of the recommended amount of the required lubricant and evenly distribute it in the cavity of the CV joint housing, the other half - in the anther cavity. We install a new retaining ring in the groove of the housing shank. We put the case on the three-stud and pull the boot, placing its belt under the large collar in the mounting groove of the case. Fasten the boot with new clamps.
Install the front wheel drive in reverse order.