



Removal
1. To access the sensor, place the vehicle on an inspection pit and prepare the vehicle for work (see "Preparing the car for maintenance and repair") or remove the right front wheel (see "Wheel replacement").
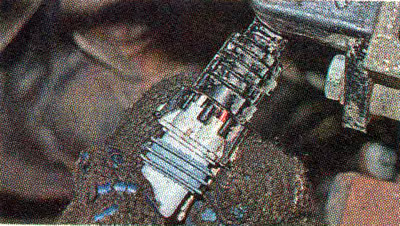
2. Having released the retainer, we disconnect the wiring block from the crankshaft position sensor (the photo shows a view from underneath the car).
3. Using a 10 mm socket or open-end wrench, unscrew the crankshaft position sensor mounting bolt.
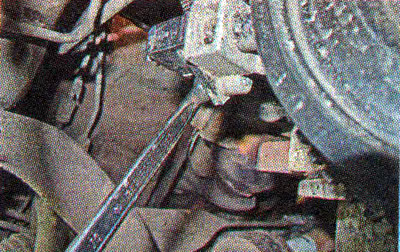
4. Remove the sensor.
Examination
1. Connect the multimeter to the sensor terminals (in voltmeter mode with a measurement limit of up to 200 mV).
2. Quickly move the blade of a screwdriver near the end of the sensor, while observing voltage surges on the voltmeter.
#img3#
Note: The sensor can be tested more accurately by taking readings from it while it is installed on the engine and the crankshaft pulley is rotating. A working sensor has a voltage at the terminals of 0.3 V. We replace the faulty sensor.
Installation
We install the crankshaft position sensor in the reverse order of removal. Using a set of feeler gauges, we check the gap between the end of the sensor and the teeth of the crankshaft pulley. The gap should be 1±0.41 mm, it is specified by the sensor design and is not adjustable.
Recommendation. If the gap is larger than normal, remove dirt from under the sensor.