



You will need: keys "8", "10", "13", "17", replaceable heads "10", "13", "17", keys for bolts with internal hexagon "5", TORX key E10, ratchet, pliers, screwdriver, set of flat feeler gauges, micrometers (with measurement ranges of 0-25, 25-50 and 75-100 mm), bore gauge, dial indicator with indicator stand, torque wrench, puller for removing the oil filter.
Note: If possible, work on a special rotating stand that provides access to the engine from all sides, since it is very difficult to fix the engine from moving when unscrewing fastening parts tightened with a high torque.
1. Remove the engine from the vehicle (see "Removing and installing the engine").
2. Place the engine on strong supports.
3. Disconnect the gearbox from the engine (see "Removal and installation of the gearbox").
4. Remove the cylinder head (see "Replacing the cylinder head gasket").
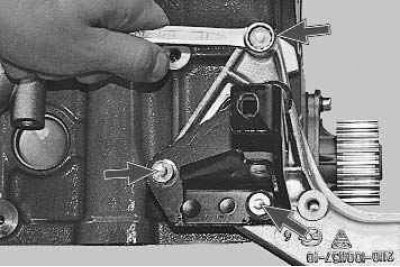
5. Using a 13 mm spanner, unscrew the three bolts securing the front support bracket of the power unit to the cylinder block…
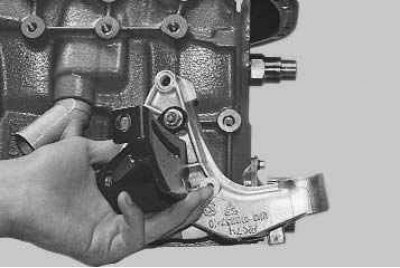
6. …and remove the bracket.
7. Remove the oil filter (see "Changing engine oil and oil filter").
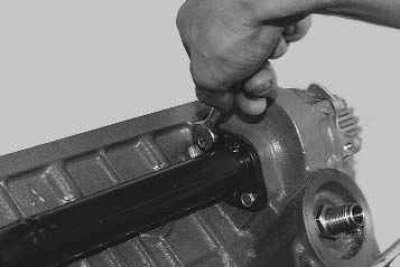
8. Using a 10 mm spanner, unscrew the two bolts securing the coolant pump supply pipe to the cylinder block…
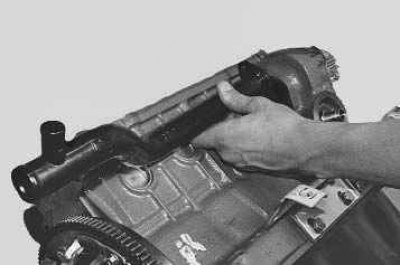
9. …and remove the pipe…
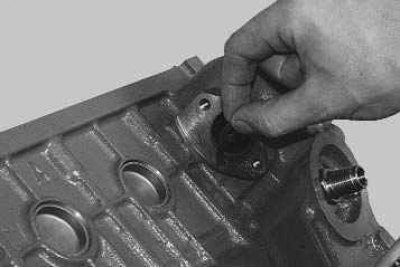
10. …and a sealing gasket.
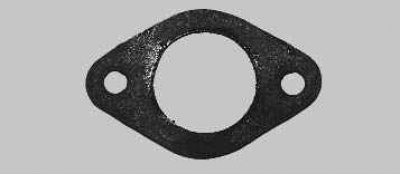
11. When assembling the engine, install a new sealing gasket.
12. Remove the water pump and sealing gasket (see "Replacing the water pump").
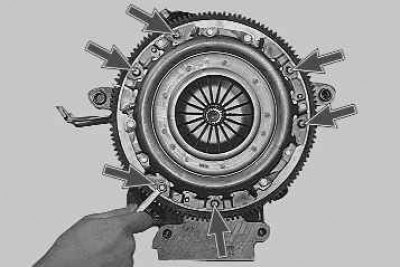
13. Using an 8 mm spanner, unscrew the six bolts securing the clutch to the flywheel…
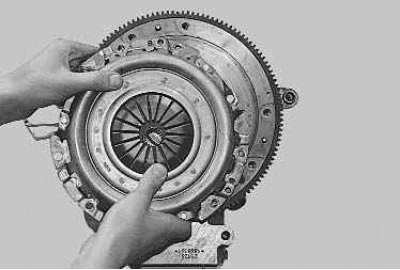
14. …and remove the clutch.
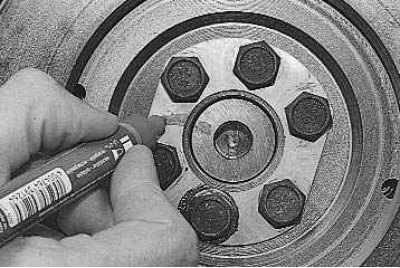
15. Mark the relative positions of the flywheel and crankshaft.
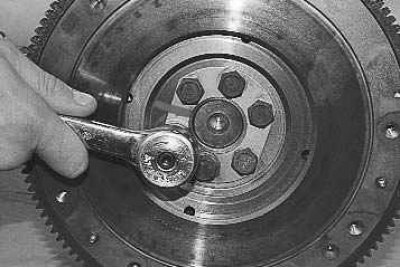
16. Using a 17 mm socket head, unscrew the six flywheel mounting bolts…
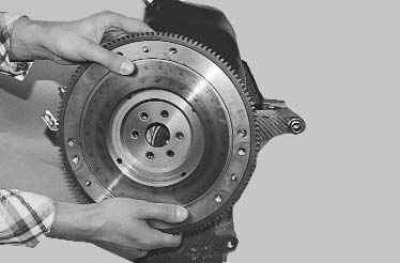
17. …and remove the flywheel.
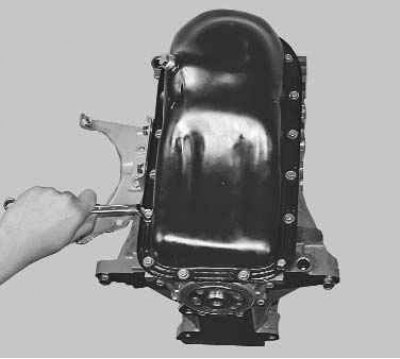
18. Using a 10 mm spanner, unscrew the sixteen oil pan mounting bolts…
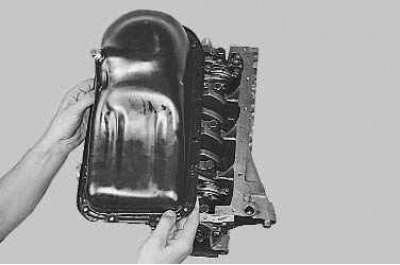
19. …and remove the oil pan together with the sealing gasket.
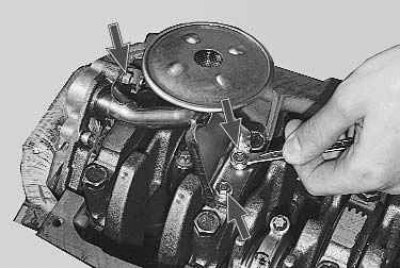
20. Using a 10 mm spanner, unscrew the three bolts securing the oil receiver…
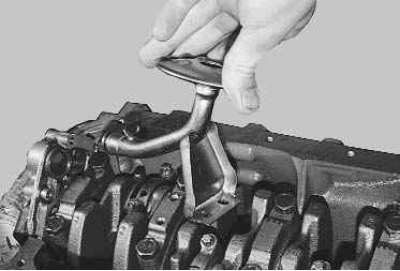
21. …and remove the oil receiver.
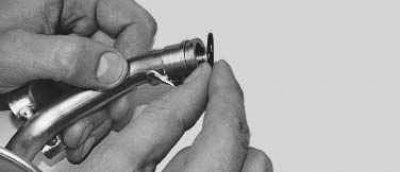
Note: Please note: a rubber sealing ring is installed in the groove of the receiver pipe. Any ring that is too compressed, hardened or torn must be replaced.
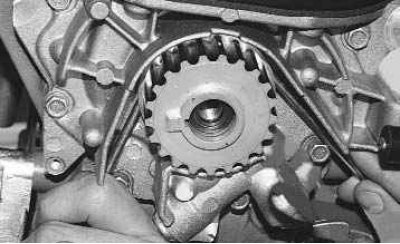
22. Pry with two screwdrivers…
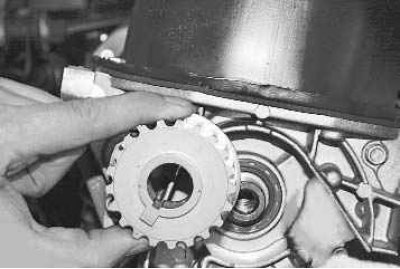
23. …and remove the toothed pulley from the nose of the crankshaft.
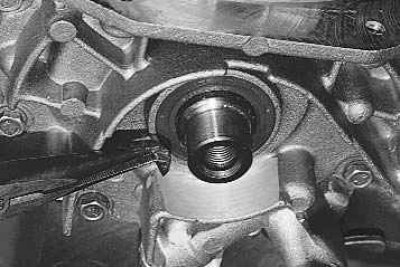
24. Remove the key from the groove on the nose of the crankshaft.
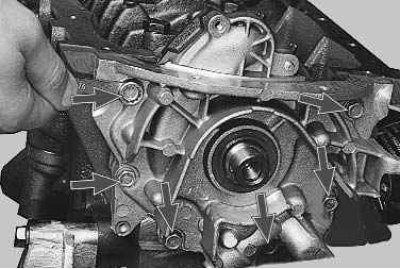
25. Using a 10 mm spanner, unscrew the six oil pump mounting bolts and remove the pump.
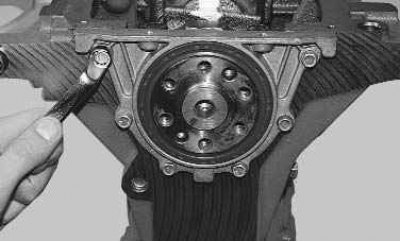
26. Using a 10 mm spanner, unscrew the six bolts securing the rear crankshaft oil seal holder…
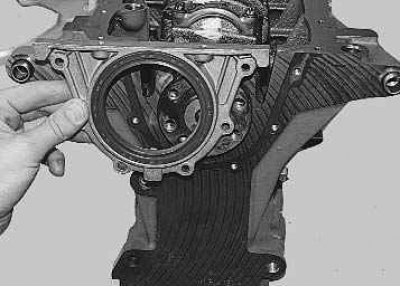
27. …and remove the holder with the seal installed in it…
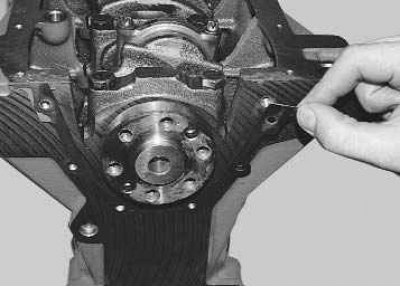
28. …and a sealing gasket.
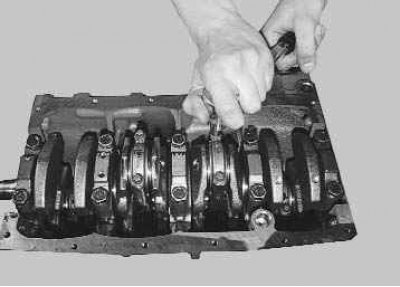
29. Turn the crankshaft so that the piston being removed is at BDC (bottom dead center). Using a TORX E10 key, unscrew the two connecting rod cover mounting bolts.
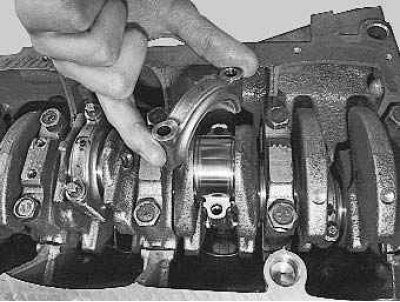
30. Remove the connecting rod cover. If the cover is difficult to remove, first knock it off with light hammer blows. The cylinder number on the cover may not be visible, in this case mark the cover with the cylinder number.
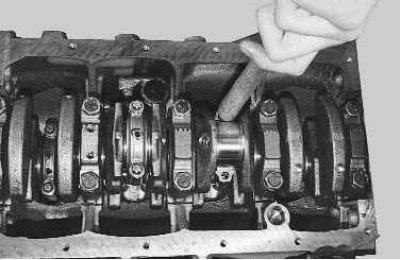
31. Push the connecting rod into the cylinder with the handle of the hammer…
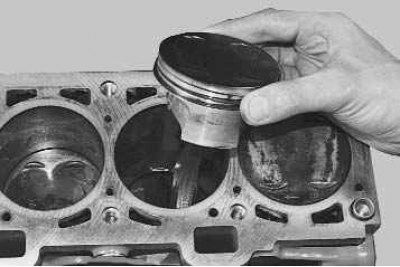
32. …and carefully remove the piston with the connecting rod from the cylinder. When doing this, make sure that the lower head of the connecting rod does not touch the cylinder mirror, otherwise the mirror may be damaged. Remove the remaining pistons in the same manner.
Note: If you plan to remove the piston from the connecting rod, mark the piston with the cylinder number to avoid mixing up the pistons during installation. The connecting rod, as well as the cover, have the cylinder number stamped on it; if it is not visible, mark the connecting rod.
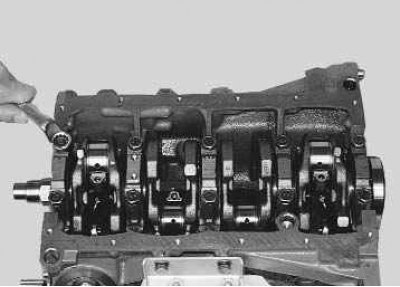
33. Using a 17 mm spanner, unscrew two bolts of the five main bearing caps…
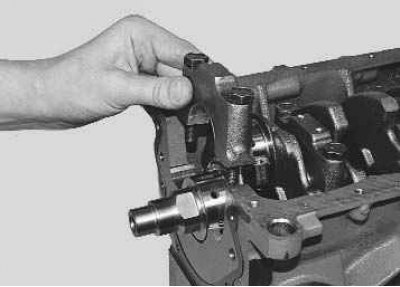
34. …and remove the lids.
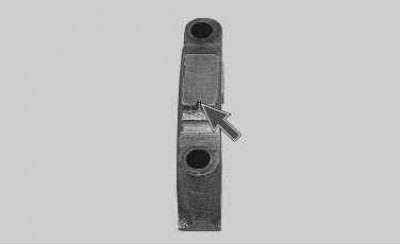
Attention! The main bearing caps are marked with notches in accordance with the cylinder numbers. If these marks are not clearly visible, be sure to additionally mark the caps so that they can be installed in their original locations: the caps are not interchangeable (the cylinder block is machined together with the covers).
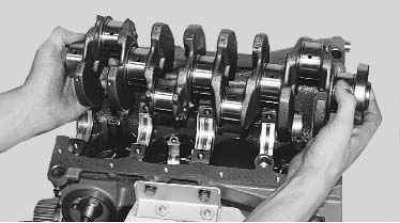
35. Remove the crankshaft.
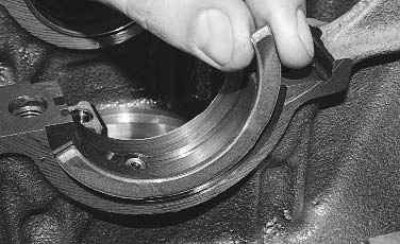
36. Remove the thrust half rings installed in the grooves of the crankshaft center support.
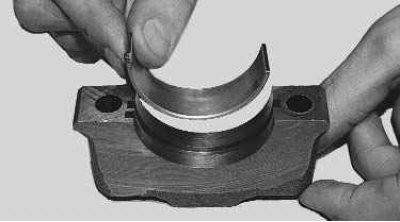
37. Remove the liners from the main bearing caps…
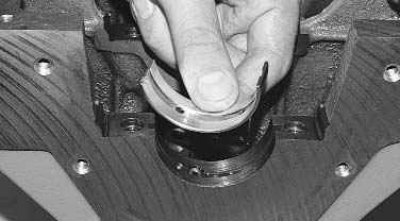
38. …and the block beds. If you do not intend to replace the liners, when removing them, mark the liners on the non-working side relative to the covers and beds.
39. Remove the piston rings using a special puller. If it is not there, remove the rings from the piston by carefully spreading the ring locks.
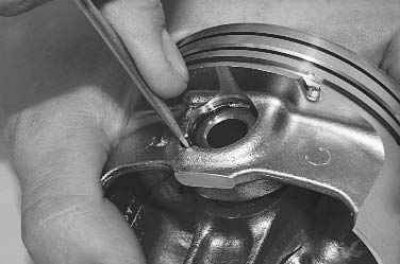
40. Insert a screwdriver into the recess on the piston boss..
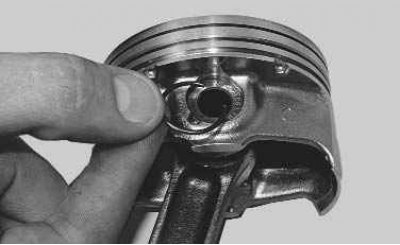
41. …remove the retaining ring holding the piston pin. Remove the second axe ring in the same way.
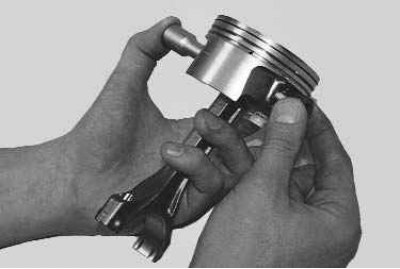
42. Using a suitable drift, push the pin out of the piston and remove the piston from the connecting rod.
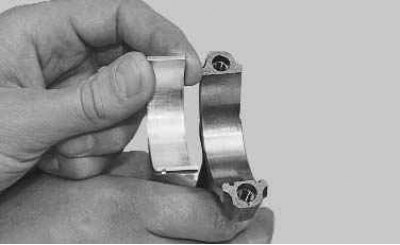
43. Remove the bearings from the connecting rod…
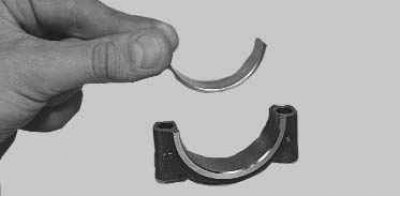
44. …and from its lid. If the bearings remain on the crankshaft, remove them from the shaft. If the bearings are not to be replaced, when removing them, mark them on the non-working surface relative to the connecting rods and caps.