Car repair AvtoVAZ Car repair Renault Car repair Hyundai Car repair Ford Car repair Volkswagen Car repair Audi Car repair Chevrolet
English Русский
Български
Беларускі
Український
Српски
Hrvatski
Română
Polski
Slovenský
Magyar
articles sitemap contacts bookmark
LadaMan.ru


Kalina Granta Priora Vesta Largus XRAY
Kalina Sedan (2004-2013, VAZ-1118) Kalina Hatchback (2004-2013, VAZ-1119)

Removal and installation the instrument panel (Kalina 1118)

  • Main
  • Kalina
  • Kalina Sedan
  • Body and interior
  • Interior (internal elements)
  • Removal and installation the instrument panel
0
To remove and install the instrument panel on a car, you will need: a flat-blade screwdriver, 10 and 13 mm wrenches, 10 and 13 mm socket wrenches.

1. Disconnect the wires from the battery terminals and remove the battery (see "Removal and installation the battery").

2. Drain the coolant from the engine cooling system (see "Replacing the coolant").
2. Drain the coolant from the engine cooling system (see «Replacing the coolant»).


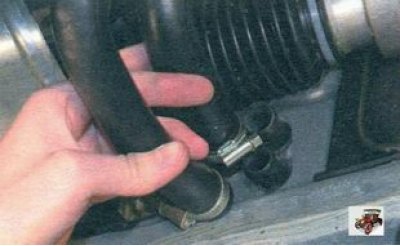
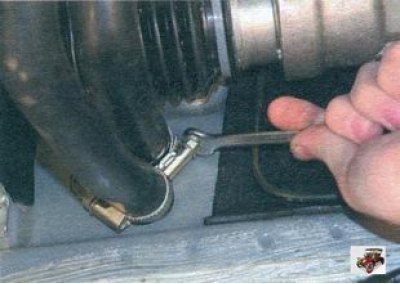
3. Loosen the clamps...

3. Loosen the clamps...


4. ...disconnect the coolant supply and discharge hoses from the heater radiator...
4. ...disconnect the coolant supply and discharge hoses from the heater radiator...


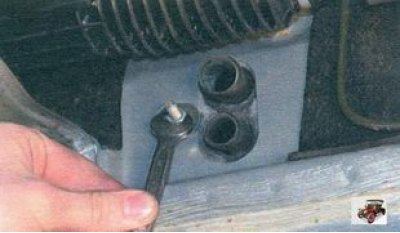
5. ...and unscrew the nut securing the heater radiator to the front shield.


6. Remove the front seats from the vehicle (see "Removal and installation the front seat").
6. Remove the front seats from the vehicle (see «Removal and installation the front seat»).


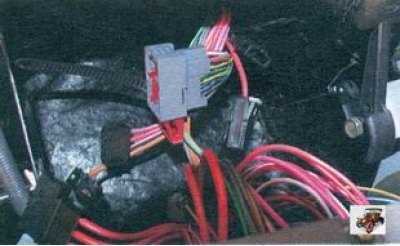
7. Disconnect the instrument cluster wiring harness connectors and the rest of the vehicle wiring located behind the fuse/relay box.

8. Remove the floor tunnel lining (see "Removal and installation of floor tunnel linings").
8. Remove the floor tunnel lining (see «Removal and installation of floor tunnel linings»).


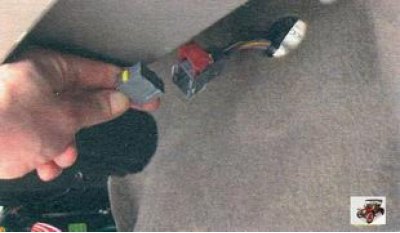
9. Disconnect the connector from the radio wires, located on the right under the instrument panel.
9. Disconnect the connector from the radio wires, located on the right under the instrument panel.


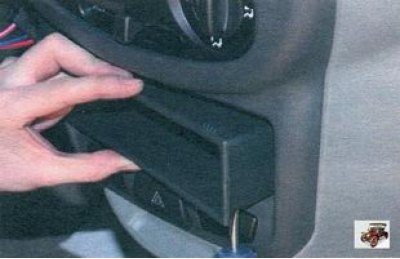
10. Remove the radio runners from the installation location (box for things)...


10. Remove the radio runners from the installation location (box for things)...


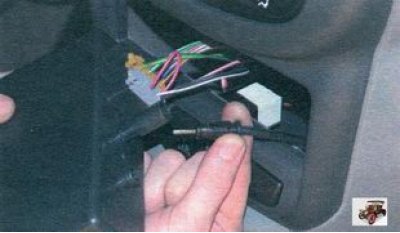
11. ...and disconnect the antenna connector from the radio.

12. Remove the steering column cover (see "Removal and installation steering column trim covers").
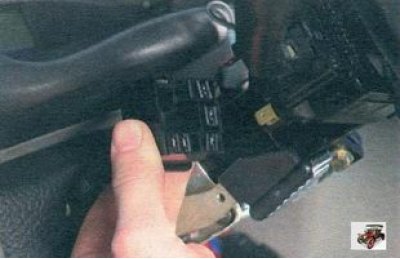
12. Remove the steering column cover (see «Removal and installation steering column trim covers»).


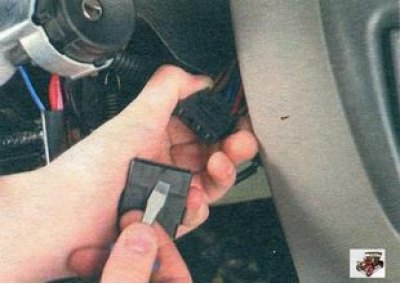
13. Disconnect the wiring harness connectors from the left and right steering column switches...

13. Disconnect the wiring harness connectors from the left and right steering column switches...
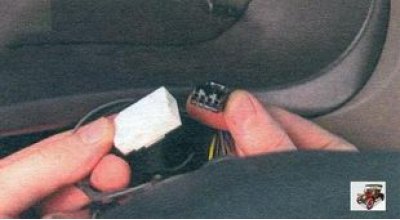

14. ...trip computer operating mode switch...

(Material was taken from the website: «LADAMAN.ru»)
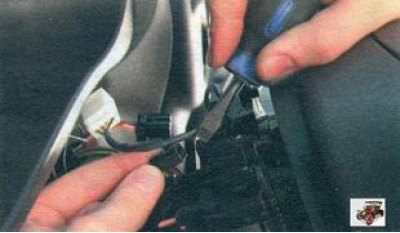


14. ...trip computer operating mode switch...


15. ...sound signal...

15. ...sound signal...


16. ...ignition switch...
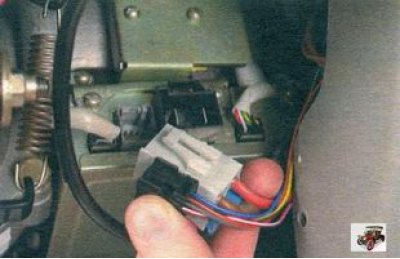
16. ...ignition switch...


17. ...electric power steering...
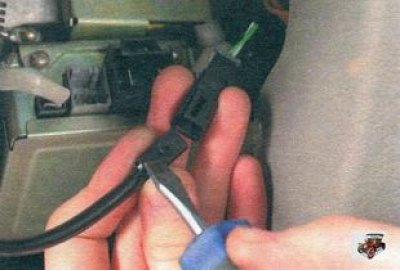
17. ...electric power steering...


18. ...and immobilizer.
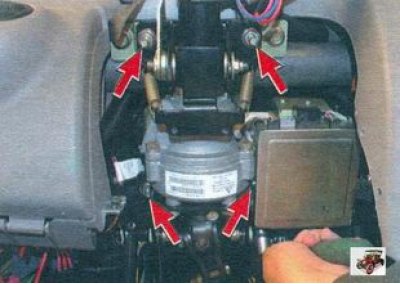


18. ...and immobilizer.


19. Unscrew the four nuts securing the electric power steering...
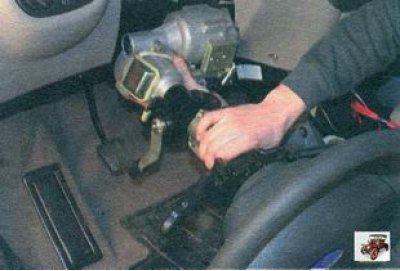
19. Unscrew the four nuts securing the electric power steering...


20. ... and fold the electric power steering down.
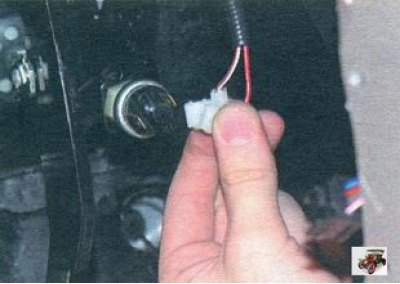
20. ... and fold the electric power steering down.


21. Disconnect the connectors with wires from the brake light switch.

22. Remove the front body pillar trim (see "Removal and installation the front pillar trims").
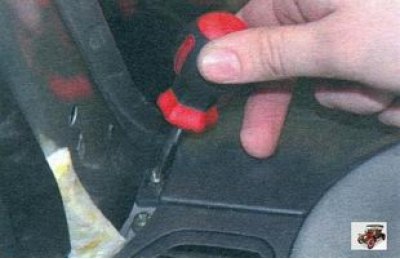
22. Remove the front body pillar trim (see «Removal and installation the front pillar trims»).


23. Remove the left and right screws securing the instrument panel trim...
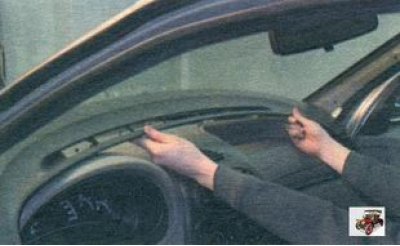


23. Remove the left and right screws securing the instrument panel trim...


24. ... and remove the instrument panel trim.
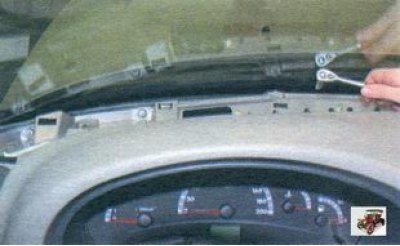
24. ... and remove the instrument panel trim.


25. Unscrew the seven nuts securing the instrument panel near the windshield.

26. Remove the air intake filter (see "Replacing the air inlet filter").
26. Remove the air intake filter (see «Replacing the air inlet filter»).


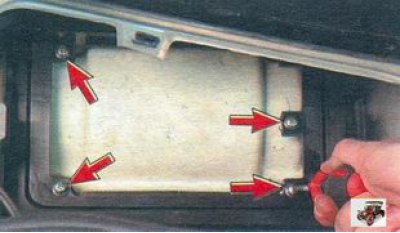
27. Unscrew the four screws securing the intake housing of the air filter cleaning the air entering the passenger compartment.
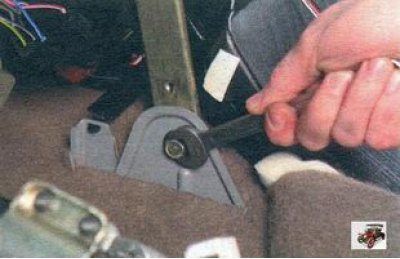
27. Unscrew the four screws securing the intake housing of the air filter cleaning the air entering…


28. Remove the left and right bolts securing the instrument panel console brackets to the floor tunnel.
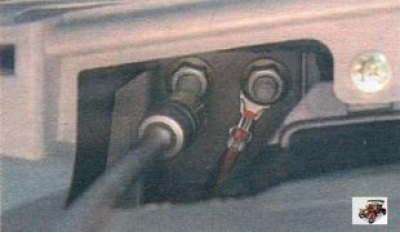
28. Remove the left and right bolts securing the instrument panel console brackets to the floor…


29. Unscrew the two nuts securing the upper crossmember bracket to the front shield and remove the terminal with the wire from the stud.
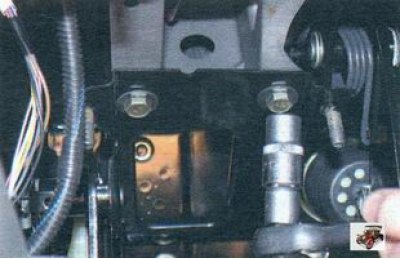
29. Unscrew the two nuts securing the upper crossmember bracket to the front shield and remove the…


30. Remove the two bolts securing the pedal assembly to the crossmember bracket.
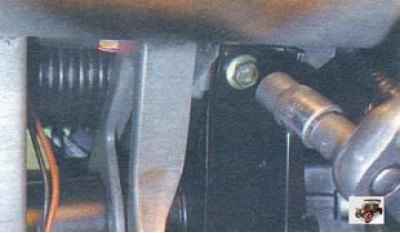
30. Remove the two bolts securing the pedal assembly to the crossmember bracket.


31. Remove the bolt securing the crossmember bracket to the pedal assembly bracket reinforcement.
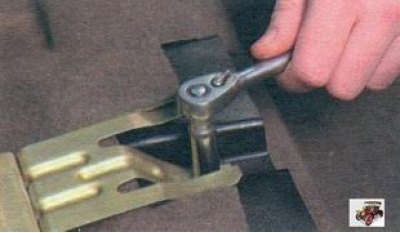
31. Remove the bolt securing the crossmember bracket to the pedal assembly bracket reinforcement.


32. Loosen the nut securing the fire extinguisher bracket and the left rear air duct. Remove the bracket and disengage the air duct from the stud.

33. Do the same work on the right side. Remove the first aid kit mounting bracket and disengage the air duct from the stud.
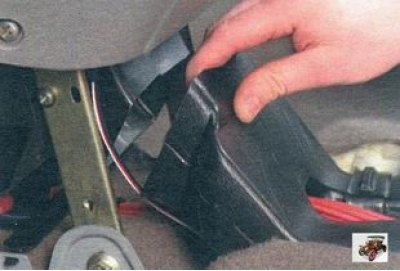
33. Do the same work on the right side. Remove the first aid kit mounting bracket and disengage the…


34. Disconnect the air duct from the heater and move it back.
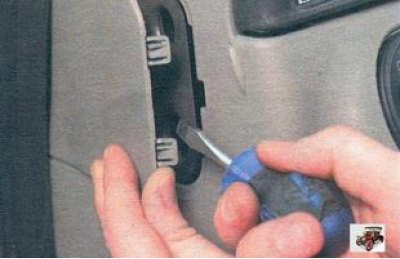
34. Disconnect the air duct from the heater and move it back.


35. Remove the end cap on the left side...
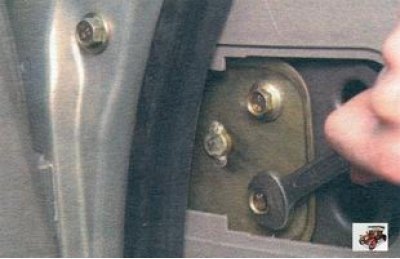
35. Remove the end cap on the left side...


36. ...and unscrew the two bolts securing the crossmember to the left side bracket.

37. Do the same work on the right side.

37. Do the same work on the right side.


38. Lift the instrument panel, disengaging it from the studs, and remove it.

39. Install the instrument panel in the reverse order of removal.


This article is available at russian, bulgarian, belarusian, ukrainian, serbian, croatian, romanian, polish, slovak, hungarian
This article has been reviewed: Daniil Markelov
Share with friends:
◀ Previous
Lada Kalina Sedan: Interior (internal elements)
Next ▶

Removal and installation door sill trims
Removal the rear pillar trims
Removal and installation the luggage compartment shelf
Removal and installation the center pillar trims
Removal and installation the front pillar trims
Disassembly and assembly of the instrument panel
Replacing the air inlet filter
Removal and installation the heater radiator
More articles with information from manuals for Lada:

• Instrument panel Lada Granta 1 (2011-2023, VAZ-2190)
• Instrument panel Lada Priora 1 (2007-2018, VAZ-2170)
• Instrument panel Lada Vesta 1 (2015-2023, VAZ-2180)
• Instrument panel design Lada Largus 1 (2012-2023)
• Instrument cluster Lada X-Ray 1 (2015-2022)
Link to this article in various formats
Reviews and comments of visitors
No comments yet


Add up two numbers: 47 + 42


Kalina Sedan (2004-2013) 
  • General information
  • Vehicle device
  • Operation and maintenance
  • Faults en route
  • Power unit
  • Engine repair
  • Cooling and lubrication system
  • Exhaust system
  • Supply system
  • Ignition and control
  • Transmission
  • Clutch and drive shafts
  • Car gearbox
  • Chassis (running gear)
  • Front suspension
  • Rear suspension
  • Steering
  • Brake system
  • Body and interior
  • Exterior (external elements)
  • Interior (internal elements)
  • Doors, locks and windows
  • Electrical equipment
  • Equipment and devices
  • Power devices
  • Lighting and signaling
  • Heating and ventilation
Kalina Hatchback (2004-2013) 
  • General information
  • Vehicle Details
  • Maintenance
  • Troubleshooting
  • Power unit
  • Engine repair
  • Cooling system
  • Supply system
  • Control system
  • Exhaust system
  • Transmission
  • Clutch
  • Car gearbox
  • Drive shafts
  • Chassis (running gear)
  • Wheels and tires
  • Front suspension
  • Rear suspension
  • Steering
  • Brake system
  • Body and interior
  • Exterior (external elements)
  • Interior (internal elements)
  • Doors, locks and windows
  • Electrical equipment
  • Equipment and devices
  • Power devices
  • Lighting and signaling
  • Electrical circuits
LadaMan.ru © 2018–2026 | Mobile version | About Lada | Sitemap: EN BG BY UA RS HR RO PL SK HU | Contacts with admin | | Add to bookmarks
Kalina Hatchback (2004-2013) | Kalina Sedan (2004-2013) | Granta 1 (2011-2023) | Priora 1 (2007-2018) | Vesta 1 (2015-2023) | Largus 1 (2012-2023) | X-Ray 1 (2015-2022) |
This site uses cookies to ensure everything runs smoothly.