



Removal
1. Prepare the car for work (see "Preparing the car for maintenance and repair").
2. Remove the door trim (see "Door trim - removal and installation").
3. Disconnect the outer handle rods from the lock (see "External door handle - removal and installation").
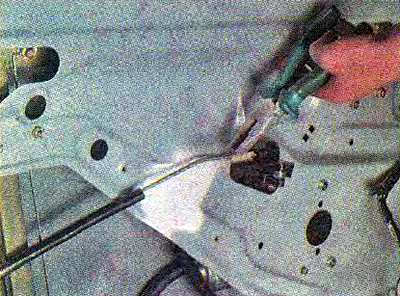
4. Using a Phillips screwdriver, unscrew the screw securing the inner handle of the lock...
[Article copied from a web page LADAMAN.ru]
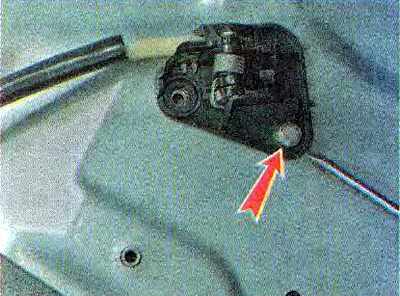
...and three screws for securing the lock.
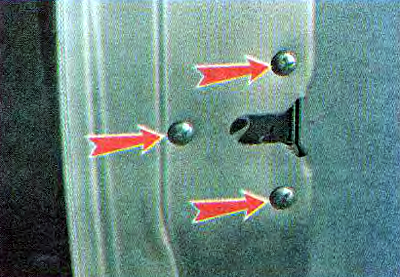
Note: The window lift guide prevents the lock from being removed. To remove the lock, you can remove the rods from it, or you can move the guide, having first unscrewed its bolts and nuts.
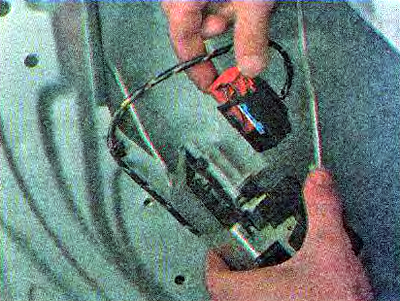
5. Remove the lock from the door and disconnect the wiring harness connector from it (shown with the guide removed).
6. To remove the lock retainer, mark its position on the body pillar.
7. Using a TORXT40 key, unscrew the pin of the retainer 2. Using an impact screwdriver with a Phillips tip, unscrew the two screws securing the retainer 1 and 3.
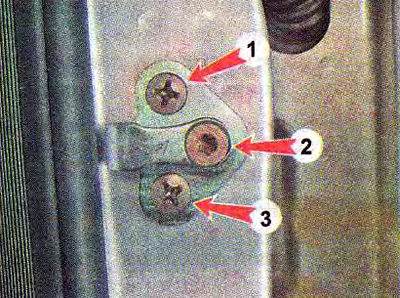
8. Remove the lock retainer and adjusting linings.
Installation
1. Install the lock in the reverse order, lubricating it with plastic grease.
2. We install the lock retainer in place, aligning the previously made marks or moving the retainer within the slots for the screws of its fastening, we achieve a clear fixation of the door in the closed position and its easy unlocking.
3. By adjusting the length of the rods of the outer door handle and the inner handle of the lock (by moving the plastic tip on the threaded part of the rod), we achieve a clear opening of the lock.
4. We adjust the lock switch in the same way.