
To replace the right drive seal, special mandrels are required, one of which centers the seal on the shaft, eliminating damage to the inner edge of the seal, and the other ensures its pressing to a certain depth.
Execution sequence
1. We install the car on a viewing ditch or overpass and prepare it for work (see «Preparing the car for maintenance and repair»).
2. Remove the front drive (see «Front wheel drives - removal and installation»).
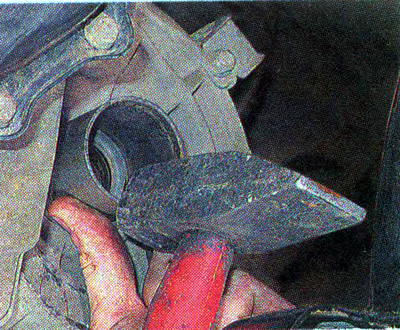
3. With a mounting spatula or a large slotted screwdriver, we remove the faulty oil seal.
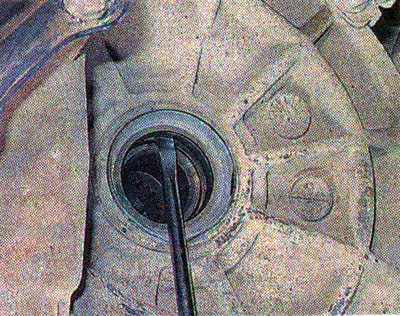
Warning! The edges of the mount must not have sharp edges. When removing the old stuffing box, try not to damage its seat, otherwise it may leak through scratches.
4. We examine the surface on the body of the outer hinge, on which the working edge of the stuffing box works. It should not have damage visible and tangible with a finger, as well as ring workings. Otherwise, the internal constant velocity joint (see «Wheel drives - checking the technical condition») also needs to be replaced.
5. Apply grease to the seal seat and the seal itself. We press it in with light blows of a hammer through a socket wrench with an outer diameter close to the outer diameter of the stuffing box.
Recommendation. As a mandrel, you can use the old front wheel drive oil seal.
Warning! Strikes should not be overly strong. The seal must be pressed in gradually, avoiding distortions.
6. After pressing, remove excess grease. We install the drive assembly on the car (see «Front wheel drives - removal and installation»).
7. Upon completion of work, we check and bring the level of transmission oil in the gearbox (see above, «Manual Transmission - Checking the Gear Oil Level»).