



To perform the work, you will need a wide container with a capacity of at least 8 liters, an inspection pit or overpass.
Warning! Mixing coolants of different brands is not permitted.
Sequence of execution
1. Prepare the car for work (see "Preparing the car for maintenance and repair").
2. Remove the engine splash guard (see "Engine Mudguard - Removal and Installation") or crankcase protection, if installed.
3. Place a container with a capacity of at least 8 liters under the lower radiator hose.
Recommendation. To reduce splashing of coolant when draining, do not remove the expansion tank cap before performing the following operation.
4. Using pliers, loosen the clamp, move it along the hose and drain the liquid into a container.
5. Disconnect the hose from the branch pipe.
Note: If it is necessary to completely drain the coolant, remove the starter (see "Starter - removal and installation").
Note: Place the container under the cylinder block, use a 13 mm socket wrench to unscrew the drain plug of the cylinder block and drain the remaining fluid.
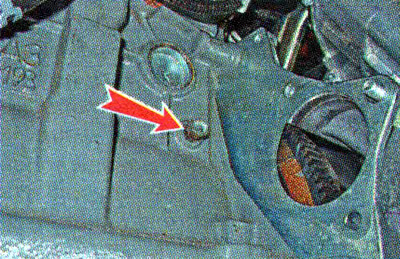
Note: After fluid stops leaking from the cylinder block, apply sealant to the threaded portion of the plug and screw it back into place.
6. Put the hose on the branch pipe and secure it with a clamp.
7. Unscrew and remove the expansion tank cap and install a funnel into the tank (see above, "Checking the technical condition of the cooling system").
8. Fill the expansion tank with new coolant.
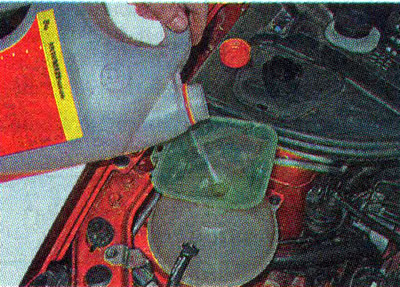
Recommendation. Use a coolant with a freezing point 10-15°C below the average winter temperature in the region where the vehicle is operated.
9. Fill the liquid to the upper mark of the expansion tank. We start the engine and let it run at high speed until the electric fan turns on. When the level in the tank drops, add liquid.