



5.45 liters are poured into the cooling system. (with air conditioning) and 4.5 l. (without air conditioning) coolant (antifreeze) "GLACEOL RX (type D)"; "CoolStream NRC" (complies with Renault specifications, is filled at AVTOVAZ), or similar.
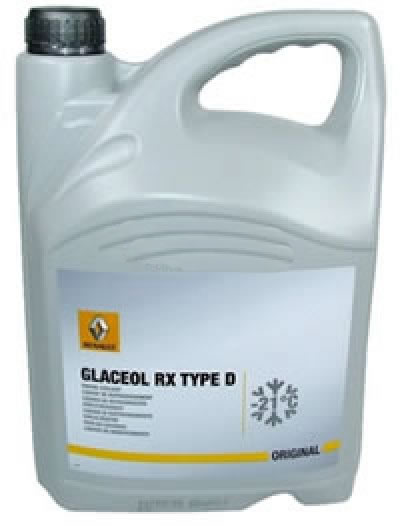
Note: Do not mix coolants of different brands or colors. If you do not know what liquid was poured in before, replace the liquid completely.
Warning: Replace only on a cold engine.
Location of the coolant reservoir
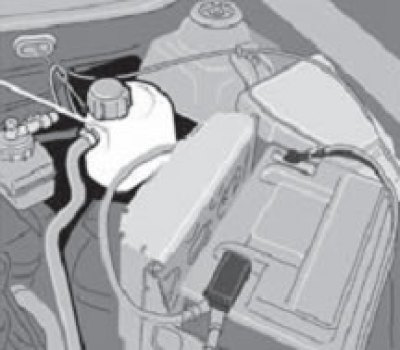
On a car with a K4M engine
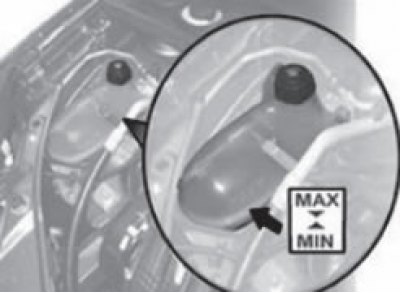
For cars with engine 11189, 21129
Draining the coolant
Note: The radiator and cylinder block do not have a tap (plug) for draining the coolant.
Place the vehicle on a two-post lift, apply the parking brake, turn off the ignition and disconnect the ground wire from the battery.
Unscrew plug 1, Figure 13-2, of the expansion tank.
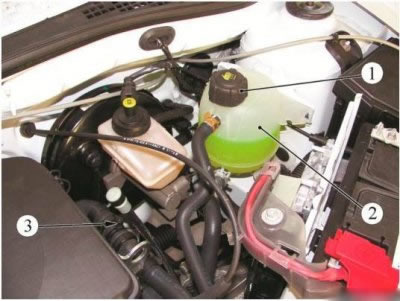
Figure 13-2 - Expansion tank of the engine cooling system: 1 - expansion tank cap; 2 - expansion tank of the engine cooling system; 3 - engine cooling system nipple
Remove the engine crankcase guard (see here).
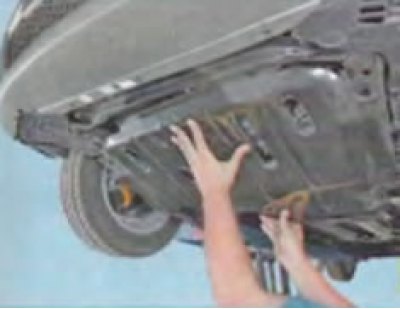
Install a process container to collect the coolant (with a volume of at least 6 liters.).
Remove clamp 1, Figure 13-3, of the radiator outlet hose of the cooling system.
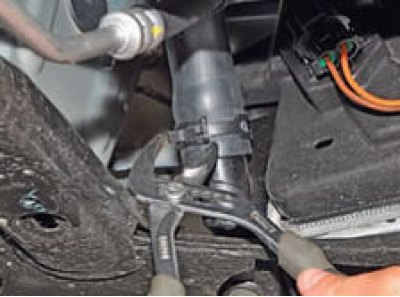
(pliers or device for removing elastic clamps Mot. 1202 or Mot. 1448).
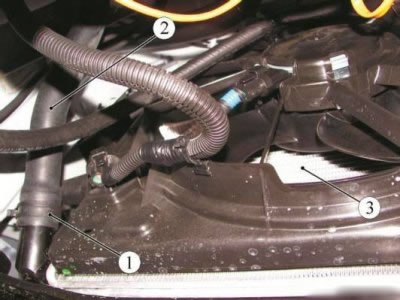
Figure 13-3 - Disconnecting the radiator outlet hose of the engine cooling system: 1 - clamp; 2 - outlet hose; 3 - engine cooling system radiator
And disconnect the radiator drain hose.
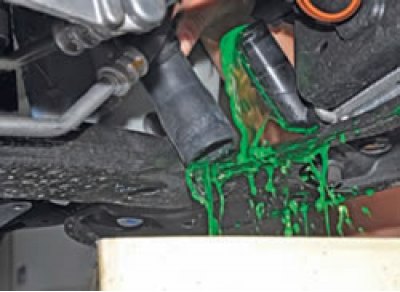
Drain all the liquid into a container provided.
Note: If you have special equipment, you can force a stream of compressed air through the expansion tank opening to remove the coolant using a pneumatic gun.
Note: The intensity of the drain can also be increased by unscrewing the cap of the air bleed nipple from the cooling system, which is located on the hose supplying liquid to the heater.
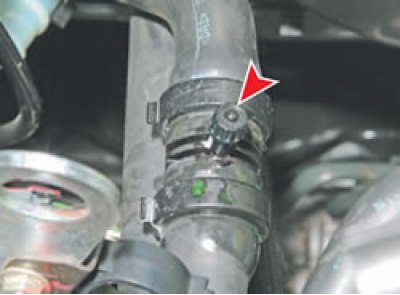
Flushing the cooling system
Fill the cooling system with water through the expansion tank.
Flush water through the cooling system until the water coming out of the radiator outlet hose of the cooling system is clear.
Filling the cooling system
Install the outlet hose 2, Figure 13-3, onto the radiator pipe of the engine cooling system.
Install clamp 1 of the radiator outlet hose of the cooling system (pliers or device for removing elastic clamps Mot. 1202 or Mot. 1448).
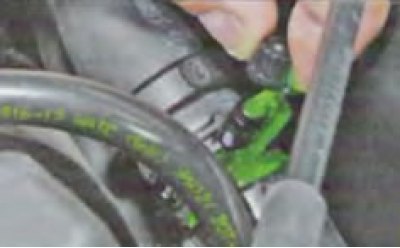
Unscrew the plug of the fitting 3, Figure 13-2, of the engine cooling system to remove air.
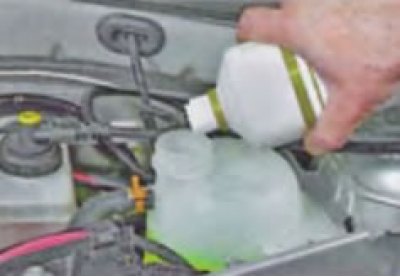
Fill the engine cooling system with coolant, pouring it into the expansion tank (coolant in accordance with the current "Codifier of main and auxiliary materials used in maintenance and repair of LADA vehicles" K 3100.25100.00018).
Close the bleed screw plug as soon as the coolant starts to flow out in a continuous stream.
Wipe up any spilled liquid and remove any streaks.
Install cap 1 of the expansion tank.
Connect the ground wire terminal to the battery.
Start the engine.
Run the engine at 2500 rpm until the electric cooling fan comes on for the third time.
Note: While the engine is running, monitor the coolant temperature gauge in the instrument cluster. If the gauge scale is completely shaded and the radiator fan does not turn on, turn on the heater and check what kind of air passes through it. If the heater supplies warm air, the fan is most likely faulty, and if it supplies cold air, it means that an air lock has formed in the engine cooling system. To remove it, turn off the engine, let it cool down and unscrew the expansion tank cap. Start the engine, let it run for 3-5 minutes and close the tank cap.
Check the heater's functionality.
After stopping the engine, check for signs of coolant leakage.
Bring the coolant level up to the "Maxi" mark on the expansion tank.
Install the expansion tank cap.
Install the engine crankcase guard.