
Warning! Shock absorbers must be replaced in pairs, even if only one is defective. Do not remove both shock absorbers at the same time with the vehicle suspended, as excessive lowering of the rear suspension beam can damage the brake pipes and hoses. To avoid this, install supports under the rear suspension arms.
You will need a car stand to do the job.
The need to perform work is determined during the inspection of the technical condition of the rear suspension (see «Checking the technical condition of the rear suspension»).
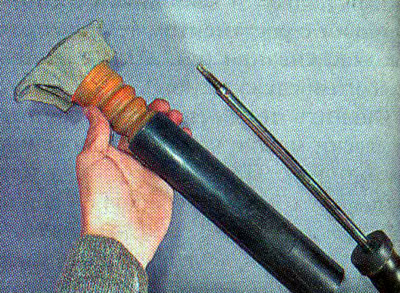
Full diagnostics of shock absorbers is impossible without special stands. You can independently check the technical condition of the shock absorber only by external signs:
- during operation, the shock absorber knocks or makes another extraneous sound;
- working fluid is leaking;
- mechanical damage (body dent, stem burrs or corrosion, stem deformity).
If these faults are found, the shock absorber must be replaced.
Recommendation. If you have any doubts about the health of the shock absorbers, it is better to remove them and check them one by one, sinking and pulling the stem several times. Such a check makes it more likely to identify faulty shock absorbers than when they are installed on the car. Tensile strength should be three to four times that of compression. The rod should move smoothly throughout its entire stroke. At the same time, shock absorbers should not make gurgling and other extraneous sounds (except for the barely audible sound of flowing liquid). The rod of a gas-filled shock absorber should slide smoothly out of the body without assistance. If any symptoms of a malfunction are found, the shock absorbers must be replaced. If even a slight difference in the performance of the shock absorbers is felt, then they also need to be replaced.
Removing
1. We prepare the car for work and hang the rear of the car on stands or install the car on a viewing ditch or overpass (see «Preparing the car for maintenance and repair»).
Recommendation. If the work is done on a horizontal platform (without overpass and inspection ditch), then for convenience, you can remove the rear wheels.
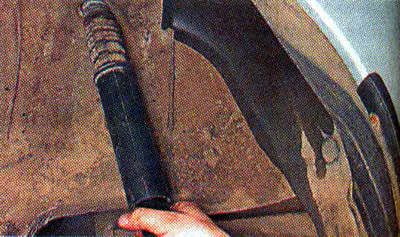
2. We install a stand under the lever and lower the car a little on the jack.
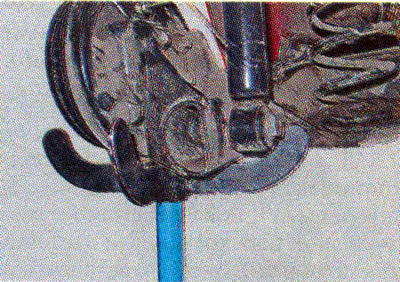
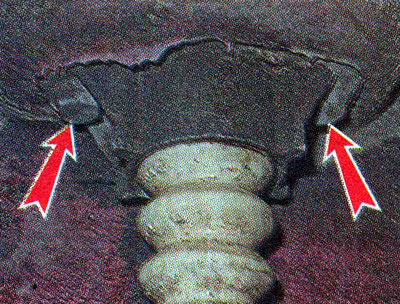
3. Using a 16 mm socket wrench, unscrew the two shock absorber mounting bolts.
4. Using a 21 mm key, unscrew the mounting bolt...
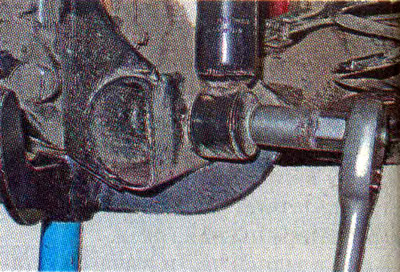
...and remove the shock absorber.
5. We clamp the shock absorber rod! and with a 13 mm wrench, unscrew the stem nut.

6. Remove from the shock absorber rod! top support, compression buffer and protective cover.
7. Remove the protective cover from the buffer.
8. We inspect all the removed parts. We replace worn or damaged parts.
9. We examine the removed shock absorber. If there are signs of fluid leakage or the bushing of the lower mount is badly worn, we replace the shock absorber.
10. Fully extending and sinking the shock absorber rod, we check its performance. If dips, jerks or extraneous sounds are heard when moving the rod, replace the shock absorber.
11. Before installing a new shock absorber, we pump it in accordance with the requirements of the instructions attached to it.
12. Install the shock absorber in reverse order.
13. Similarly, we replace the second shock absorber.