



You will need: all the tools needed to remove the cylinder head cover (see "Replacing the cylinder head cover gasket"), timing drive (see "Replacing the timing belt and tension roller"), the rear cover of the timing belt (see "Replacing the cylinder head gasket"), removing the cylinder head (see "Replacing the cylinder head gasket"), as well as tweezers (or a magnetized screwdriver) to extract crackers from valve spring plates..
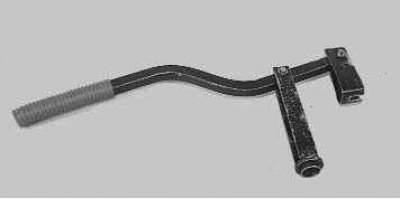
…a device for compressing valve springs…

…a device for removing and a mandrel for installing oil scraper caps.
1. Disconnect the negative battery terminal wire.
2. Remove the spark plugs (see "Replacing and servicing spark plugs").
3. Set the piston of the 1st cylinder to the TDC position of the compression stroke (see "Setting the piston of the first cylinder to the TDC position of the compression stroke").
4. Remove the timing belt (see "Replacing the timing belt and tension roller").
5. Remove the camshaft pulleys (see "Replacing the cylinder head gasket").
6. Remove the rear timing belt cover (see "Replacing the cylinder head gasket").
7. Remove the cylinder head cover (see "Replacing the cylinder head cover gasket").
8. Remove the cylinder head (see "Replacing the cylinder head gasket").
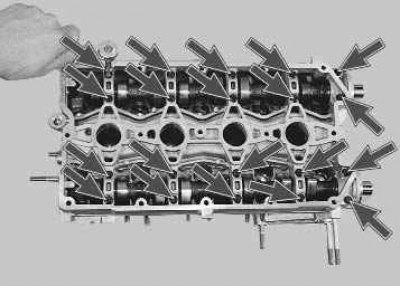
9. Using an 8 mm socket head, unscrew the twenty bolts securing the camshaft bearing housing...
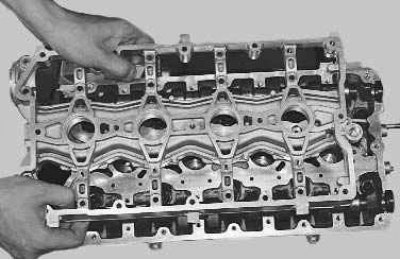
10. ...and remove the housing.
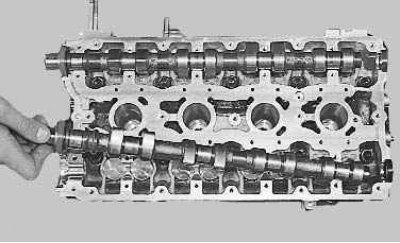
11. Remove the camshafts from the cylinder head supports.
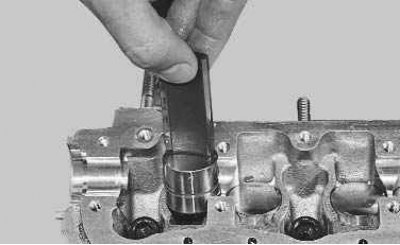
12. Remove the hydraulic valve lifters from the cylinder head holes.
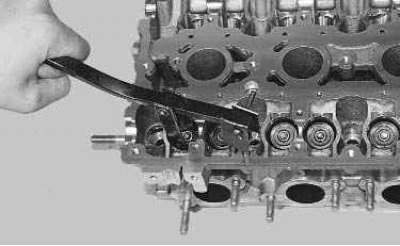
13. Install the valve spring compressor by screwing the camshaft bearing cap mounting bolt into one of the cylinder head holes and hooking the compressor onto this bolt. Compress the valve spring with the tool.
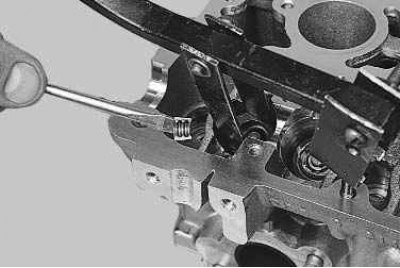
14. Remove the two crackers from the upper spring plate using tweezers or a magnetized screwdriver. Then remove the device.
Note: If the force required to move the lever of the device increases significantly and the crackers do not come out of the valve groove, lightly tap the spring plate with a hammer to release the crackers.
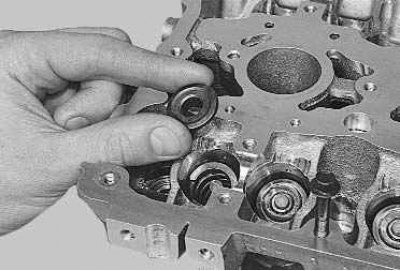
15. Remove the spring plate.
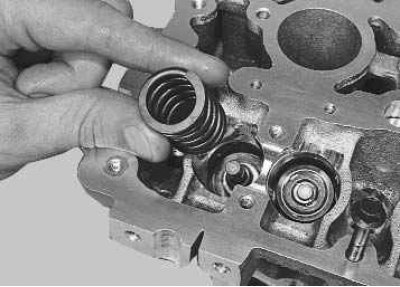
16. Remove the spring.
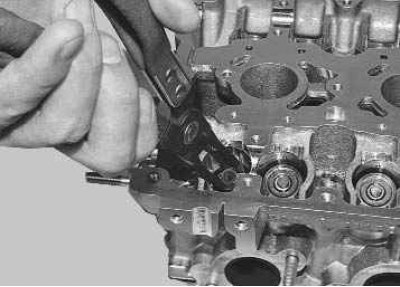
17. Press the valve stem seal off the valve guide.
Caution: If you do not have a cap removal tool, carefully remove the caps with pliers. The force must be applied strictly upwards and the caps must not be turned so as not to damage the valve guide bushings. The use of two screwdrivers for this purpose is prohibited!
Note: If your new caps include a mounting sleeve, place it on the valve stem to protect the sealing edge of the cap from damage from the sharp edges of the keyway grooves on the valve stem.
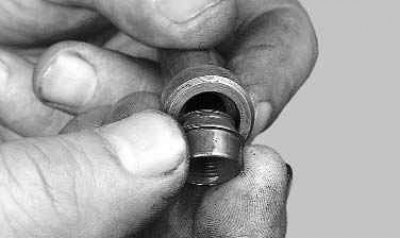
18. Dip the valve stem seal into engine oil and insert it into the mandrel.
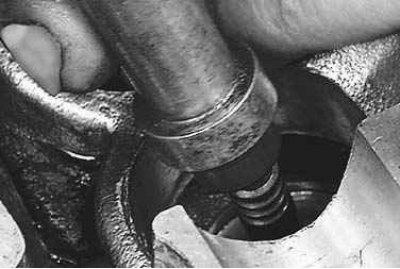
19. Carefully press the cap until it stops.
Note: If a valve stem guide was installed, remove it.
20. Install the springs and spring plates.
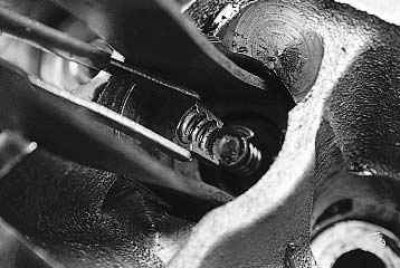
21. Compressing the spring with the device, install the crackers so that they fit into the grooves of the valve stem.
Note: After installing the crackers and removing the valve spring compressor, apply several light blows with a hammer to the end of the valve stem to ensure that the crackers are fixed in the groove of the stem. If the crimped valve crackers are not secured, the "uncracked" valve will fall into the cylinder when the engine is started, which will lead to serious engine failure.
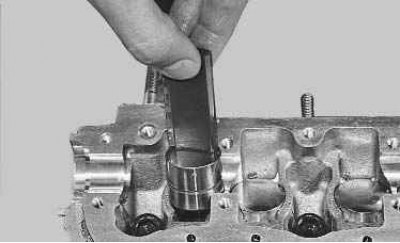
22. Install the hydraulic valve lifter.
23. Replace the oil seals of the remaining valves in the same way.
24. Install the cylinder head on the engine (see "Replacing the cylinder head gasket").
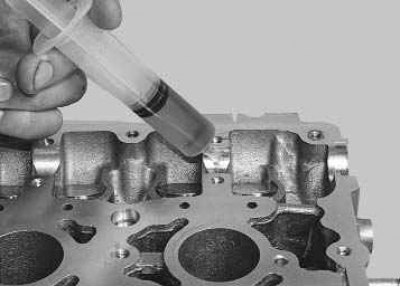
25. Lubricate the camshaft bearings in the cylinder head and hydraulic tappets with engine oil.
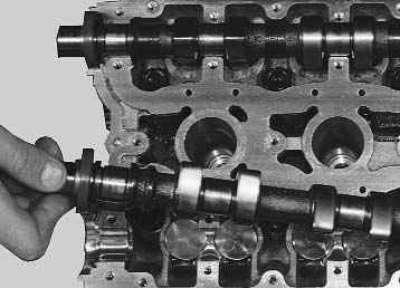
26. Install the camshafts in the cylinder head supports so that the cams of the 1st cylinder are directed away from the valve lifters.
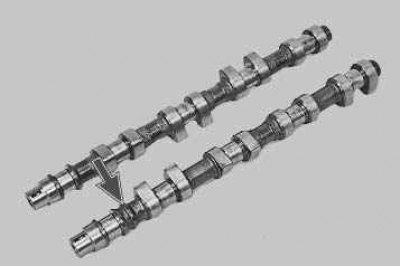
Note: The intake camshaft is equipped with a distinctive belt.
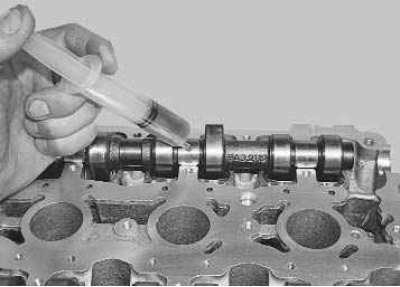
27. Lubricate the journals with engine oil…
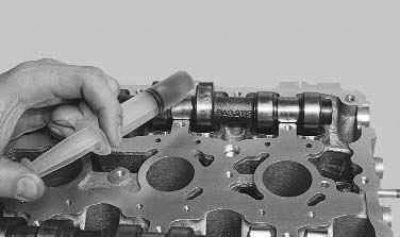
28. …and camshaft cams.
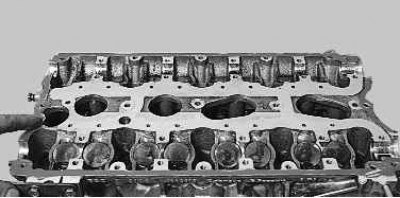
29. Apply a sealant such as "Loctite-574" to the surface of the cylinder head that is mated with the camshaft bearing housing using a 2 mm diameter roller.
Attention! The engine may not be started earlier than 1 hour after applying the sealant.
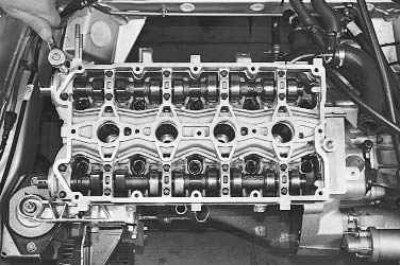
30. Install the bearing housing and tighten its mounting bolts evenly in a crosswise pattern, starting from the middle supports.
Note: The bearing housing is centered by bushings pressed into the cylinder head. Before installing the housing, check that they are present and pressed in correctly.
31. Install the removed timing mechanism parts (see "Replacing the cylinder head gasket") and adjust the timing belt tension (see "Replacing the timing belt and tension roller").
32. Install the removed generator drive parts and adjust the generator drive belt tension (see "Checking the alternator drive belt tension").