



Removal
1. Prepare the car for work and disconnect the terminal from the negative terminal of the battery (see "Preparing a car for technical inspection and repair").
Note: If the car has a radio (or other audio system head unit), we remove it in accordance with the installation instructions.
2. Using a thin slotted screwdriver, carefully pry up and remove the two cover caps.
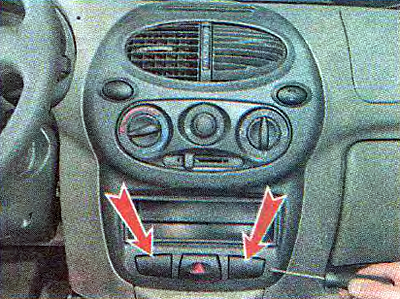
Note: If a switch is installed instead of one of the plugs, open the ashtray lid. Unscrew the four screws securing the ashtray and remove it. Or remove the small items box installed in place of the radio. Through the opened opening, disconnect the wiring harness from the switch and push the switch out of the panel.
3. Remove the air recirculation flap control lever handle.
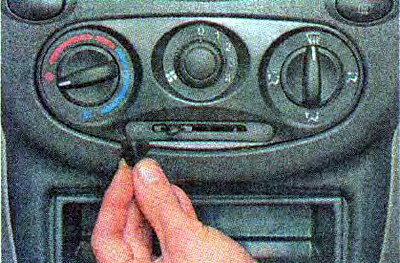
4. Remove the air flow control and air temperature regulator handles.
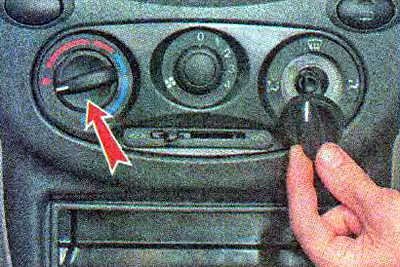
5. Using a Phillips screwdriver, unscrew the two screws securing the instrument panel console trim.
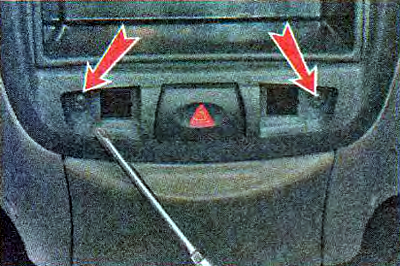
6. Move the cover away from the instrument panel to the length of the wires.
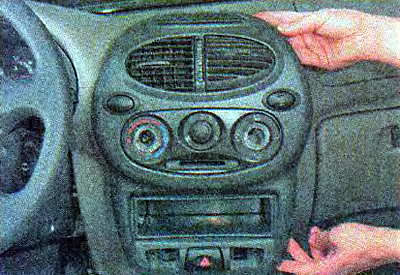
7. Disconnect the wire connectors from the switches and panel backlight lamps.
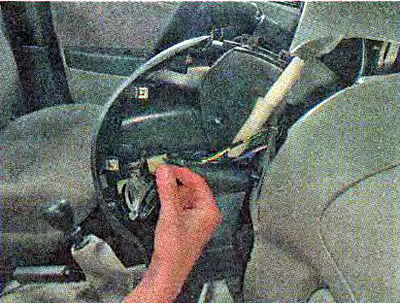
8. If necessary, remove the switches from the holes in the cover plate (see "Switches on the central console of the instrument panel - removal and installation").
Installation
We install the overlay in the reverse order.