



Note: It is more convenient to disassemble and assemble the door when it is installed on the vehicle. This reduces the risk of damaging the paintwork. The sequence of disassembling the rear door is the same as when removing the front door (see "Front door - removal and installation").
An assistant will be needed to complete the job.
Removal
1. Remove the window regulator (see "Window lifter - removal and installation").
2. Remove the glass from the door (see "Door glass - removal and installation").
3. Remove the outer door handle (see "External door handle - removal and installation").
4. Remove the door lock (see "Door lock - removal and installation").
5. Disconnect the corrugated hose of the wiring harness from the rack.
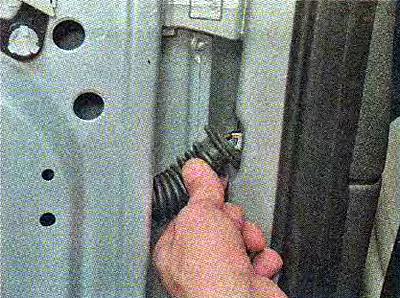
6. Disconnect the wiring harness connectors.
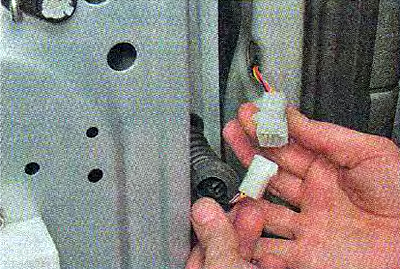
Note: When disassembling the door, remove the corrugated hose from the wiring harness and remove the harness through the door opening.
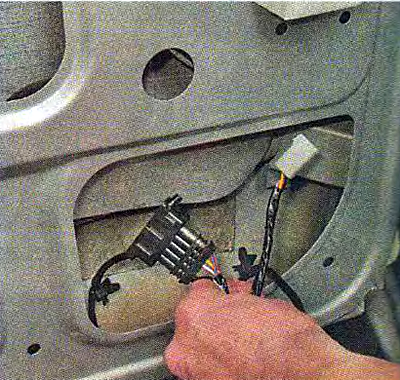
7. Disconnect the door opening limiter from the pillar (see "Door opening limiter - removal and installation").
8. Unscrew the axles from the hinges and remove them in the same way as shown on the front door (see "Front door - removal and installation").
Installation
After covering the working surfaces of the hinges and axles with plastic grease, we install and assemble the door in the reverse order.
To ensure reliable contact in the door wiring harness connector block, we treat its terminals with a special cleaning and protection agent for electrical contacts.