
Car repair AvtoVAZ Car repair Renault Car repair Hyundai Car repair Ford Car repair Volkswagen Car repair Audi Car repair Chevrolet
English Русский
Български
Беларускі
Український
Српски
Hrvatski
Română
Polski
Slovenský
Magyar
articles sitemap contacts bookmark
LadaMan.ru


Kalina Granta Priora Vesta Largus XRAY
Largus 1 (2012-2023)

Removal the rear windshield wiper of the luggage compartment door (Largus 1)

  • Main
  • Largus
  • Largus 1
  • Electrical equipment
  • Equipment and devices
  • Removal the rear windshield wiper of the luggage compartment door
0
Note: Rear Wiper Part Numbers see here.


The rear wiper is installed on the left luggage compartment door, under the trim. The cleaner consists of a gear motor, a lever and a brush. The cleaner's electric motor is a two-brush motor with excitation from permanent magnets.
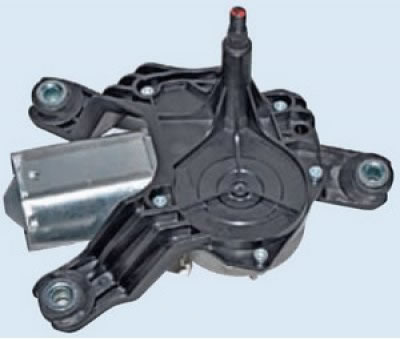
The rear wiper is installed on the left luggage compartment door, under the trim. The cleaner…


We carry out the work when replacing the windshield wiper motor of the luggage compartment door, as well as when removing the outer handle and the drive of the left luggage compartment door locks.
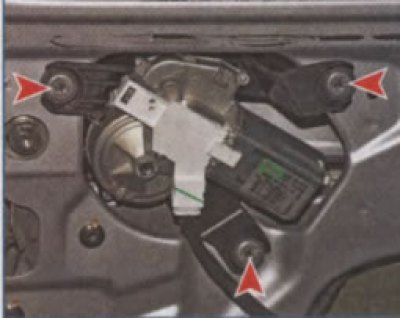
We carry out the work when replacing the windshield wiper motor of the luggage compartment door, as…


The luggage compartment glass wiper is secured to the inner panel of the left door with three special disposable rivets, which have their own catalog number.
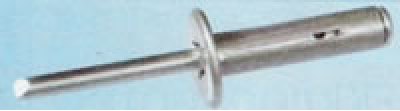
Rear wiper motor rivet

Rear wiper motor rivet


In case the installation of the motor after removal is planned in an original way (those. with rivets), then you need to have both the rivets themselves and a special tool for installing them. Since most car owners do not have this tool, and purchasing it is expensive, this section offers two simple ways to attach a windshield wiper that do not require a special tool.

Disconnect the wire terminal from the negative terminal of the battery.

We remove the trunk door trim (see here).
We remove the trunk door trim (see here).


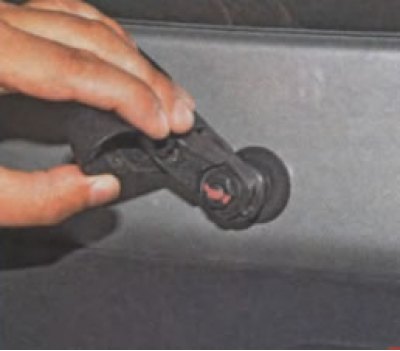
We lift the protective cap covering the wiper arm mounting nut.
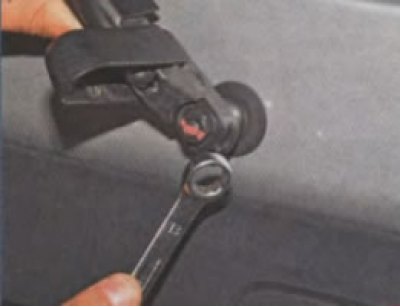
We lift the protective cap covering the wiper arm mounting nut.


Using a 13 mm open-end wrench, unscrew the lever mounting nut...
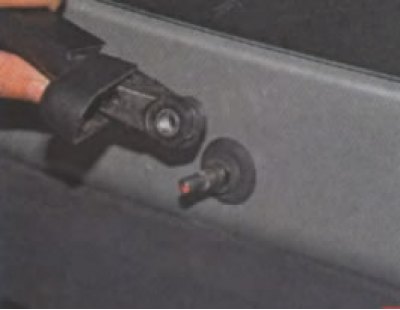
Using a 13 mm open-end wrench, unscrew the lever mounting nut...


...and remove the lever with the brush. If the lever cannot be removed from the wiper roller, tighten the nut, with the reverse side, by 3-4 turns...
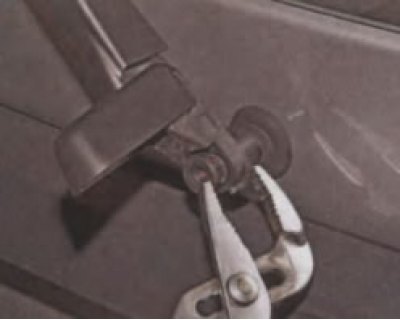


...and remove the lever with the brush. If the lever cannot be removed from the wiper roller,…


...and compress the lever using sliding pliers.
...and compress the lever using sliding pliers.


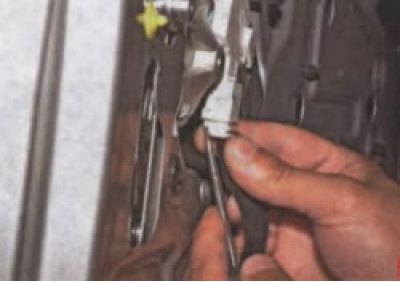
Using a screwdriver, press on the wire connector lock...
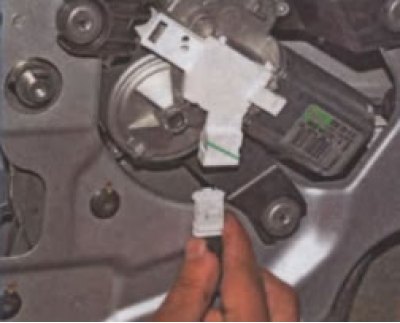
Using a screwdriver, press on the wire connector lock...


...and disconnect the block from the motor-reducer connector.
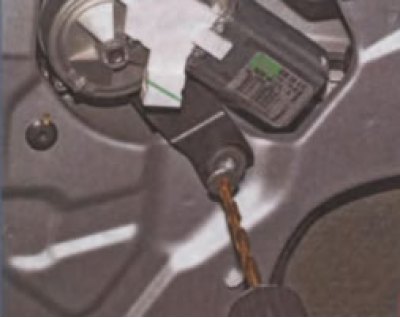
...and disconnect the block from the motor-reducer connector.


Using a drill with an 8 mm diameter bit, drill out the rivets securing the wiper and remove the wiper.


Before installing a new wiper, we transfer the rubber pads from the old wiper to it.

For this...
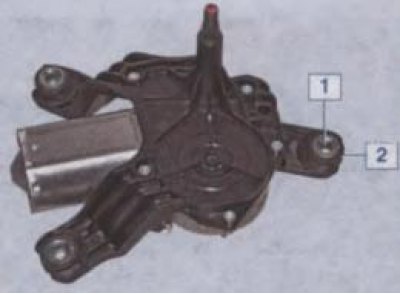
For this...


...we remove the spacer sleeve 1 from the cushion, and then we remove the cushion 2 from the wiper bracket.

We take out the other two pillows in the same way. We insert the cushions into the bracket of the new wiper and insert the spacer bushings into them.

When installing, you can secure the cleaner using self-tapping screws or by making special pins. When fastening with self-tapping screws...
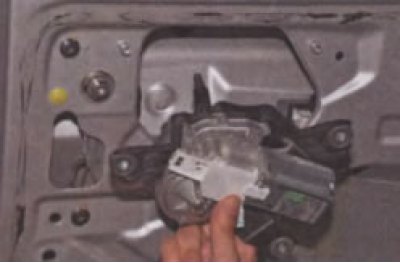
When installing, you can secure the cleaner using self-tapping screws or by making special pins.…


...we install the cleaner on the remaining parts of the rivets...
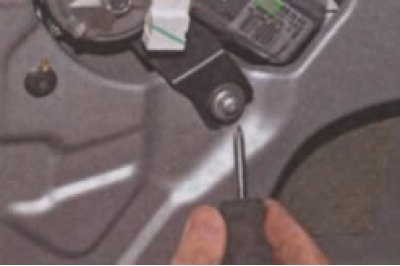
...we install the cleaner on the remaining parts of the rivets...


...and screw suitable screws with washers into the holes of the rivets. If the rivets have fallen out or are turning in the door panel, secure the cleaner with pins. For this...
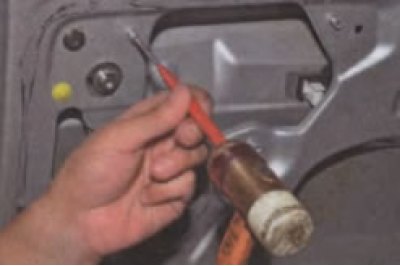


...and screw suitable screws with washers into the holes of the rivets. If the rivets have fallen…


...we knock out the remaining rivets from the door panel.

We take three studs about 100 mm long with M6 thread (can be purchased at any hardware store or auto parts store).
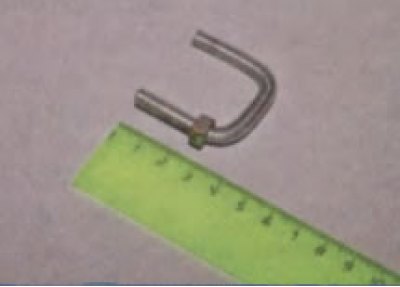
We take three studs about 100 mm long with M6 thread (can be purchased at any hardware store or…


We bend the studs as shown in the photo and screw a nut onto the bent end at a distance of 25 mm from the end of the stud.
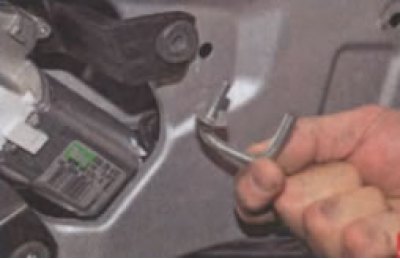
We bend the studs as shown in the photo and screw a nut onto the bent end at a distance of 25 mm…


We put a washer on the end of the stud with a nut.


We insert the bent end of the stud with the nut behind the inner door panel...
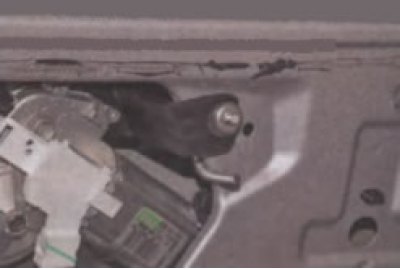
We insert the bent end of the stud with the nut behind the inner door panel...


...we insert the bent end of the pin into the hole in which the rivet was previously installed, and into the wiper pad.
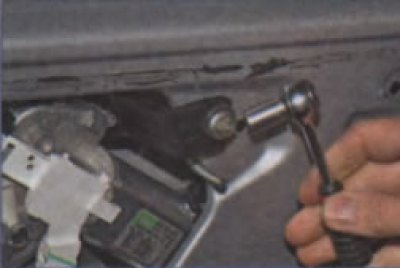
...we insert the bent end of the pin into the hole in which the rivet was previously installed, and…


After putting on the washer, we screw in and tighten the nut with M6 thread (it is better to use a self-locking nut) cleaner mounts.

We install the remaining two pins for mounting the wiper in the same way. To set the motor-reducer shaft to its original position, connect the wiring block to the motor-reducer. Having put the wire terminal on the "negative" terminal of the battery, turn on the motor-reducer with the steering column switch, then turn it off and wait for the motor-reducer shaft to stop. In this position, we set the brush lever so that the brush is located horizontally and directed towards the left side of the car.


This article is available at russian, bulgarian, belarusian, ukrainian, serbian, croatian, romanian, polish, slovak, hungarian
This article has been reviewed: Daniil Markelov
Share with friends:
◀ Previous
Lada Largus 1: Equipment and devices
Next ▶

Windscreen Wiper — Removing Arms and Motor
Removal the front and rear window washers
Disassembling the electric outside rearview mirror
Instrument cluster — removal and installation
General description of the vehicle's electrical equipment
Fuses — location, rating and purpose
Central console with instruments — removal and installation
Replacing the radiator fan motor
Removal the driver's airbag (SRS, Airbag)
Removal the front passenger airbag (SRS, Airbag)
More articles with information from manuals for Lada:

• Rear Door Outside Handle — Removal and Installation Lada Kalina Hatchback (2004-2013, VAZ-1119)
• Rear Door Outside Handle — Removal and Installation Lada Granta 1 (2011-2023, VAZ-2190)
• Removal and installation the luggage compartment shelf Lada Priora 1 (2007-2018, VAZ-2170)
• Rear Door Wiring Harness Wiring Diagram Lada Vesta 1 (2015-2023, VAZ-2180)
• Troubleshooting Windshield Wiper Problems Lada X-Ray 1 (2015-2022)
Link to this article in various formats
Reviews and comments of visitors
No comments yet


Add up two numbers: 28 + 39


Largus 1 (2012-2023) 
  • General information
  • Vehicle device
  • User manual
  • Maintenance
  • Power unit
  • Engine repair
  • Cooling and lubrication system
  • Supply system
  • Ignition system
  • Exhaust system
  • Spare parts catalog
  • Transmission
  • Clutch
  • Car gearbox
  • Drive shafts
  • Spare parts catalog
  • Chassis (running gear)
  • Suspension and wheels
  • Steering
  • Brake system
  • Spare parts catalog
  • Body and interior
  • Exterior (external elements)
  • Interior (internal elements)
  • Doors, locks and windows
  • Heating and ventilation
  • Spare parts catalog
  • Electrical equipment
  • Equipment and devices
  • Power devices
  • Lighting and signaling
  • Spare parts catalog
  • Electrical circuits
LadaMan.ru © 2018–2026 | Mobile version | About Lada | Sitemap: EN BG BY UA RS HR RO PL SK HU | Contacts with admin | | Add to bookmarks
Kalina Hatchback (2004-2013) | Kalina Sedan (2004-2013) | Granta 1 (2011-2023) | Priora 1 (2007-2018) | Vesta 1 (2015-2023) | Largus 1 (2012-2023) | X-Ray 1 (2015-2022) |
This site uses cookies to ensure everything runs smoothly.