



Note: Front Washer Part Numbers see here, and rear washer see here. Please note that the windshield washer pump (motor) differs depending on the presence of a rear windshield washer, i.e. it can have one or two fittings.
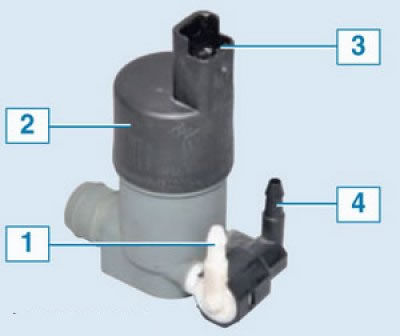
Washer pump with two nozzles: 1 – nipple for supplying fluid to the glass of the luggage compartment door; 2 – electric motor; 3 – electrical connector; 4 – fluid supply nipple to the windshield
We carry out the work in case of pump failure and damage (leaks) washer reservoir. Disconnect the wire terminal from the negative terminal of the battery.
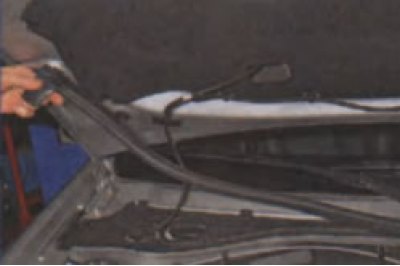
We remove the seal from the front shield partition.
Using a screwdriver, pry up the piston pin and remove the piston securing the right windshield trim
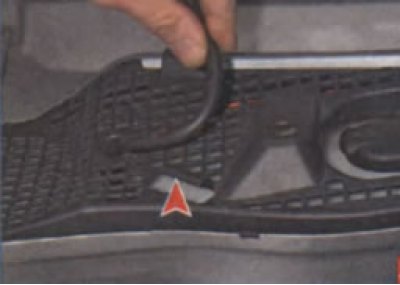
We remove the hose from the holder on the windshield trim.
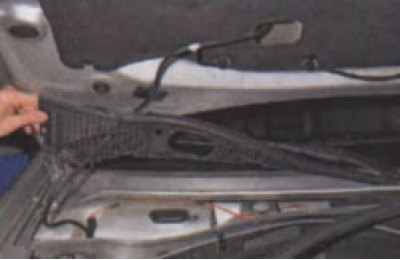
We remove the right windshield trim.
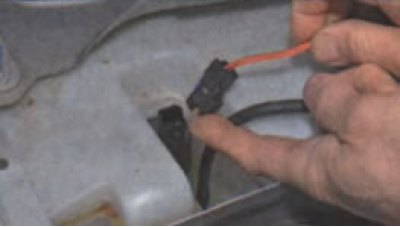
By pressing the lock of the wiring block, we disconnect the block from the washer pump.
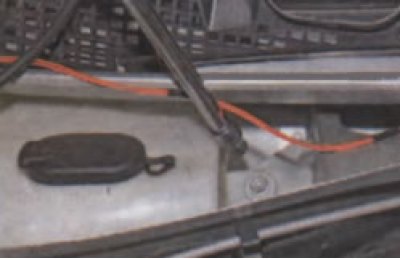
Using a 10 mm socket, unscrew the washer reservoir mounting bolt.
We remove the hose seal from the recess in the bulkhead of the front shield.
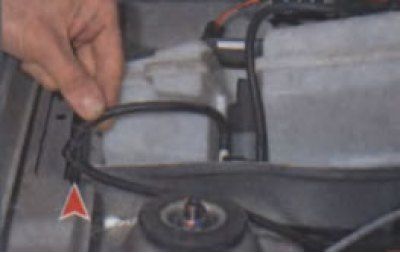
Turning the tank, we remove the hose from the recess in the bulkhead of the front shield (the arrow shows the notch).
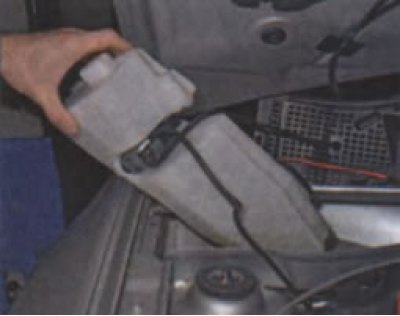
We remove the tank from the water drainage box...
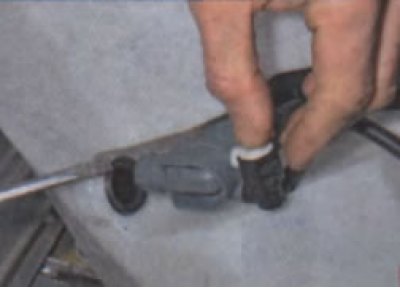
...and, prying the pump with a screwdriver, we take it out of the tank.
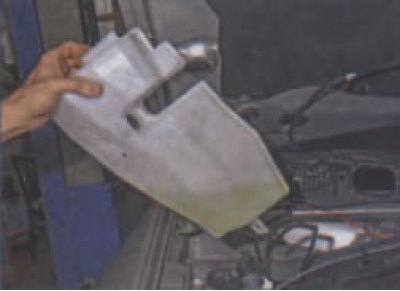
Remove the washer reservoir.
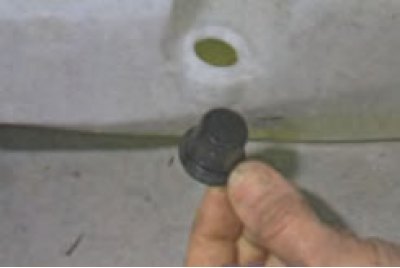
We remove the pump sealing sleeve from the tank.
A mesh filter is provided at the bottom of the sealing sleeve. If the bushing is torn, cracked or has lost elasticity, replace it with a new one.
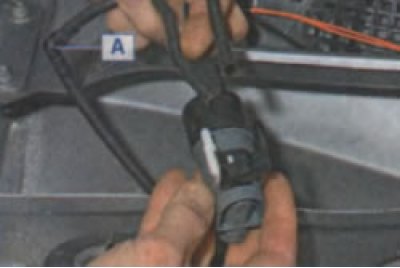
We remove the hoses supplying liquid to the washer nozzles from the pump fittings and remove the pump.
We install the pump and the washer reservoir in the reverse order. We connect the hoses to the pump fittings: to the white fitting - the hose for supplying liquid to the nozzle on the trunk door (with L-shaped fitting, see position A in the previous photo); to the black fitting - a hose for supplying liquid to the injectors on the hood.