
Car repair AvtoVAZ Car repair Renault Car repair Hyundai Car repair Ford Car repair Volkswagen Car repair Audi Car repair Chevrolet
English Русский
Български
Беларускі
Український
Српски
Hrvatski
Română
Polski
Slovenský
Magyar
articles sitemap contacts bookmark
LadaMan.ru


Kalina Granta Priora Vesta Largus XRAY
Largus 1 (2012-2023)

Disassembling the electric outside rearview mirror (Largus 1)

  • Main
  • Largus
  • Largus 1
  • Electrical equipment
  • Equipment and devices
  • Disassembling the electric outside rearview mirror
0
We disassemble the outside rearview mirror to replace the reflective element of the mirror with a heating element, the motor-reducer unit or the mirror trim.

The work is shown on the left mirror, on the right mirror the operations are performed in a similar manner. At low ambient temperatures, to avoid breaking the reflective element, we recommend removing the mirror and warming it up with a household hair dryer or warming it up indoors.

To replace the reflective element of the mirror with a heating element, turn the reflective element all the way down.

Using a screwdriver, press the reflective element retainer...
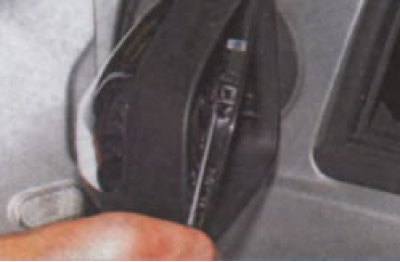
Using a screwdriver, press the reflective element retainer...


...and, pulling the element towards you...
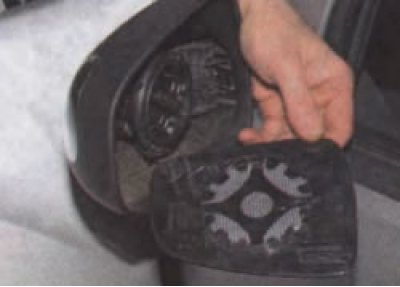
...and, pulling the element towards you...


...we take it out of the mirror housing.
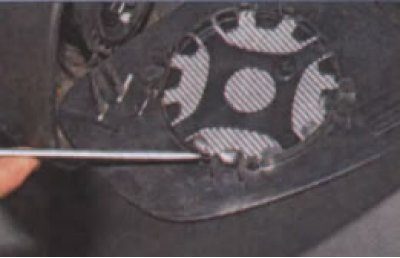
...we take it out of the mirror housing.


For clarity, we show the release of the lock on the removed reflective element.
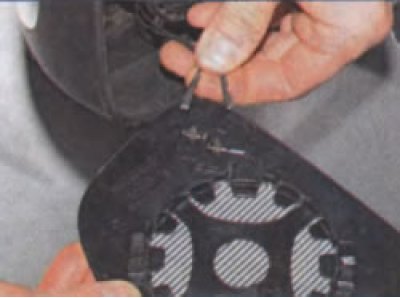


For clarity, we show the release of the lock on the removed reflective element.


We disconnect the two wire ends from the heating element contacts...
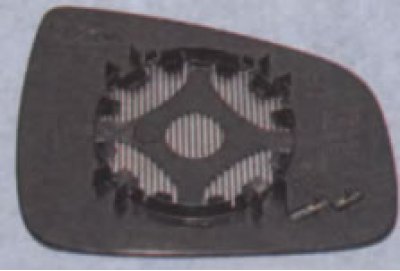
We disconnect the two wire ends from the heating element contacts...


...and remove the reflective element of the mirror with the heating element.

We install the reflective element of the mirror with the heating element in the reverse order.

To replace the motor-reducer unit, remove the reflective element of the mirror.
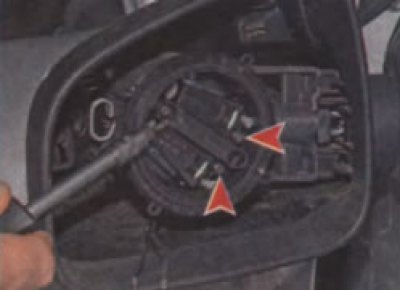
To replace the motor-reducer unit, remove the reflective element of the mirror.


Using a Torx T-10 key, unscrew the three screws securing the unit to the mirror housing.
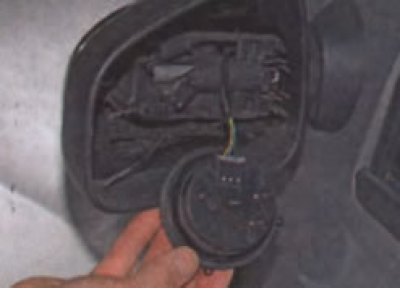


Using a Torx T-10 key, unscrew the three screws securing the unit to the mirror housing.


We remove the motor-reducer unit from the mirror housing.
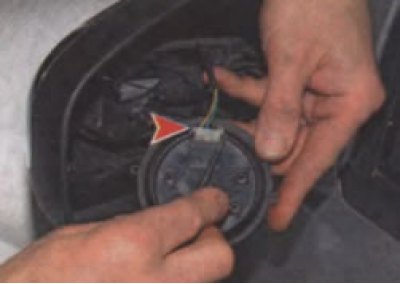
We remove the motor-reducer unit from the mirror housing.


Using a screwdriver, press the two clamps of the wiring block...
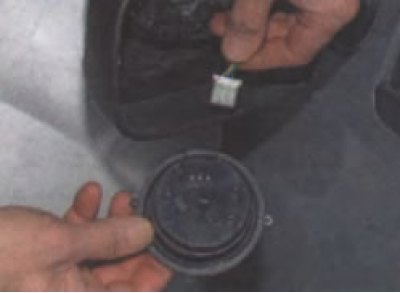
Using a screwdriver, press the two clamps of the wiring block...


...disconnect the connector from the block...
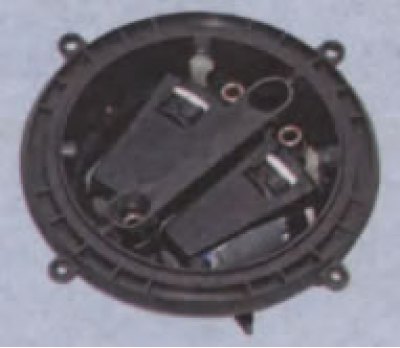
...disconnect the connector from the block...


...and remove the motor-reducer block.


We install the motor-reducer unit in the reverse order. To replace the mirror trim, remove the reflective element.
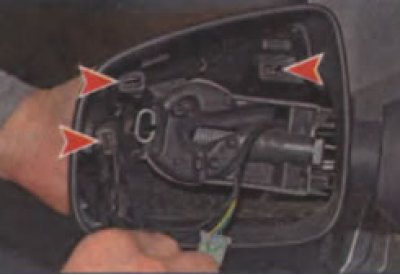
We install the motor-reducer unit in the reverse order. To replace the mirror trim, remove the…


We squeeze three pairs of trim fasteners...
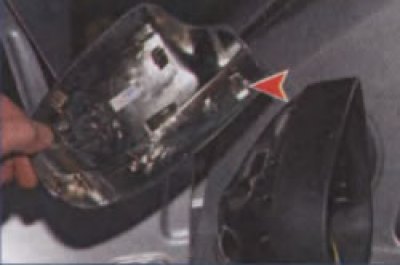
We squeeze three pairs of trim fasteners...


...and remove the trim, overcoming the resistance of two more clamps (shown by arrow). When installing the trim, insert the trim fasteners into the holes in the mirror housing and press on the trim until the fasteners snap into place.


This article is available at russian, bulgarian, belarusian, ukrainian, serbian, croatian, romanian, polish, slovak, hungarian
This article has been reviewed: Daniil Markelov
Share with friends:
◀ Previous
Lada Largus 1: Equipment and devices
Next ▶

Instrument cluster — removal and installation
General description of the vehicle's electrical equipment
Removal the front and rear window washers
Windscreen Wiper — Removing Arms and Motor
Removal the rear windshield wiper of the luggage compartment door
Fuses — location, rating and purpose
Central console with instruments — removal and installation
More articles with information from manuals for Lada:

• Removal and installation the outside rearview mirror Lada Kalina Sedan (2004-2013, VAZ-1118)
• Electric fan — removal, disassembly and installation Lada Granta 1 (2011-2023, VAZ-2190)
• Removal and installation the outside rearview mirror Lada Priora 1 (2007-2018, VAZ-2170)
• Electric headlight corrector Lada Vesta 1 (2015-2023, VAZ-2180)
• Headlight corrector switch, electric mirror adjustment knob Lada X-Ray 1 (2015-2022)
Link to this article in various formats
Reviews and comments of visitors
No comments yet


Add up two numbers: 15 + 14


Largus 1 (2012-2023) 
  • General information
  • Vehicle device
  • User manual
  • Maintenance
  • Power unit
  • Engine repair
  • Cooling and lubrication system
  • Supply system
  • Ignition system
  • Exhaust system
  • Spare parts catalog
  • Transmission
  • Clutch
  • Car gearbox
  • Drive shafts
  • Spare parts catalog
  • Chassis (running gear)
  • Suspension and wheels
  • Steering
  • Brake system
  • Spare parts catalog
  • Body and interior
  • Exterior (external elements)
  • Interior (internal elements)
  • Doors, locks and windows
  • Heating and ventilation
  • Spare parts catalog
  • Electrical equipment
  • Equipment and devices
  • Power devices
  • Lighting and signaling
  • Spare parts catalog
  • Electrical circuits
LadaMan.ru © 2018–2026 | Mobile version | About Lada | Sitemap: EN BG BY UA RS HR RO PL SK HU | Contacts with admin | | Add to bookmarks
Kalina Hatchback (2004-2013) | Kalina Sedan (2004-2013) | Granta 1 (2011-2023) | Priora 1 (2007-2018) | Vesta 1 (2015-2023) | Largus 1 (2012-2023) | X-Ray 1 (2015-2022) |
This site uses cookies to ensure everything runs smoothly.