



The pads are replaced in the following cases:
- the thickness of the friction linings is less than the permissible value;
- the surface of the linings is oily;
- the friction lining is not firmly connected to the base;
- the overlays have deep grooves and chips.
You will need: a 7 mm spanner, a flat-blade screwdriver, a mounting spatula, a hammer, pliers or a punch for removing the tension springs.
1. Engage 1st gear and place chocks under the front wheels.
2. Make sure the parking brake lever is fully depressed (the car is released).
3. Remove the wheel and clean the brake mechanism from dirt.
4. If the brake fluid level in the master cylinder reservoir is at or near the "MAX" mark, pump out some of the fluid from the reservoir, otherwise it may spill out when replacing the pads.
5. Remove the brake drum (see "Removing and installing the rear wheel brake drum").
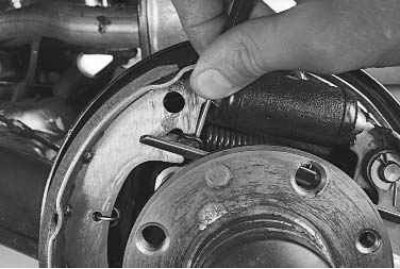
6. Use a punch or pliers to remove the upper tension spring.
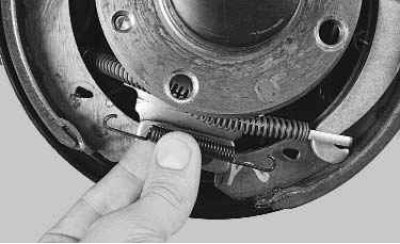
7. Remove the lower tension spring in the same way.
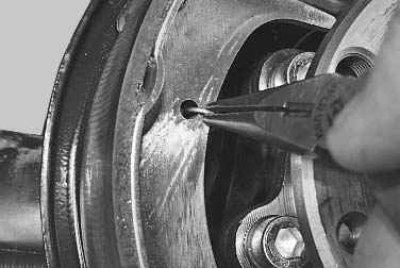
8. Remove the front shoe guide spring.
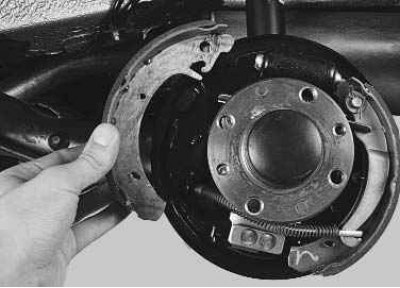
9. Remove the front shoe.
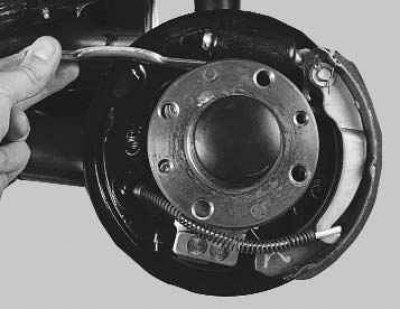
10. Remove the expansion bar.
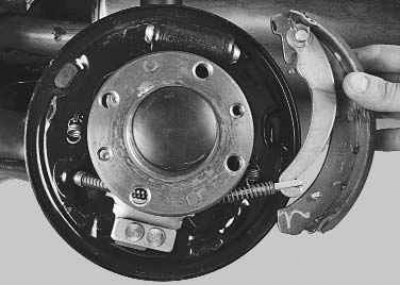
11. Remove the rear shoe guide spring and then the rear shoe by disconnecting the drive lever from the parking brake cable end.
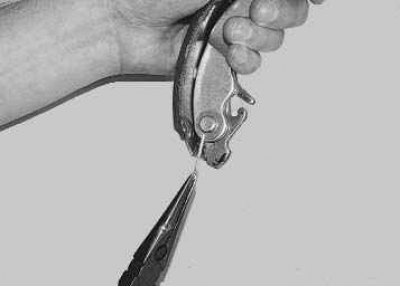
12. Remove the cotter pin.
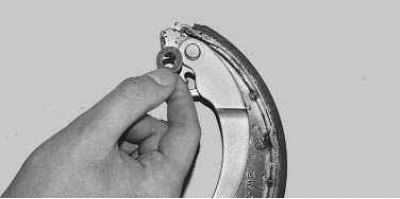
13. Remove the thrust washer from the rear shoe drive lever pin.
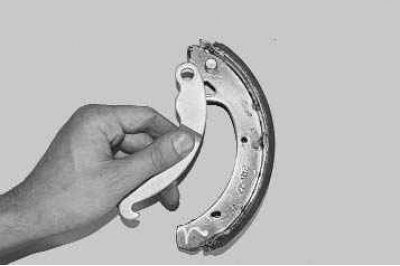
14. Remove the rear shoe drive lever.
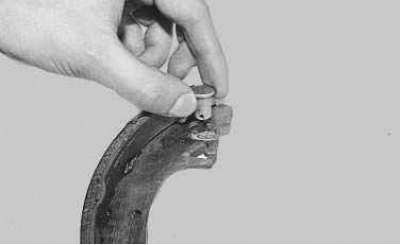
15. Press on the drive lever pin and remove the pin from the shoe.
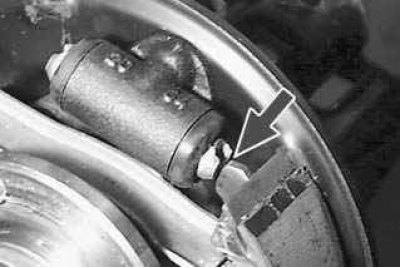
16. Install new pads in the reverse order of removal. When installing, insert the upper ends of the pads into the piston grooves.
Article copied from this portal [LADAMAN.RU]
17. Use two tire irons to push the brake pads together to move the pistons toward the center of the cylinder. Install the brake drum in the reverse order of removal. With the vehicle on the ground, press the brake pedal two or three times to bring the shoes to the drum.