



1. Remove the outer tie rod end (see "Removing and installing the outer tie rod end and replacing the ball joint protective boot").
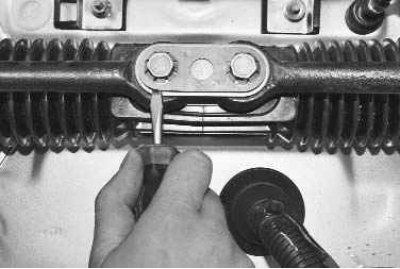
2. Pry up the locking plate…
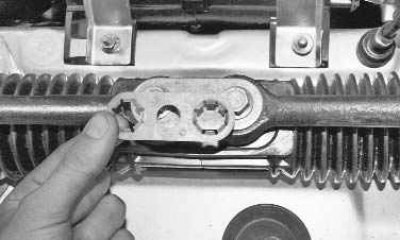
3. …and remove it from the steering linkage rod bolt heads.
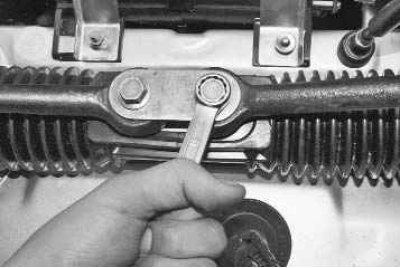
4. Loosen both steering linkage bolts…
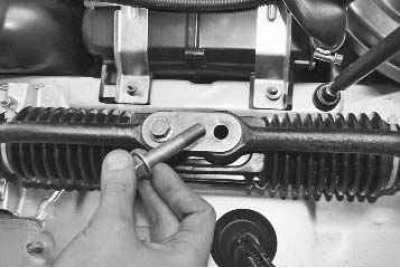
5. …unscrew the bolt of the removed rod…
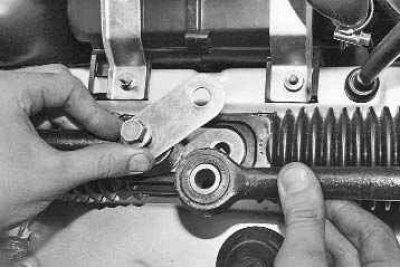
6. …retract the inner tip by turning the connecting plate…
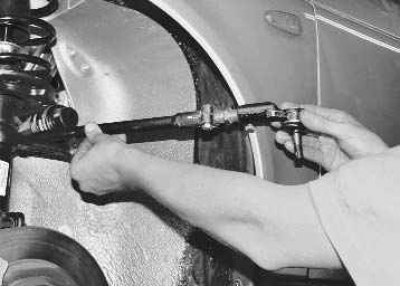
7. …and remove the rod through the hole in the wheel arch mudguard.
The source is located on the website (LadaMan.ru)
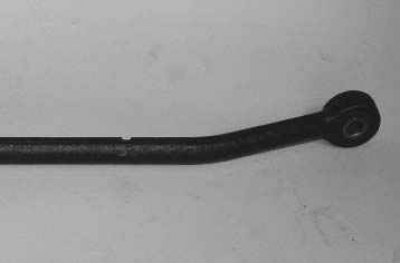
8. Worn or damaged rubber-metal joints of the inner rod ends may be the cause of increased free play of the steering wheel. Since the operation of replacing the joint requires skill and a special tool, we recommend replacing the joint as a whole with the inner end of the tie rod, having removed the end from the adjusting tie rod.
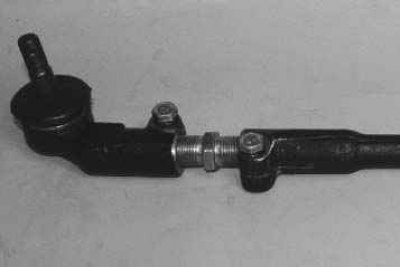
9. If you are replacing only the tie rod ends, remove the bolts that secure them and unscrew the ends from the adjusting tie rod.
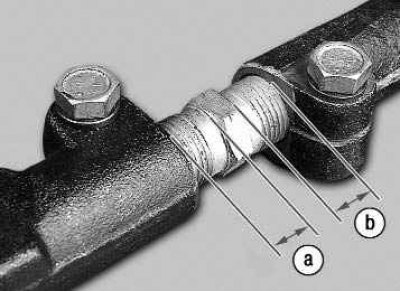
10. Before installing the steering rod, check the following: the distance a from the end of the hexagon of the adjusting rod to the end of the outer tip (it should be 10.6–16.3 mm) and the distance b to the end of the inner tip (10.8–14.2 mm). It is necessary to maintain these dimensions of the threaded sections to ensure a reliable connection of the rod to the tips.
11. Install the rod in the reverse order of removal.
12. After installing the rods, check and, if necessary, adjust the wheel alignment angles (see "Checking and adjusting the front wheel alignment angles").