



Signs of air getting into the hydraulic drive of the brake system:
- when pressing the pedal once - increased pedal travel, its "softness";
- when pressing the pedal multiple times, the pedal travel gradually decreases while simultaneously increasing its "rigidity".
Before bleeding the hydraulic drive, it is necessary to identify and eliminate the cause of the depressurization.
Note: If bleeding the hydraulic drive is associated with the repair of one circuit and the serviceability of another circuit is known, then bleeding only the circuit being repaired is permissible.
The order of bleeding the brake mechanisms:
- rear right;
- front left;
- rear left;
- front right.
You will need: an 8 mm wrench, a rubber hose, and a container to collect the brake fluid.
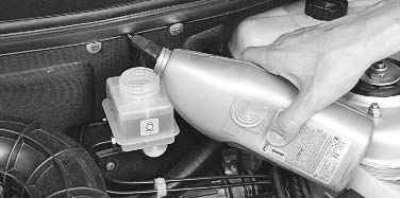
1. Check the level and, if necessary, add brake fluid to the master cylinder reservoir up to the "MAX" mark.
Attention! Add only the same brand of brake fluid as that already in the system.
2. Place the vehicle on an inspection pit or lift.
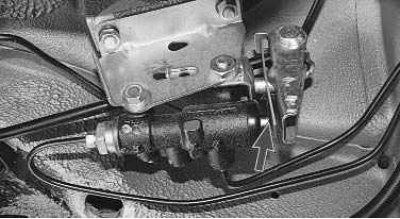
3. If the rear wheels are raised, first unlock the rear brake pressure regulator by inserting a screwdriver between the plate and the piston. Don't forget to take it out when you're done.
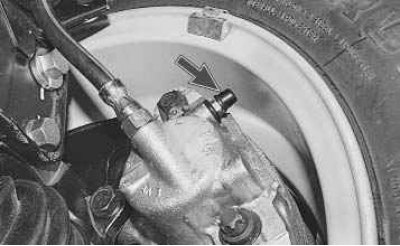
4. Clean the air release valve on the brake mechanism from which air is to be removed from dirt and dust.
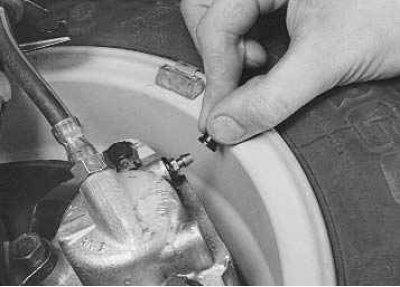
5. Remove the protective cap from the air release valve.
6. Place a rubber hose on the valve head and immerse its end in a clean, transparent container partially filled with brake fluid (the end of the hose must be immersed in the liquid).
7. The assistant should press the brake pedal sharply 4-5 times (with an interval of 1-2 seconds between presses). After the last pump, the pedal should be held down.
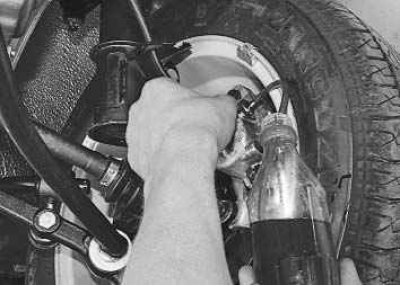
8. Loosen the air release valve 1/2–3/4 turn. Air bubbles will be visible in the fluid flowing out of the hose. When fluid stops flowing from the hose, close the air release valve completely, after which the assistant should release the brake pedal.
9. Repeat steps 7 and 8 until there are no air bubbles in the flowing liquid. At the same time, monitor the level of brake fluid in the reservoir and, if necessary, add fluid, not allowing the level to drop below the "MIN" mark.
10. Remove the hose, wipe the air release valve nipple dry and put the protective cap on it. Bleed the brakes on the remaining wheels if necessary.
Note: Do not reuse brake fluid drained during bleeding.
[Article copied from the resource: LADAman]
Note: If the bleeding of the brake system hydraulic drive is not done thoroughly enough, then when pressing the pedal at the end of its travel, an increased "softness" of the pedal will be felt.
Note: There are two ways to bleed the hydraulic drive of the brake system without an assistant. The first is the most reliable: order an aluminum or bronze cover for the main brake cylinder from a turner, screw a valve from a chamber into it and connect it to the spare wheel with an additional hose; the air pressure should not exceed 0.05–0.07 MPa (0.5–0.7 kgf/cm²). The second is not very reliable, but acceptable: connect a rubber bulb to the wheel cylinder nipple – the connection should be very tight. Squeeze the bulb, unscrew the nipple; when the bulb is half full, tighten the nipple. Repeat the procedure three to four times. During test braking, check the operation of the brakes.