



To perform the work you will need a ball joint puller.
Sequence of execution
1. Prepare the car for work (see "Preparing the car for maintenance and repair").
2. Remove the front wheel (see "Wheel replacement").
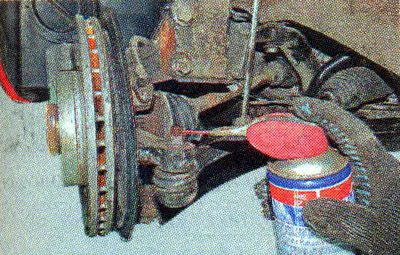
3. Clean the attachment points of the tip...
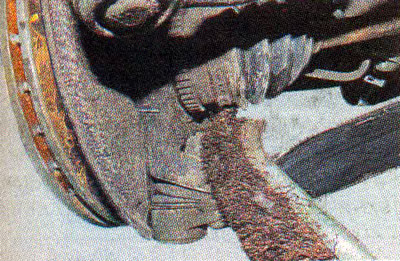
...and treat them with penetrating lubricant.
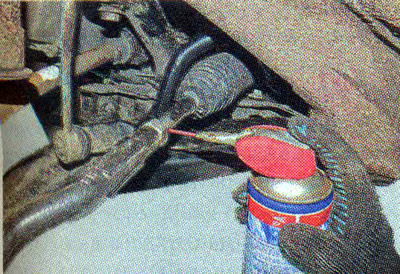
4. Clean the steering rod from dirt at the point where the tip is attached...
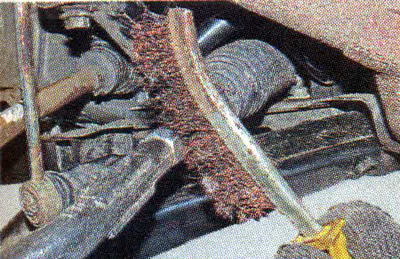
...we treat the threads with penetrating lubricant.
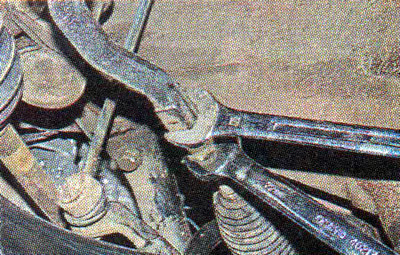
5. Using a 22 mm wrench, loosen the lock nut, holding the tip from turning with a wrench of the same size.
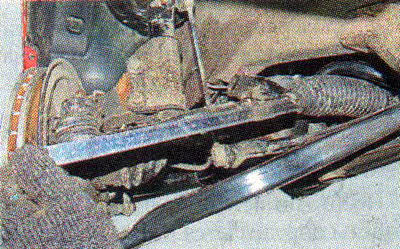
6. Measure the distance from the middle of the tip joint to the end of the thread on the steering rod.
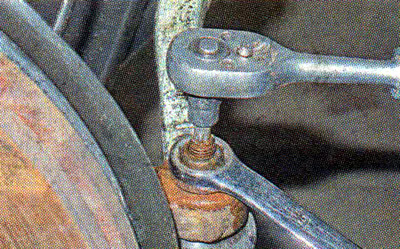
7. Using a 16 mm wrench, loosen the nut securing the steering rod end pin (if necessary, hold your finger from turning with a TORX T30 key) and, we turn it back a few turns.
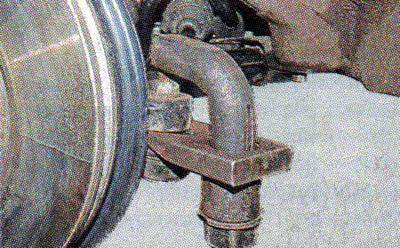
8. Install the ball joint puller and press the ball joint pin out of the steering knuckle eye.
9. Unscrew the ball joint pin mounting nut and remove it from the steering knuckle arm.
Note: The ball joint pin mounting nut is self-locking and cannot be reused, so it must be replaced during assembly.
10. Using a 22 mm open-end wrench, unscrew the steering rod end, holding the rod from turning with a 13 mm wrench, and remove it.
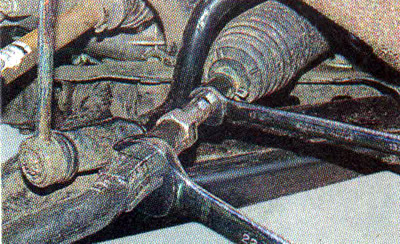
11. Install the new tip in the reverse order so that the distance from the center of its hinge to the end of the thread on the steering rod remains the same. If this requires rotating the steering rod, loosen and move the clamp that secures its boot (see below, "Steering Tie Rod Protective Boot - Replacement".
Note: The left tip is marked LH and the right tip is marked RH.
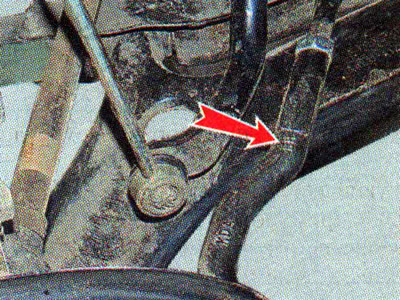
12. Tighten the steering tip lock nut and the ball joint pin mounting nut to the prescribed torques (see table 12.2).
13. Install the removed wheel.
14. We check and, if necessary, adjust the wheel alignment angles at a specialized service station.
Article copied from this portal: www.ladaman.ru