
Execution sequence
1. We prepare the car for work (see «Preparing the car for maintenance and repair»).
2. Remove the upholstery of the front door (see «Front door upholstery - removal and installation»).
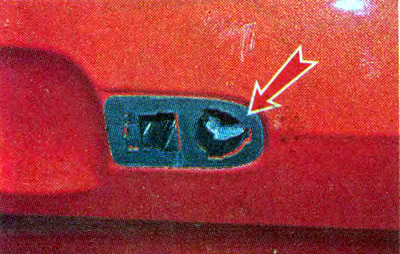
3. Gently pry off...
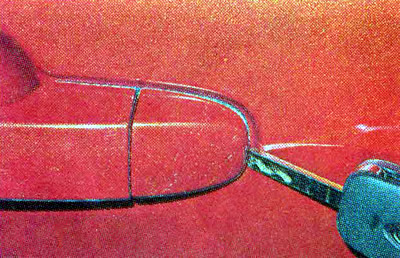
...and remove the switch cover (larvae).
4. Inside the door, disconnect from the switch (larvae) lock rod of the lock drive.
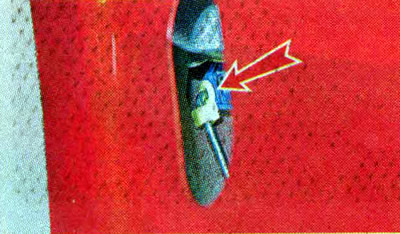
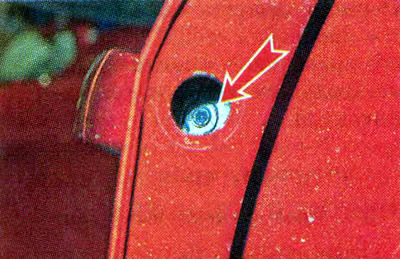
5. Remove the plug in the door hole.

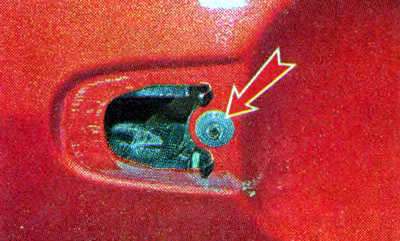
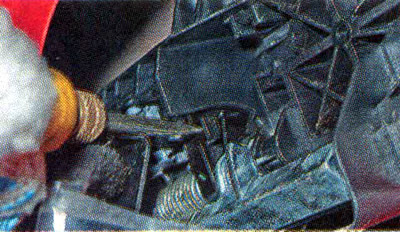
6. Using the TORX T30 key, unscrew the screw securing the switch (larvae) lock for a few turns until free rotation.
Comment. Switch fixing screw (larvae) of the lock to the door panel is fixed with latches and does not fall into the door cavity when unscrewing.
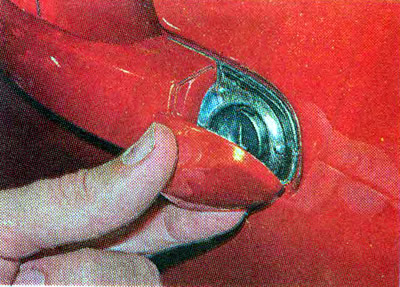
7. Remove the switch from the driver's door panel (larva) castle.
8. Move the handle back a little...
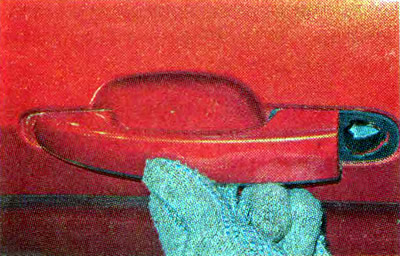
... and we remove from the door first the back and then the front part of the handle.
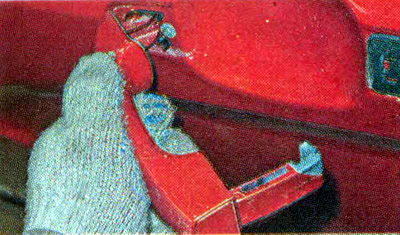
9. Remove the outer handle gaskets.
Comment. The rivet must be drilled to remove the outer handle bracket.
10. Install the outer door handle in reverse order. When installing the handle on the door, press the bracket lever, turning it outward.
11. Lubricate the switch (larva) and apply a thin layer of grease to the moving parts of the outer handle (see «Lubrication of hinges and locks»).