
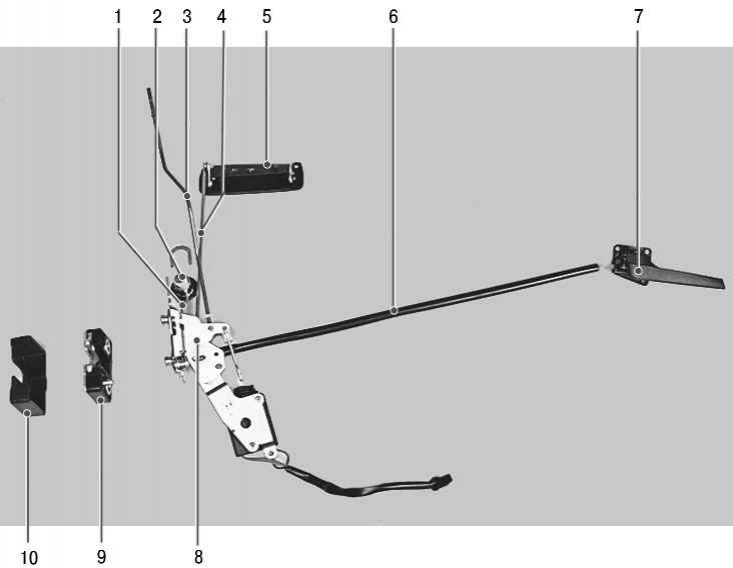
Pic. 11.2. Lock, drive rods and front door handles: 1 – draft of the switch of the lock; 2 – lock switch; 3 - thrust of the lock button; 4 – draft of the external handle; 5 - outer handle; 6 – draft of the internal handle; 7 - inner handle; 8 - internal lock; 9 - external lock; 10 – overlay of the external lock
The lock, its drive rods and front door handles are shown in fig. 11.2.
You will need flat and Phillips screwdrivers.
1. Disconnect the wire from the terminal «minus» battery.
2. Remove the upholstery of the front door (see «Removal and installation of an upholstery of a forward door»).
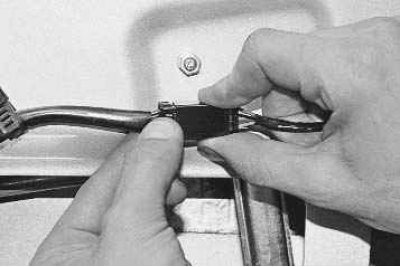
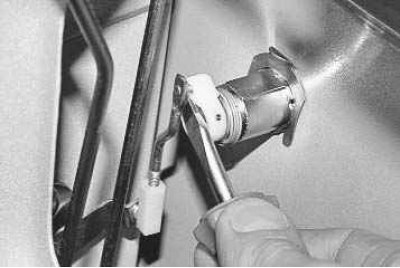
3. Squeeze the pad retainer..
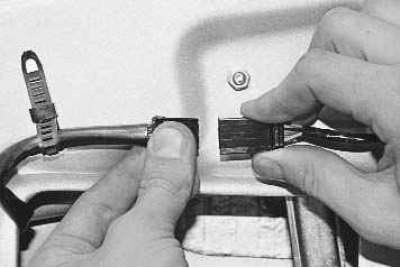
4.... and disconnect the block of the wiring harness of the door lock gearmotor.
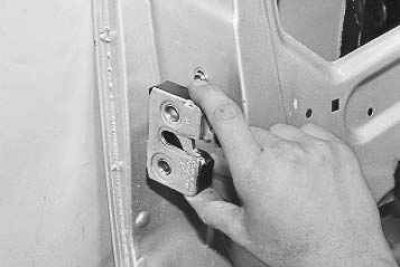
5. Turn out three screws of fastening of the internal handle of a door.
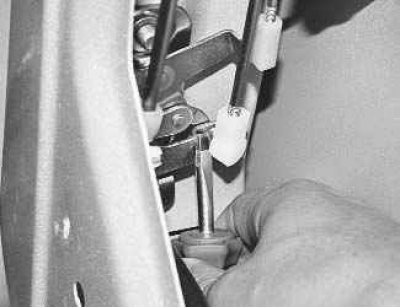
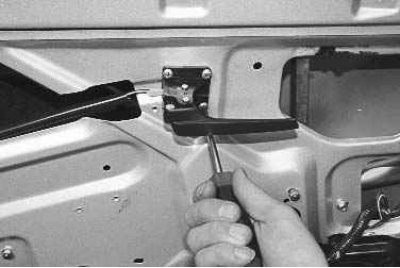
6. Pry with a screwdriver and disconnect the outer door handle rod from the lock.
7. Pry with a screwdriver and disconnect the rod from the lock switch.
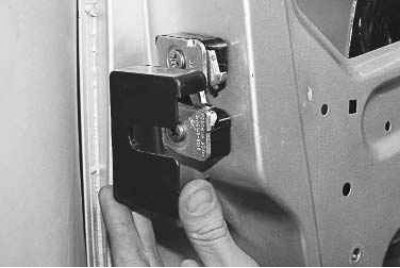
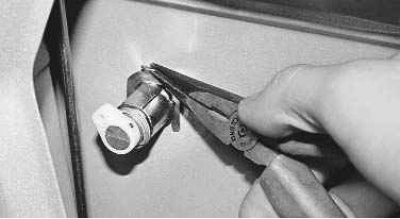
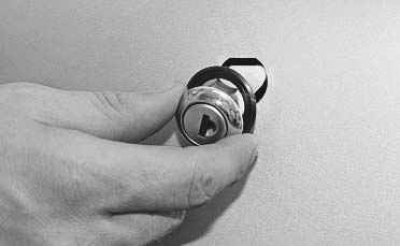
8. Remove an overlay of the external lock.
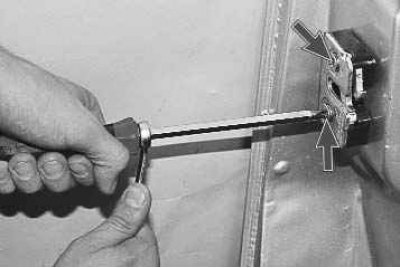
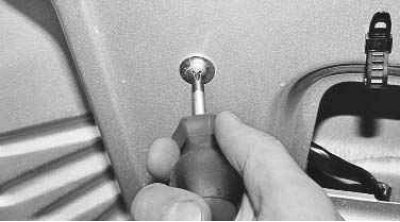
9. Using a Phillips screwdriver, remove the two screws securing the outer lock..
10.... and remove the outer lock.
11. Turn out the screw of fastening of the internal lock.

12. Remove the internal lock together with the internal handle of a door and drafts.

13. Remove from draft of blocking of the lock the plastic holder and disconnect it from the lever.
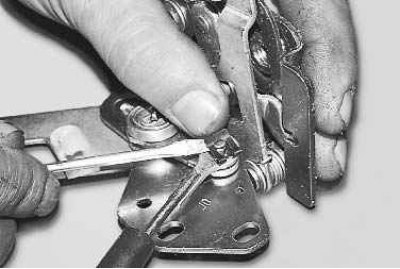
14. Remove the locking bracket and disconnect the inner handle rod from the lever.
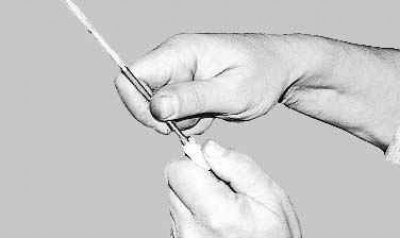
15. The length of the rods is adjusted by unscrewing or wrapping the plastic tips. When replacing the rod end, unscrew it from the rod by counting the number of turns. Screw the new tip in the same number of turns, this will maintain the required length of the rod.
16. Remove lock switch retainer.
17. Remove the lock switch from the door.
18. Install the lock in the reverse order of removal, having previously lubricated all friction parts with grease.