To complete the work you will need a multimeter (in voltmeter and ohmmeter mode).
Sequence of execution
1. Prepare the car for work ("Preparing the car for maintenance and repair"), turn off the ignition.
2. Having released the retainer, we disconnect the wiring harness block 1 from the terminals of the ignition module 2.
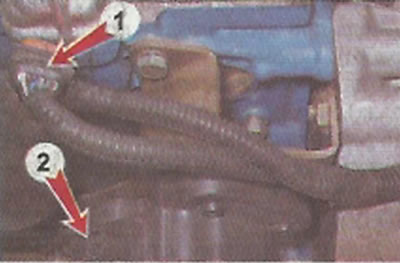
3. Turn on the ignition and use a voltmeter to measure the voltage between terminal 15 and the ground of the wiring harness block.
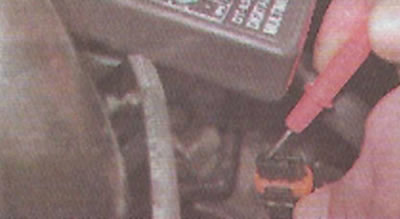
Recommendation. The voltage must be at least 12 V. If the voltage does not reach the connector or is less than 12 V, then the battery is discharged, the power supply circuit is faulty, or the ECU is faulty.
Warning! After taking measurements, turn off the ignition.
4. Disconnect the high-voltage wires from the spark plugs ("High Voltage Wires - Checking and Replacing").
5. Using a 13 mm socket wrench, unscrew the two bolts of the upper mounting of the ignition coil bracket.
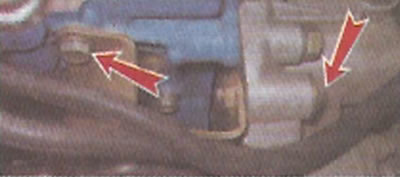
6. Using a 17 mm wrench, loosen the lower bolt securing the ignition coil bracket and remove the bracket together with the coil.
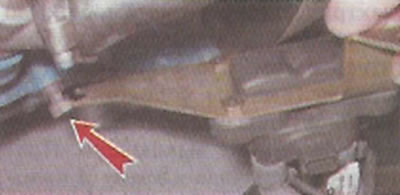
7. Disconnect the high-voltage wires from the ignition coil.
8. Using an ohmmeter, measure the electrical resistance between the central terminal 15 and the body (bracket). The device should show the absence of a short circuit of the primary winding of the coil to the "ground". We measure the electrical resistance between the central terminal 15 and the outer terminals - 1a and 1b. The resistance of each of the primary windings of the coil should be about 0.5 Ohm.
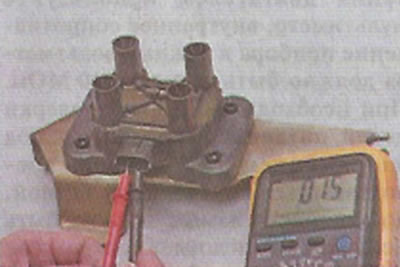
Note: When measuring small values of electrical resistance (about 1 Ohm) it is necessary to take into account the internal resistance of the device, which can be determined by short-circuiting the ohmmeter probes.
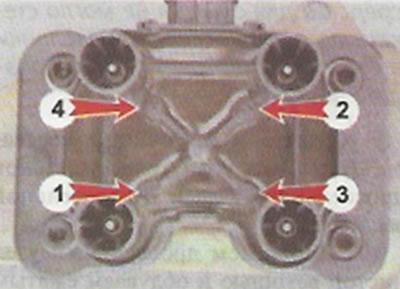
9. Using an ohmmeter, measure the resistance between the high-voltage terminals of coil 1 and 4, and then 2 and 3. The resistance of the windings should be about 5.4 kOhm.
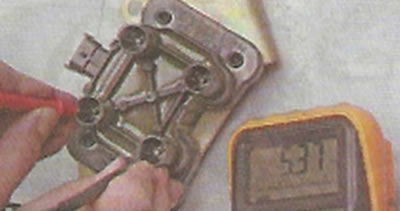
10. Using a 5 mm Allen key, unscrew the four screws securing the coil to the bracket and remove the coil.
11. Install the ignition coil in the reverse order.
We connect the high-voltage wires in accordance with the cylinder numbers printed on each wire and on the coil body next to the terminals.